
There’s something deeply satisfying about taking the most ordinary craft-store basics and turning them into something that looks rich, warm, and collected. This project starts with simple foam balls and masking tape, but with a little layering and a rubbed-in brown finish, they take on that timeworn, tailored look that always makes a tree, garland, or bowl arrangement feel more thoughtful.
I love projects like this because they’re easy to do in short bursts at the kitchen counter, and they don’t ask for fancy tools or perfect technique. If you can tear tape and rub on a finish, you can make these. They’re especially good for anyone who wants handmade holiday decor that feels cozy and polished without getting fussy.
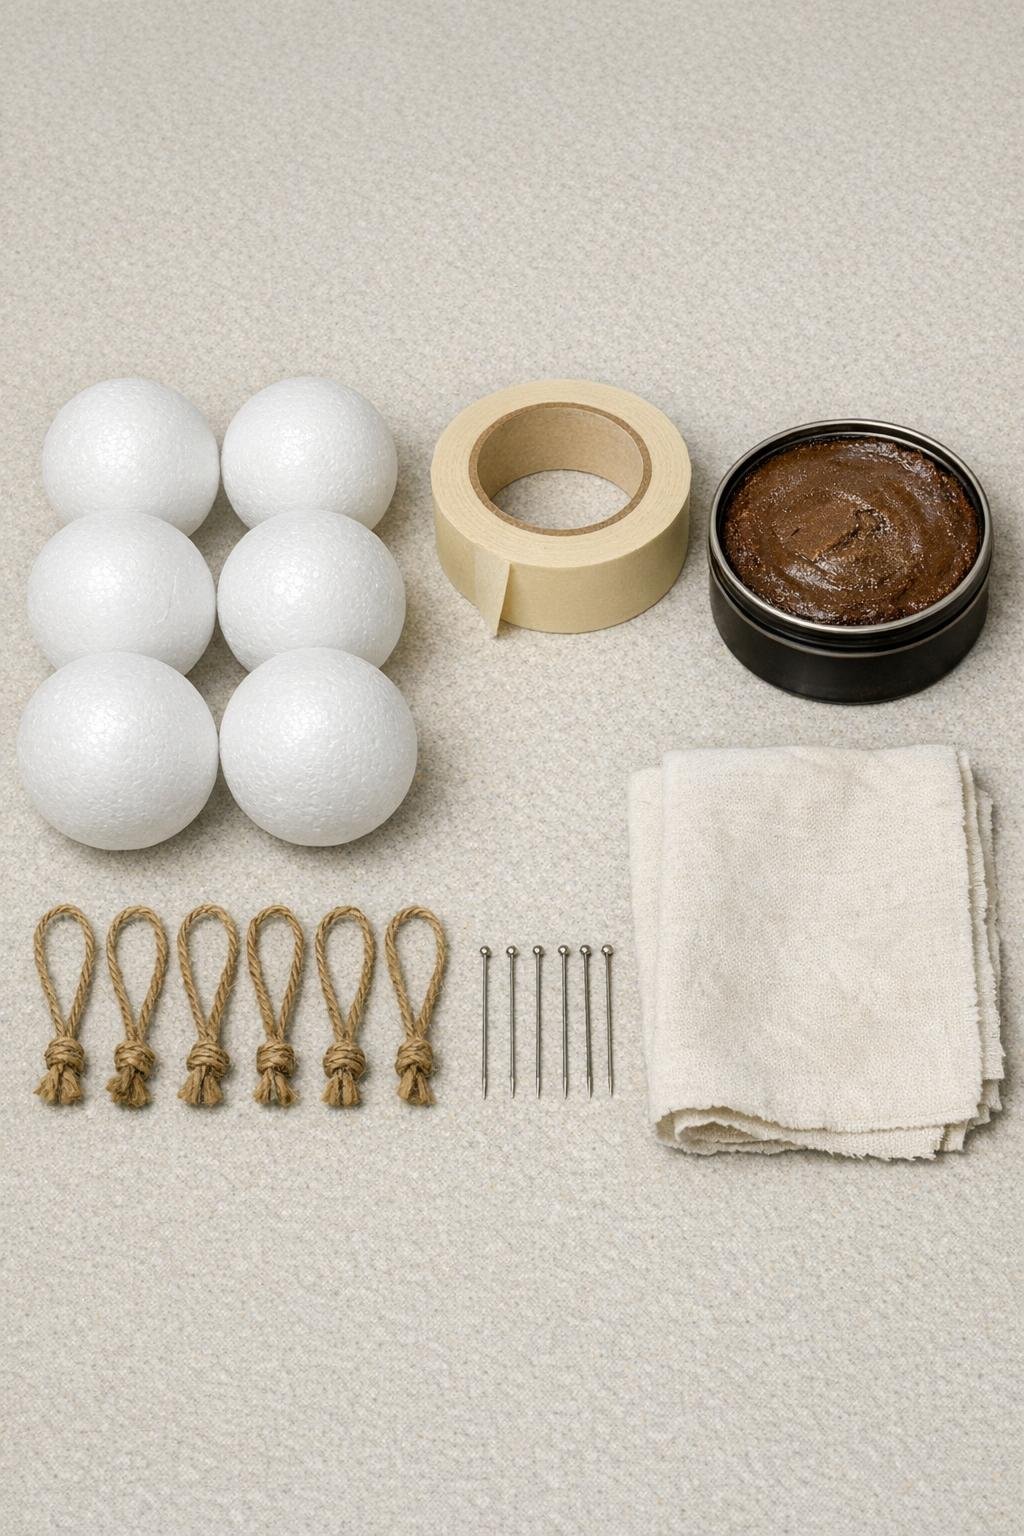
Materials
Instructions
1. Cut or prepare 6 jute loops, tying each into a small loop if needed, and set one straight pin aside for each ball so the hanging hardware is ready when you need it.
2. Tear the masking tape into irregular pieces about 1 to 2 inches long; don’t cut them neatly, because the rough torn edges are what create the natural, leather-like patchwork look.
3. Press the first tape pieces onto one foam ball, overlapping them slightly and changing direction as you go so the surface looks broken up and softly wrinkled instead of striped.
4. Continue covering the entire ball with torn tape, smoothing each piece firmly with your fingertips and letting a few tiny ridges and seams remain visible for texture.
5. Repeat the same overlapping tape treatment on the remaining 5 foam balls, making sure no white foam shows through when you’re done.
6. Pinch each jute loop together at the ends, place the ends at the top of a taped ball, and push a straight pin through the loop ends and into the foam until secure.
7. Dab a small amount of brown shoe polish or brown wax onto the rag and rub it over one taped ball, working it into the seams and torn edges first so the texture stands out.
8. Buff the surface with a clean area of the rag, leaving the finish darker in the creases and lighter on the raised areas to mimic worn leather.
9. Finish the other 5 balls the same way, adding a little extra wax or polish wherever you want deeper antique shading, then let them sit for 15 to 20 minutes to set.
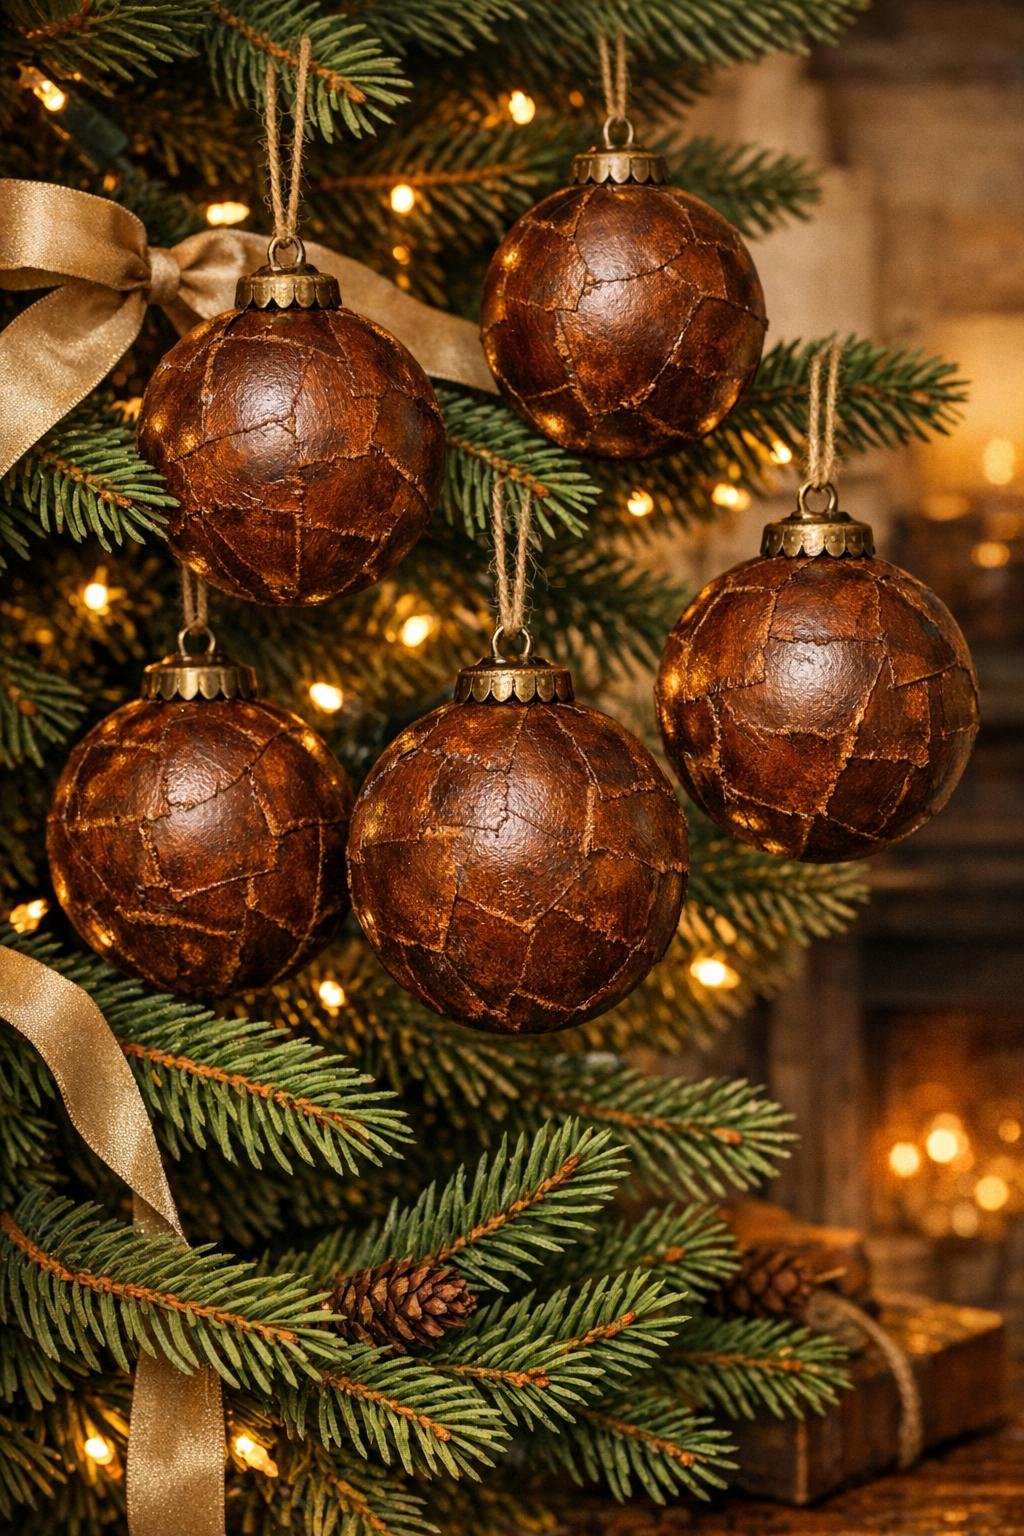
10. Give each ornament a final gentle buff with the rag and fluff the jute loops so the set looks finished and ready to hang or display together.
Variations & Tips
Deeper vintage color: For a darker, more aged finish, apply a second very light coat of brown polish or wax after the first coat sets, then buff again so it doesn’t look muddy.
Lighter leather look: If you want more of a camel or saddle tone, use less finish on the rag and buff sooner, letting more of the tan masking tape color peek through.
More texture: Slightly crumple a few of the tape pieces before pressing them down if you love that weathered, worn-in surface. I like doing this on just a handful of pieces so the balls still look polished instead of messy.
Kid-helpful version: Little helpers can tear tape pieces for you while an adult handles the waxing step. In my house, that keeps everyone involved without turning the counter into a brown smudge situation.
Display idea: These look especially pretty grouped in a wooden bowl, tucked into a garland, or mixed with plain greenery on the tree for a warm, simple palette.
For picky decorators: If not everyone in your family loves brown holiday decor, make half the batch lighter and half darker so they blend with more decorating styles.