
There’s something mighty satisfying about turning the simplest little supplies into a garden helper that earns its keep. This end-of-season raised bed cover stake starts with humble wooden popsicle sticks, and after a quick bake and a bit of shaping, they become sturdy little arch stakes that hold lightweight garden cover right where you need it. I love projects like this because they save money, use easy-to-find dollar store materials, and solve a real problem once the weather starts turning sharp.
Out here, when fall slides into early frost season, I’m always looking for ways to stretch a few more weeks out of my beds without hauling out anything complicated. If you’ve got a raised bed, a row of greens, or even a patch of late lettuce you’re trying to protect, this is the kind of practical project you can make in an afternoon and use again next year.
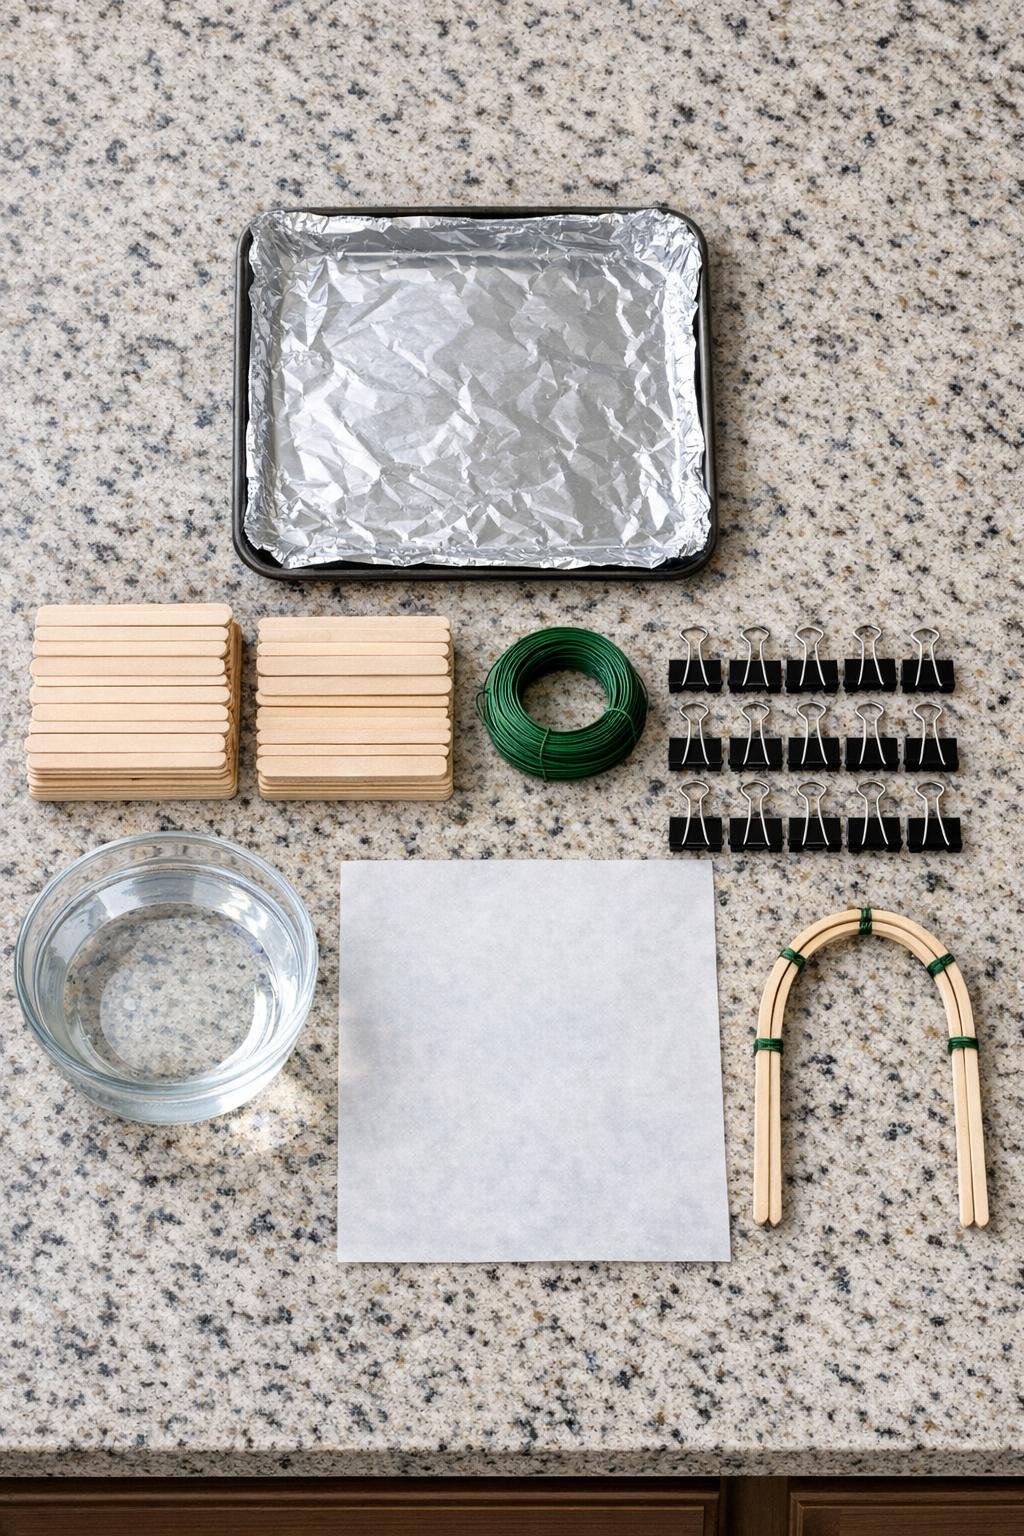
Materials
Instructions
1. Line a large baking sheet with aluminum foil and spread the popsicle sticks in a single crowded layer, making sure they mostly lie flat for even drying and warming.
2. Bake the sticks at 225 degrees Fahrenheit for 20 minutes to dry them out and warm the wood through without scorching it.
3. Transfer the hot sticks to a bowl of warm water and soak them for 15 minutes so they turn flexible enough to bend without snapping.
4. Lay 3 soaked sticks end to end with a 1/2-inch overlap at each joint, then wrap floral wire tightly around both overlap points 6 to 8 times to make one long flexible stake strip.
5. Make 11 more stake strips the same way so you have 12 long pieces total, enough to place supports every 6 inches across a standard 6-foot raised bed.
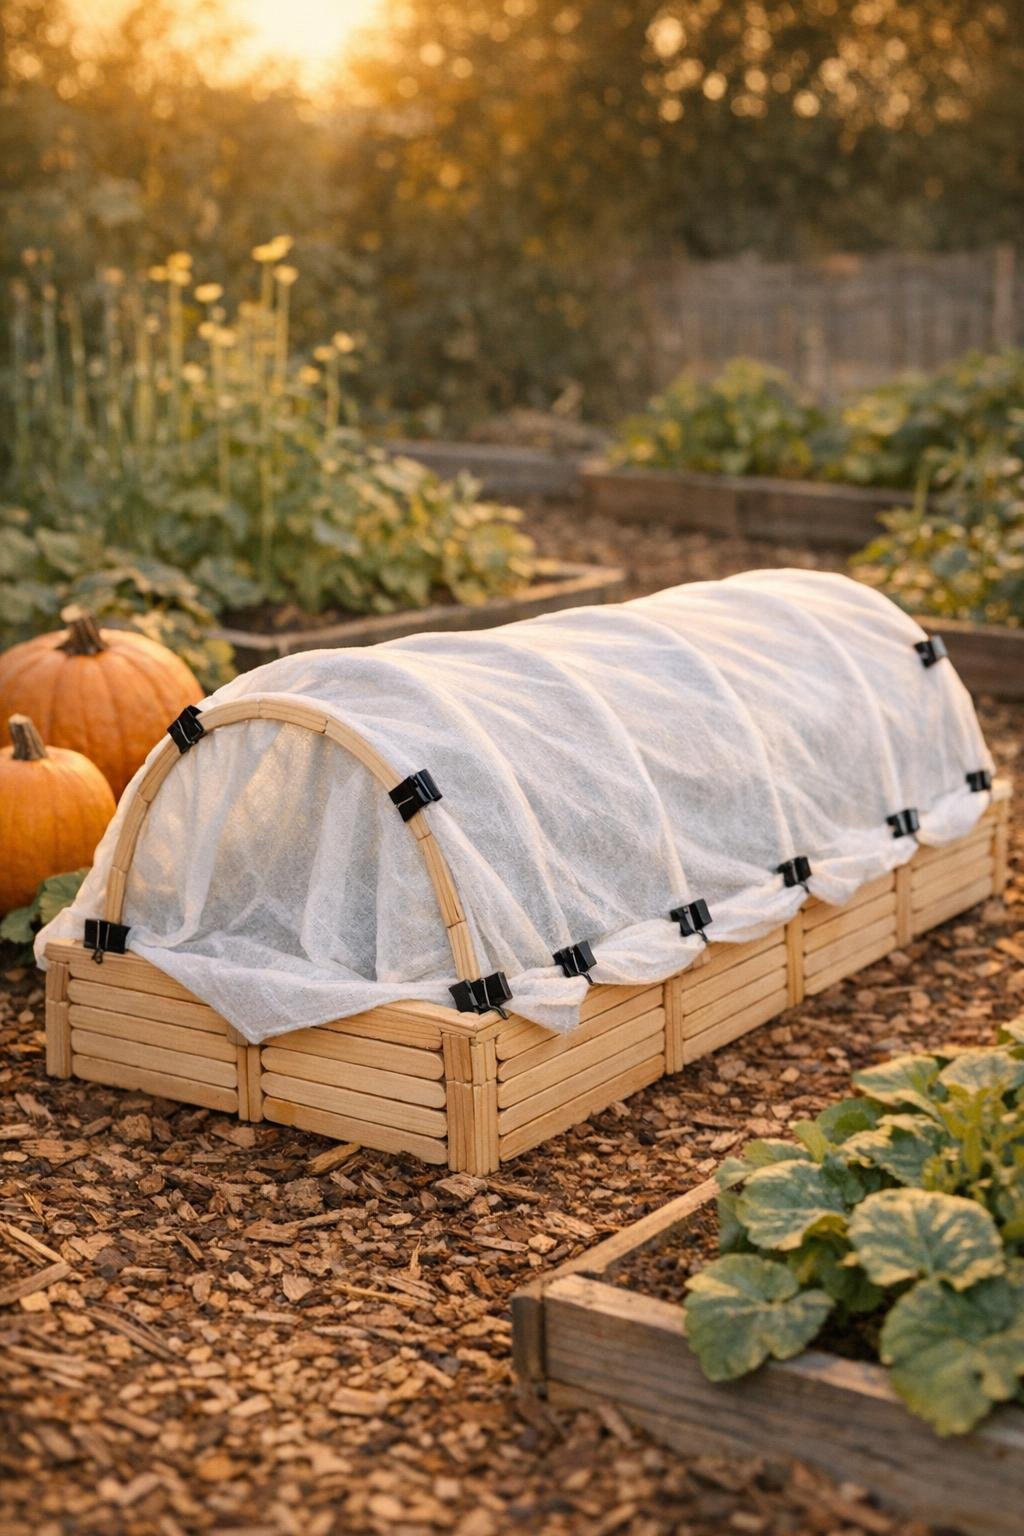
6. Pair the strips and bind each pair together at one end with more floral wire, then gently bend each pair into a tall upside-down U shape to create 6 sturdy garden cover arches.
7. Set the arches on parchment paper and let them dry completely for several hours so the curved shape firms up and holds.
8. Push the ends of the arches 3 to 4 inches into the soil of your raised bed, spacing them evenly down the length of the bed to make a tunnel frame.
9. Drape the frost cloth over the arches, leaving enough extra on all sides to reach the soil without pulling the frame out of shape.
10. Clip the cover to each arch with binder clips, using 2 clips per arch near the top edges so the fabric stays centered and won’t flap loose in the wind.
11. Tuck the bottom edges of the cover with soil, bricks, or boards from around the garden so cold air stays out and the cover does not lift during a breezy night.
12. Open one side on mild days for airflow, then clip it back down before evening so your late-season greens stay protected without overheating.
Variations & Tips
For taller crops: If you need more headroom for kale or young broccoli, use 4 sticks per strip instead of 3 so each arch stands higher over the bed.
For extra strength: Twist a full second layer of floral wire over each joint if your garden gets heavy wind; that little bit of reinforcement makes the arches last longer through rough weather.
For smaller beds: Use 2-stick strips for shallow salad boxes or narrow planters, and keep the same paired-arch method for a tidy mini tunnel.
To make them neater: Trim wire tails close and tuck the ends inward with pliers so they don’t snag your cover fabric when you pull it on and off.
To help them last: Let the arches dry fully before putting them outdoors, and store them flat in a dry shed at the end of the season so the wood stays sound for another year.
My garden habit: I like to keep the clips attached right on the arches when I store everything away. Come first frost warning, I can cover a bed in just a few minutes, and that kind of readiness has saved many a pan of fall spinach at my house.