
I’ve always had a hard time throwing away a pretty Christmas card, especially the ones with rich colors, little gold stars, or snowy church scenes that remind me of cards my mother used to line up on the buffet every December. If you’ve got a small pile of saved cards and just can’t bear to toss them, this is one of those easy little makes that turns something sentimental into something useful.
This project is perfect for anyone who wants a quick holiday craft with almost no fuss and no fancy supplies. All you need are three long strips from a single card, and in just a few minutes you’ll have a darling little embellishment that makes even the plainest package feel thoughtful and special.
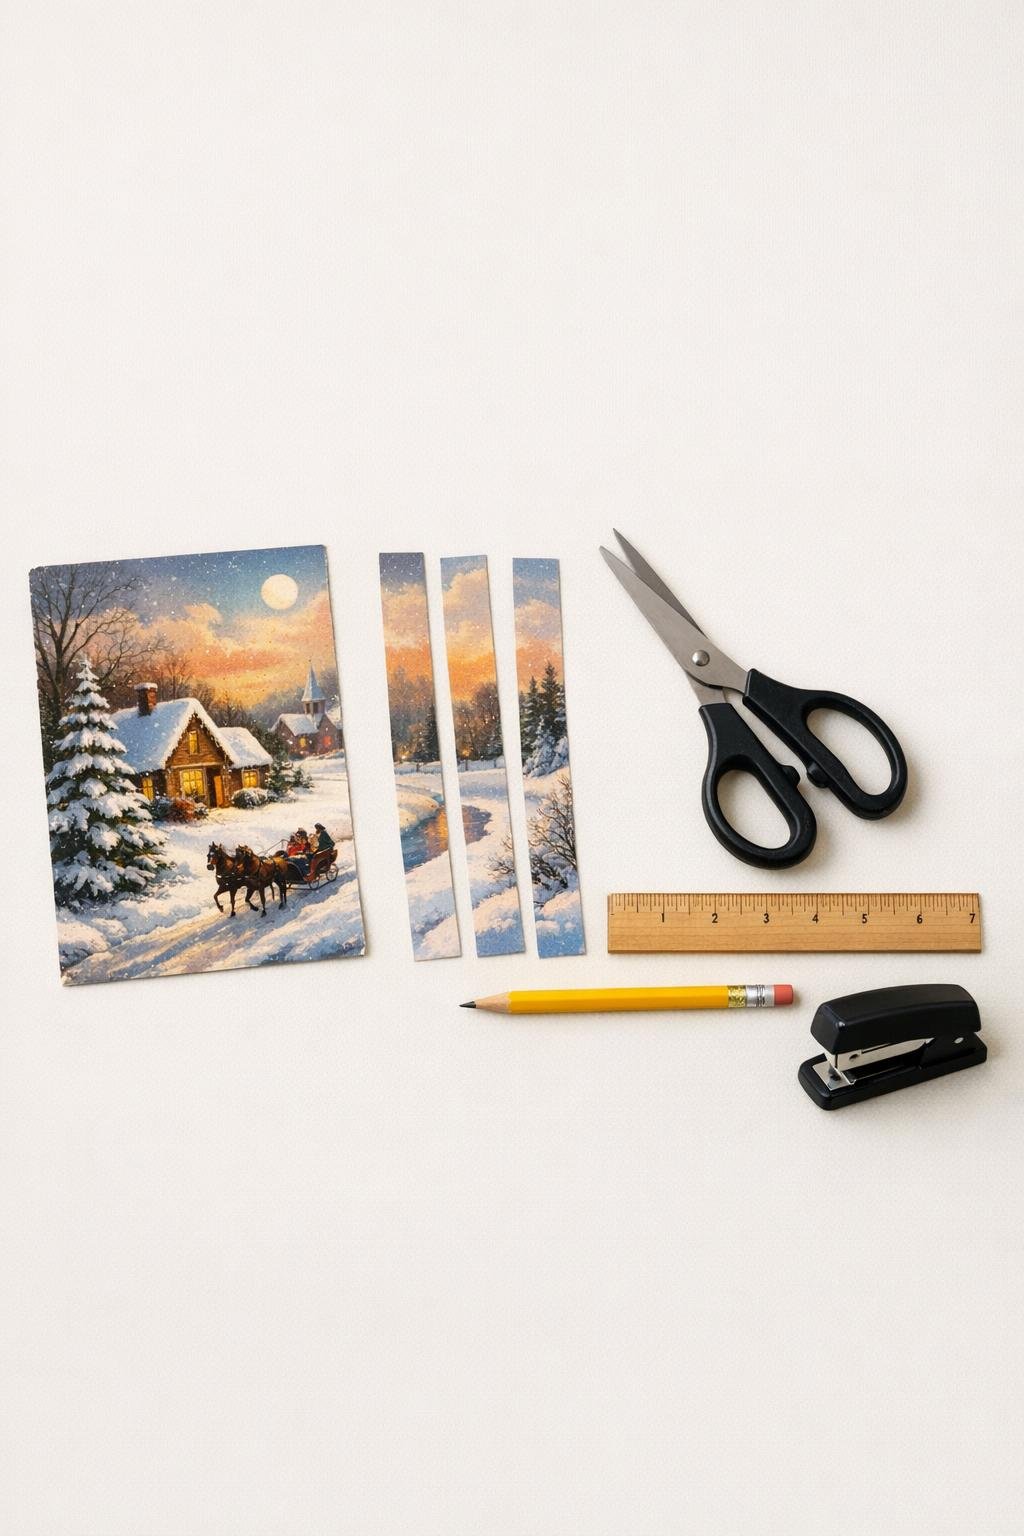
Materials
Instructions
1. Open the Christmas card and flatten it gently with your hands so it’s easier to measure and cut.
2. Use the ruler and pencil to mark three strips on the card: two at 3/4 inch by 7 inches and one at 3/4 inch by 4 inches, placing your lines to capture the prettiest part of the design.
3. Cut out all three strips as neatly as you can, keeping the edges straight so the finished shape looks crisp and polished.
4. Take one long strip and bend both ends inward to meet in the center without creasing the loops, then secure the ends with a glue dot or one staple.
5. Repeat with the second long strip so you have two matching looped pieces.
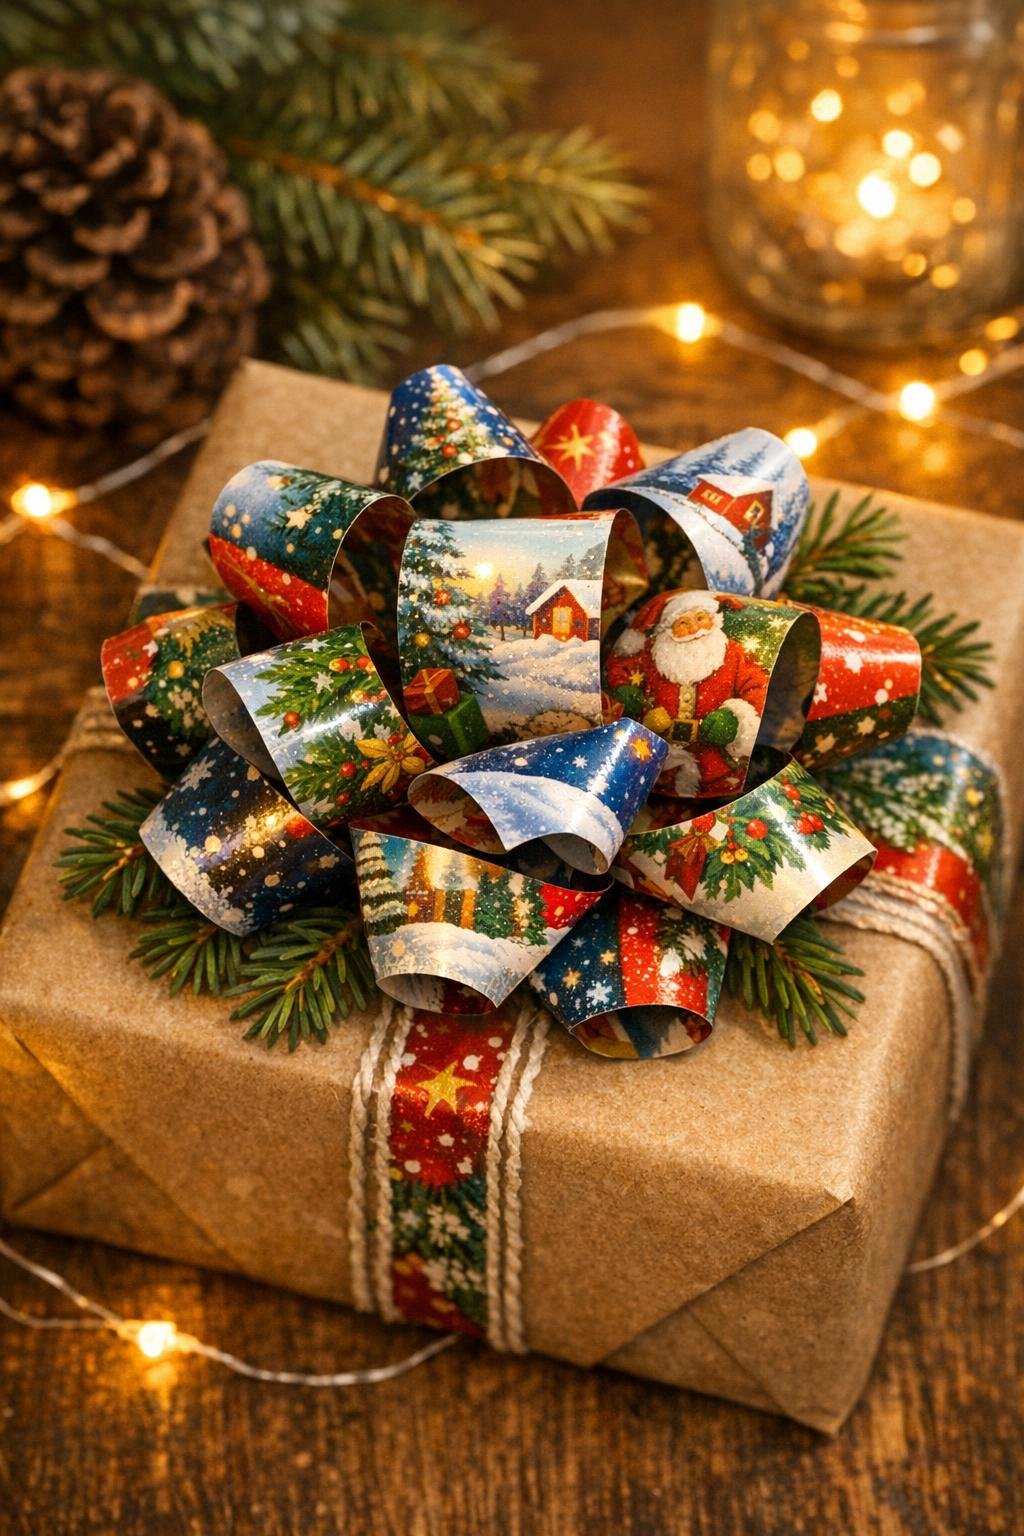
6. Turn one looped piece horizontally and place the second one over it vertically so the loops crisscross into a full bow shape, then fasten them together at the center.
7. Take the short strip and make a small flat loop or band, wrapping it around the center of the crossed loops to cover the staple or join, then secure it neatly at the back.
8. Fluff the loops gently with your fingers so they sit evenly, and trim a tiny bit from any uneven edge if needed for a tidy finish.
9. Attach the finished piece to a wrapped gift, a treat box, or a holiday tag with another glue dot or a bit of tape on the back.
Variations & Tips
Use the prettiest section: I like to cut my strips from the most colorful part of the card front, whether that’s holly, plaid, ornaments, or a snowy scene, because those little details really show once the loops are formed.
Match the package: These look especially nice on plain kraft paper, white wrapping paper, or solid gift bags where the card artwork gets to be the star.
Try a layered look: If you want a fuller bow, make a second one from another card and stack the smaller bow right on top of the first for extra dimension.
Stapler versus glue dots: A stapler is quicker and holds firmly, but glue dots give a cleaner finish if the card stock is on the thinner side.
Save special cards: This is a sweet way to reuse cards from grandparents, old family friends, or schoolchildren’s holiday cards; it keeps a little piece of the season right there on the gift.
Make several at once: When I’m already wrapping presents, I cut and shape a whole batch assembly-line style so I have a tidy bowl of bows ready to go for the rest of the gifts.