
I love a craft that looks far fancier than the supply list suggests, and this one absolutely delivers. With a handful of dollar store basics and a little trimming, you can turn plain plastic toilet brushes into a winter decoration that looks charming on a mantel, entry table, or holiday shelf.
This is the kind of project I reach for when I want something impressive but low-stress after a busy workday. The steps are simple, the mess is manageable, and the finished display has that snowy, vintage holiday feel that makes a whole room look more pulled together.
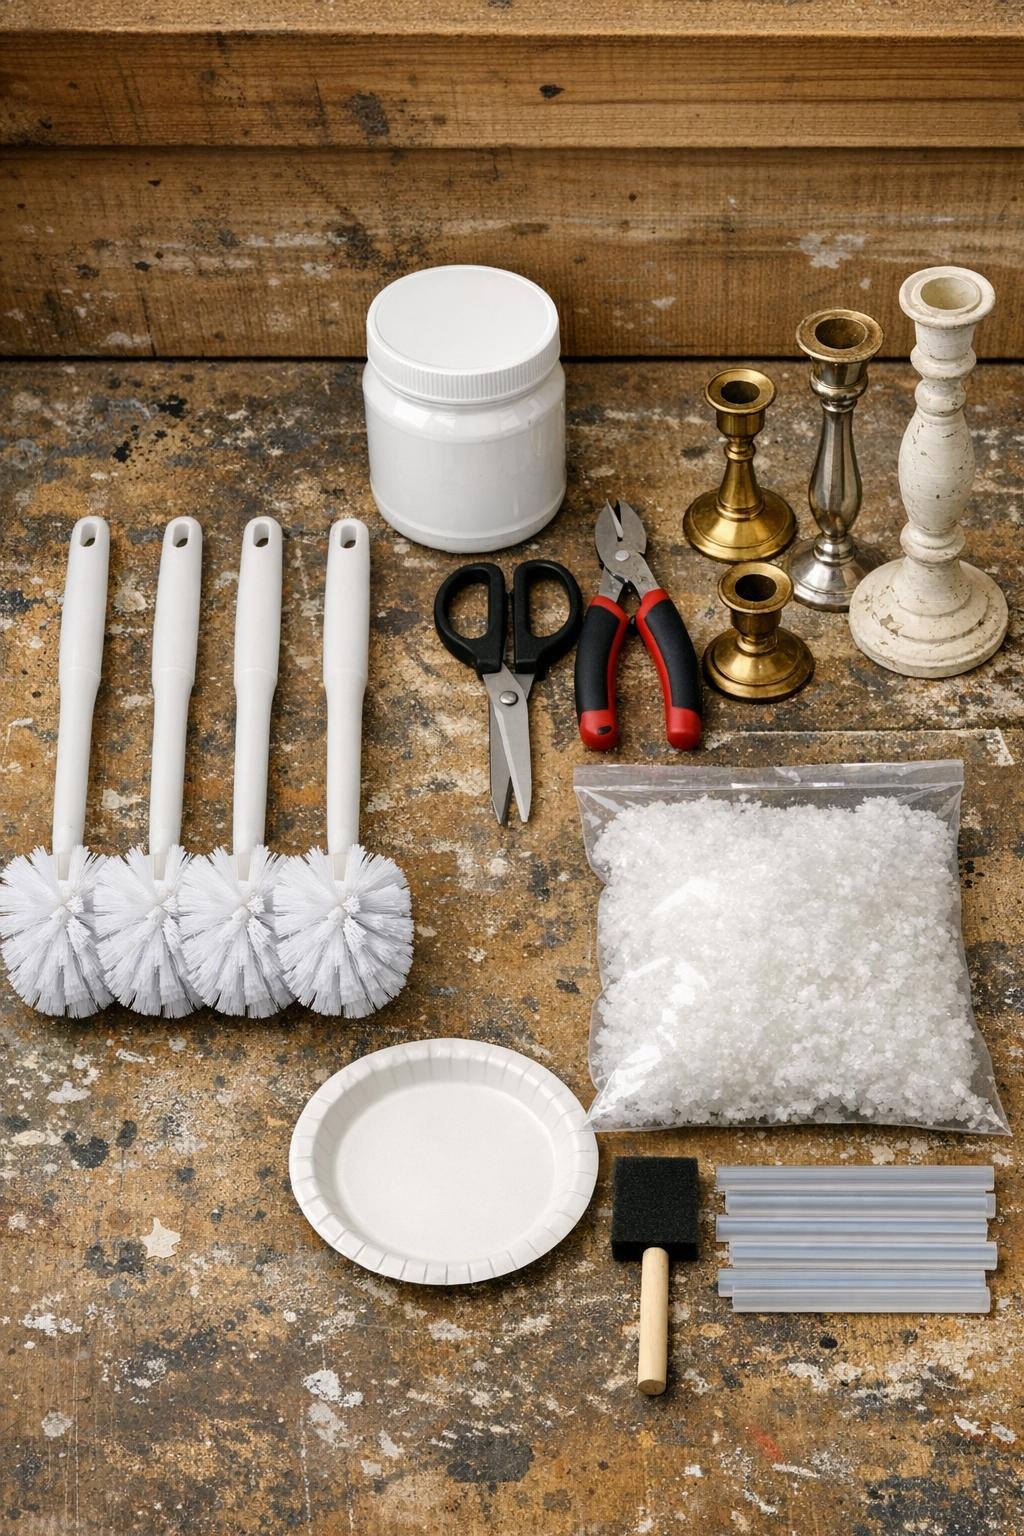
Materials
Instructions
1. Cover your work surface with kraft paper or a drop cloth, then line up the four toilet brushes, paint, scissors, wire cutters, and candlesticks so everything is easy to grab.
2. Pour the white paint onto a disposable plate or into a shallow tray, then dip and roll the bristle ends of all four toilet brushes until the outer tips are coated white while some darker depth still shows closer to the center.
3. Stand the brushes upright or lean them against a protected surface and let the paint dry completely for about 30 to 45 minutes, then add a second light coat to any spots that need more snowy coverage.
4. Use scissors to start shaping each brush into a tree by trimming from the top downward in a gentle cone, taking off small amounts at a time so the trees stay full and even.
5. Vary the sizes for a more natural little forest by leaving one tree tall and full, trimming one medium, and shaping two slightly shorter and narrower.
6. Cut each handle down with wire cutters, leaving about 1 to 1 1/2 inches of straight stem below the bristles so each tree can be attached to a candlestick base.
7. Add a generous bead of hot glue to the top center of each candlestick, then press one trimmed brush tree onto each base and hold it steady until set.
8. Fluff and bend the branches lightly with your fingers to fill any thin spots and round out each tree so the silhouette looks dense instead of skinny.
9. Brush a little extra white paint onto the outermost tips if you want a heavier snow-dusted look, especially around the top third of each tree.
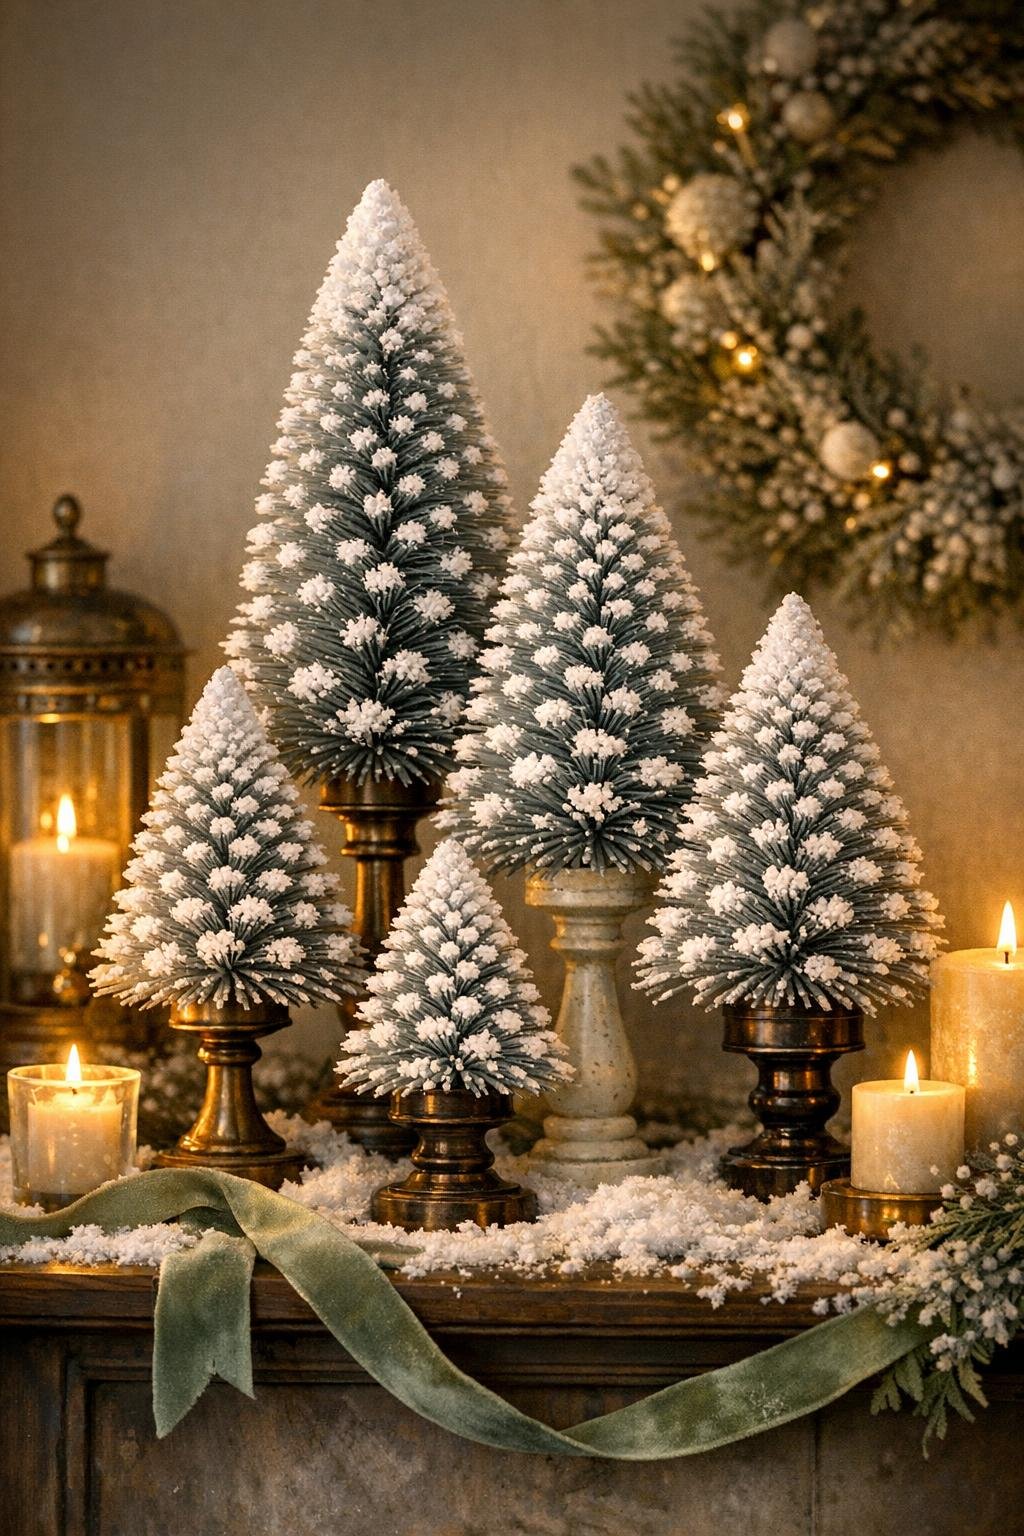
10. Dab small bits of fake snow around the tops of the candlesticks and at the base of the trees with hot glue to soften the transition and give the whole set a finished winter look.
Variations & Tips
Make them look vintage: Use thrifted brass or wood candlesticks instead of matching new ones. I love mixing heights because it gives the whole group that collected-over-time look.
Go fuller, not skinnier: When you trim, take off less than you think you need. I’ve learned the hard way that a dense tree always looks more polished than an overly narrow one.
Add sparkle carefully: If you like a frosty finish, dust a tiny bit of iridescent glitter into the wet paint on just the branch tips. A light hand keeps them elegant instead of craft-store flashy.
Use a tray for styling: Group the finished trees on a small tray with faux snow, greenery clippings, or battery candles. It makes the display look intentional and also makes decorating faster if you like to move things around.
Secure wobbly bases: If a candlestick top is narrow, build up a small mound of hot glue before setting the tree in place. Hold it straight for a few extra seconds so it dries centered.
Try soft color layering: For a more collected holiday look, dry-brush a touch of pale gray or cream under the white once the first coat is dry. That little bit of depth makes the snowy finish look surprisingly high-end.