
There are some projects that feel like pure kitchen-table magic, and this is one of them. When I first started playing around with hot glue in those little dollar store trays, I had the same feeling I used to get as a girl watching winter frost climb across the windowpanes at my grandma's farmhouse. Ordinary materials turn into something that looks far fancier than it has any business looking, and that kind of transformation never gets old for me.
This project is for anyone who loves a dramatic result without needing fancy tools or a long shopping list. If you can work a glue gun and give a little patience to layering pieces together, you can make a glowing décor piece that looks crisp, icy, and surprisingly substantial, all from the simplest supplies.
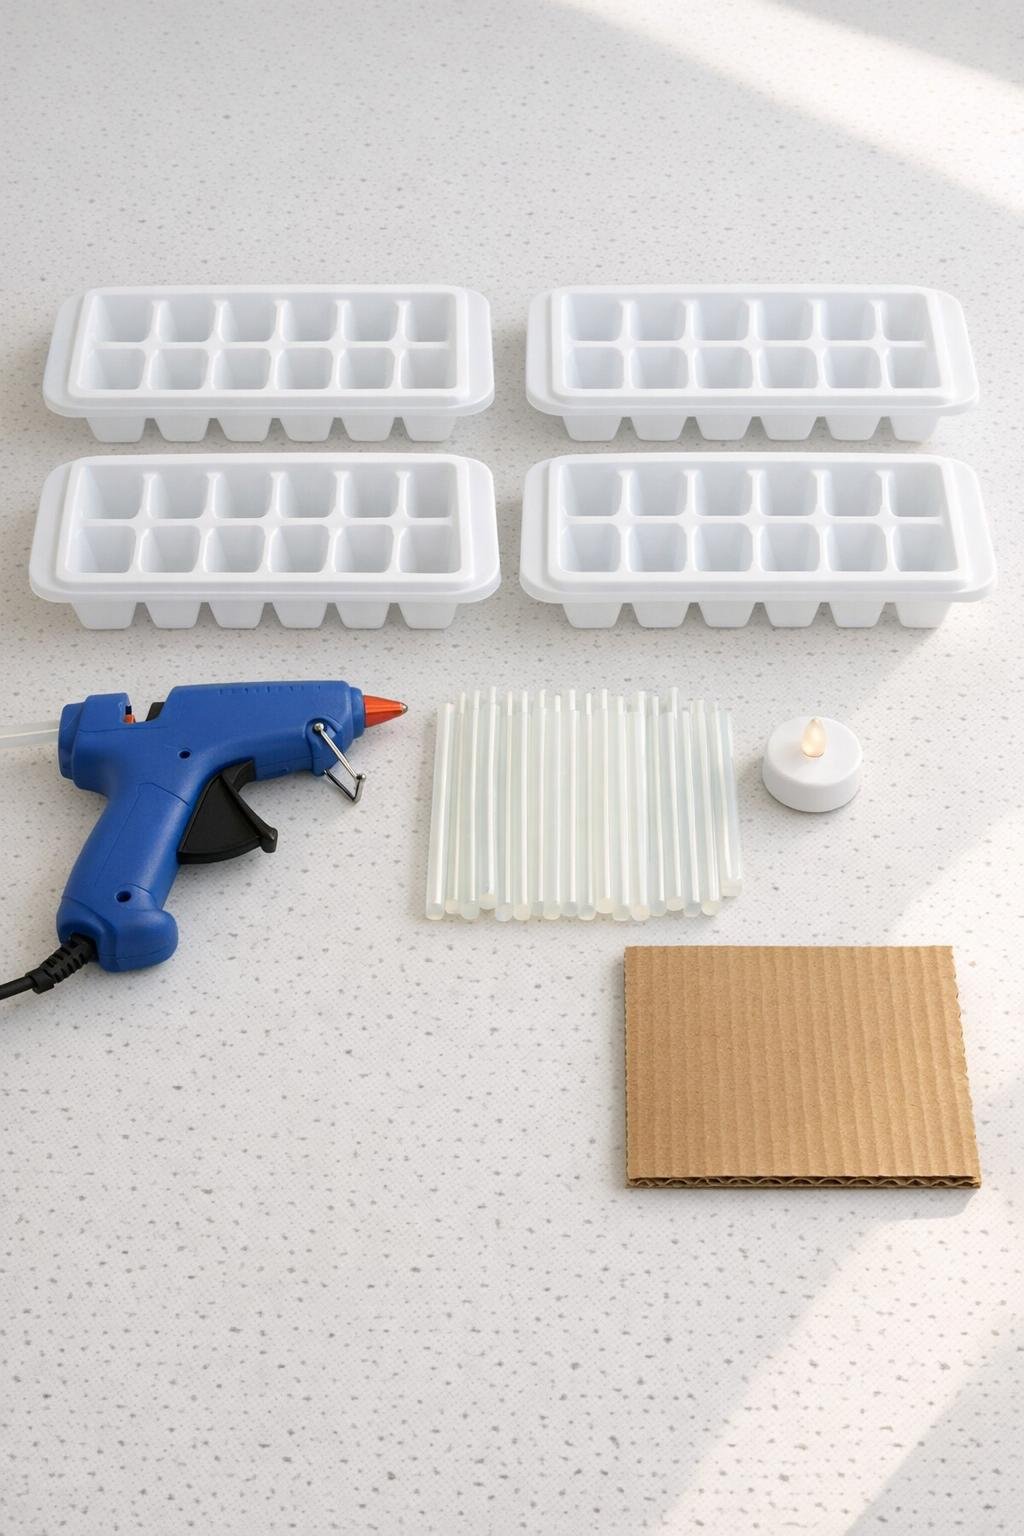
Materials
4 white plastic ice cube trays, each with 14 cube wells
Instructions
1. Set the 4 ice cube trays on a flat, heat-safe counter over parchment paper, plug in the glue gun, and let it heat fully so the glue flows smoothly and settles clear.
2. Fill every well in all 4 trays with hot glue, working slowly so the glue reaches the corners; slightly overfill each well to make thick, sturdy cubes rather than thin ones.
3. Let the glue cool completely for 20 to 30 minutes until the pieces are firm and no longer warm in the center; do not rush this part or the cubes can bend.
4. Flex each tray gently and pop out all the glue cubes, then trim off any wispy strings or uneven edges with a craft knife or scissors so the blocks stack neatly.
5. Cut the cardboard square to a clean 5-inch-by-5-inch base if needed, and place the LED tea light in the center to check the size; you want enough room to build walls around it with a little breathing space.
6. Glue a first row of cubes around the edge of the cardboard square, leaving one side open just enough that you can still slip the tea light in and out if you need to replace it.
7. Build up the second row by staggering the cubes over the seams below, just like laying bricks, adding a bead of hot glue between each piece for strength.
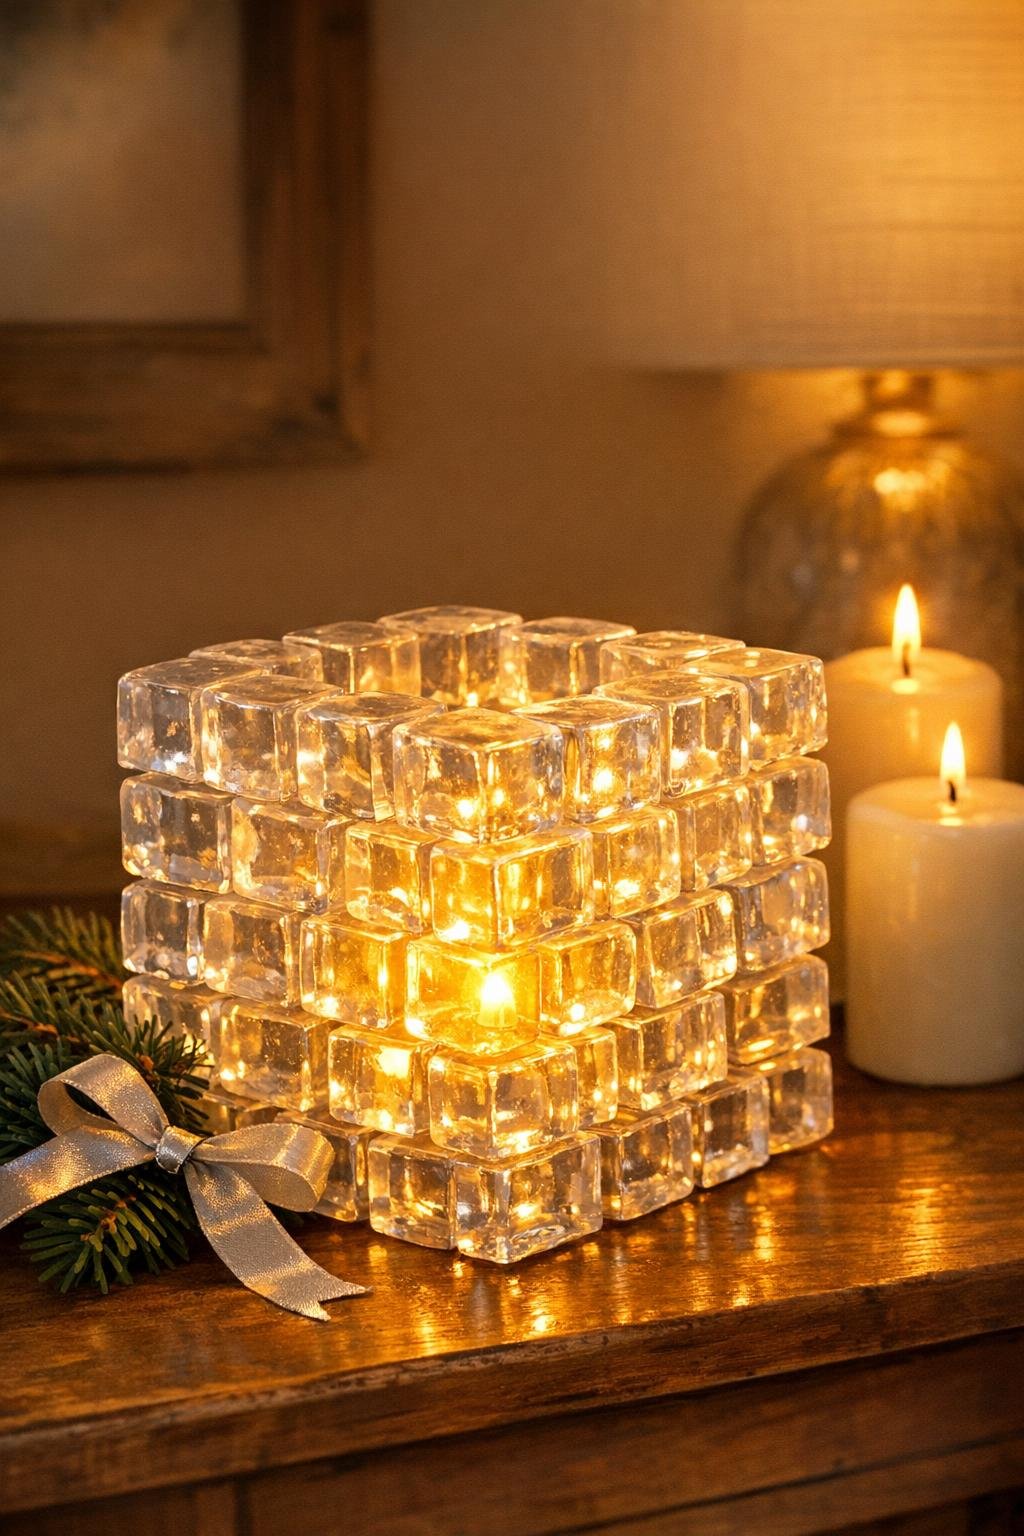
8. Continue stacking rows until the lantern walls are 4 to 5 cubes high, checking as you go that the shape stays square and the opening remains neat and usable.
9. Add cubes across the top edges on three sides to create a framed opening, but leave the center open so the light can glow upward and the lantern does not look heavy.
10. Reinforce the inside corners with slim beads of hot glue, then let the whole piece cool for 10 minutes before moving it.
11. Place the LED tea light in the center, switch it on, and dim the room a little to make sure the glow spreads through the cubes evenly; add one or two extra cubes anywhere that looks sparse.
12. Peel away any visible glue strings, straighten rough spots with small snips, and set the finished piece on a shelf, mantel, table, or entry surface where the light can shine through all that faux ice.
Variations & Tips
For a frostier look: If you want the blocks to look more like cloudy winter ice, lightly scuff a few cube faces with fine sandpaper before assembly. That softens the shine and makes the glow look beautifully diffused.
For a taller lantern: If your trays make smaller cubes, simply stack an extra row or two. I like a lantern that feels generous and substantial, the way holiday decorations used to in old department store windows.
For a cleaner finish: Hot glue strings love to wander, so keep a pair of scissors close and snip them as you go instead of waiting until the end. It makes the finished piece look far more polished.
For safer lighting: Use only a battery-operated LED tea light, never a real candle. The warm flicker gives you all the charm without risking the glue softening.
For a prettier base: If the cardboard edge shows more than you like, glue an extra row of cubes around the bottom perimeter to hide it. That little finishing touch makes the whole lantern look thicker and more complete.
For seasonal styling: In winter, I’d nestle this among evergreen clippings or pinecones; in summer, I’d set it on a porch table with white flowers and a simple tray. It has that rare trick of working in almost any season, which is something I always appreciate in a handmade piece.