
There are a few Christmas crafts I come back to when I want something that feels extra special without turning my kitchen counter into a full weekend production. This one is firmly at the top of that list. It uses simple, inexpensive supplies, comes together in batches, and has that cozy handmade look that somehow feels both nostalgic and polished.
I especially love projects like this during busy December weeks, because I can prep everything after dinner, line it up assembly-style, and make all six in one go. If you like easy holiday crafts, homemade gifts, or pretty little decorations that look far more expensive than they are, this is a very satisfying one to make.
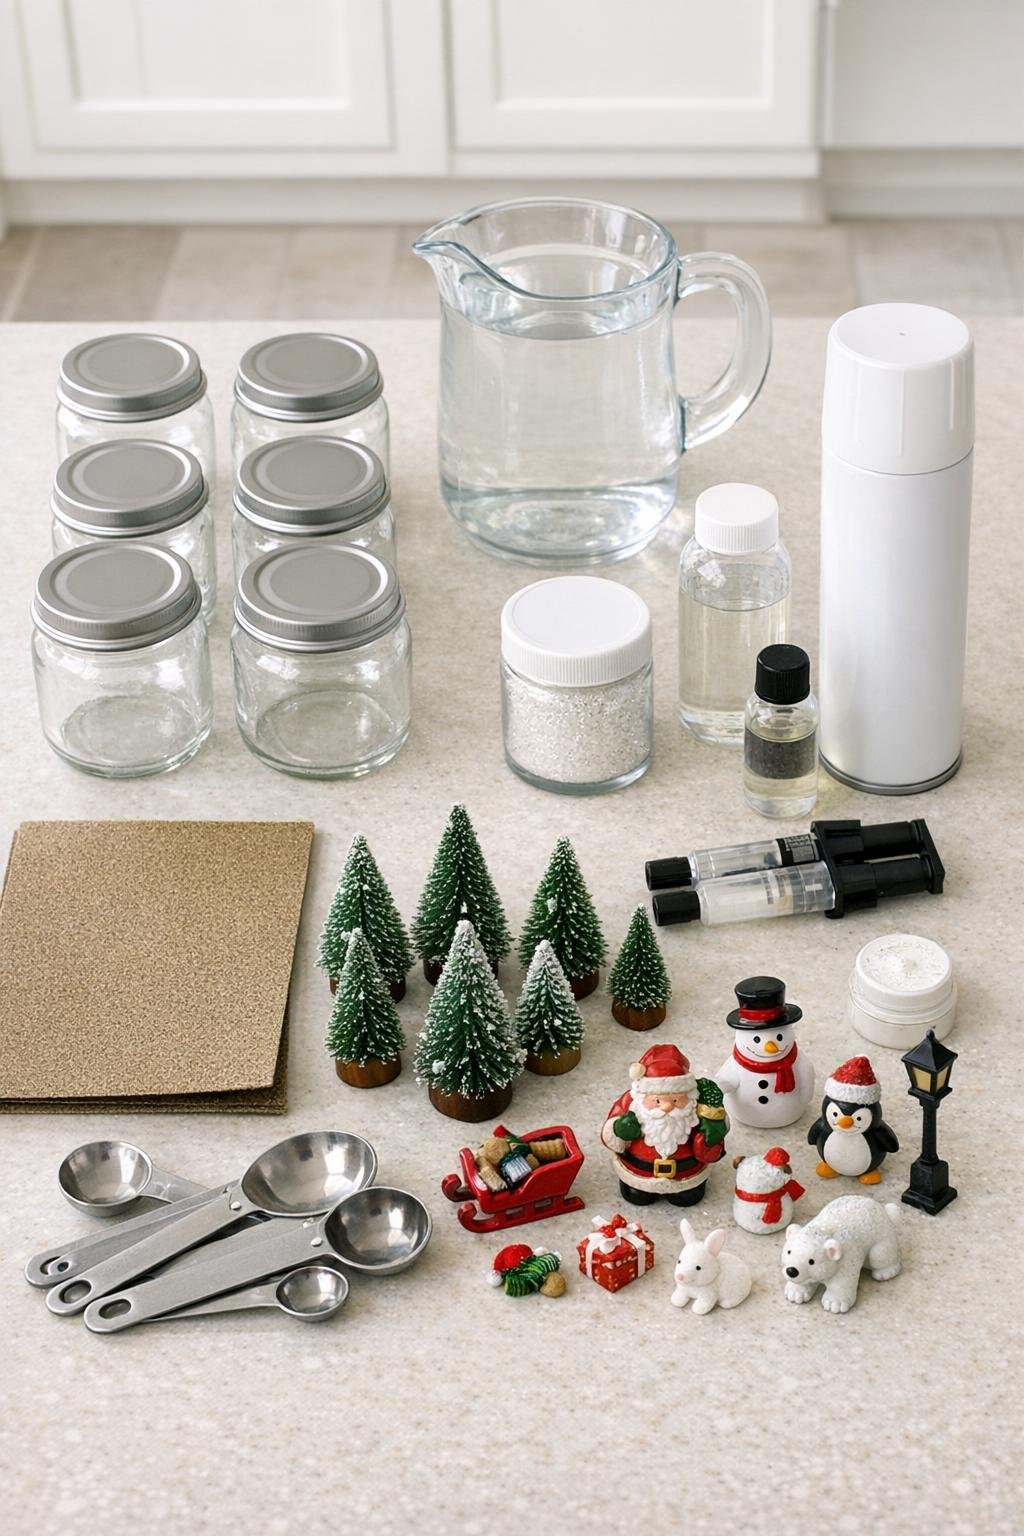
Materials
6 empty baby food jars with lids, washed and labels removed
Instructions
1. Wash the six baby food jars and lids thoroughly, remove any label residue, and let everything dry completely so the water stays clear.
2. Lightly sand the outside of each lid to help the paint stick, then wipe away the dust with a dry paper towel.
3. Spray paint the lids white in light, even coats, and let them dry fully before handling.
4. Glue one mini tree or figurine to the inside center of each lid, keeping it low enough that the jar can still close easily, then let the adhesive set until firm.
5. Fill each jar almost to the top with clear water, leaving about 1/2 inch of space so the inserts can slide in without overflowing too much.
6. Add 1 teaspoon of white glitter and 1 teaspoon of glycerin to each jar, then stir gently with the measuring spoon handle or swirl each jar until combined.
7. Slowly lower each decorated lid into its jar at a slight angle to reduce bubbles, then tighten the lid securely once the water rises to the rim.
8. Wipe the outside of each jar dry and check the water line; if one looks low, open it and top it off so the finished globe looks full and clear.
9. Seal around the lid seam with a thin bead of waterproof epoxy if you want them giftable or kid-resistant, then let them cure fully before shaking.
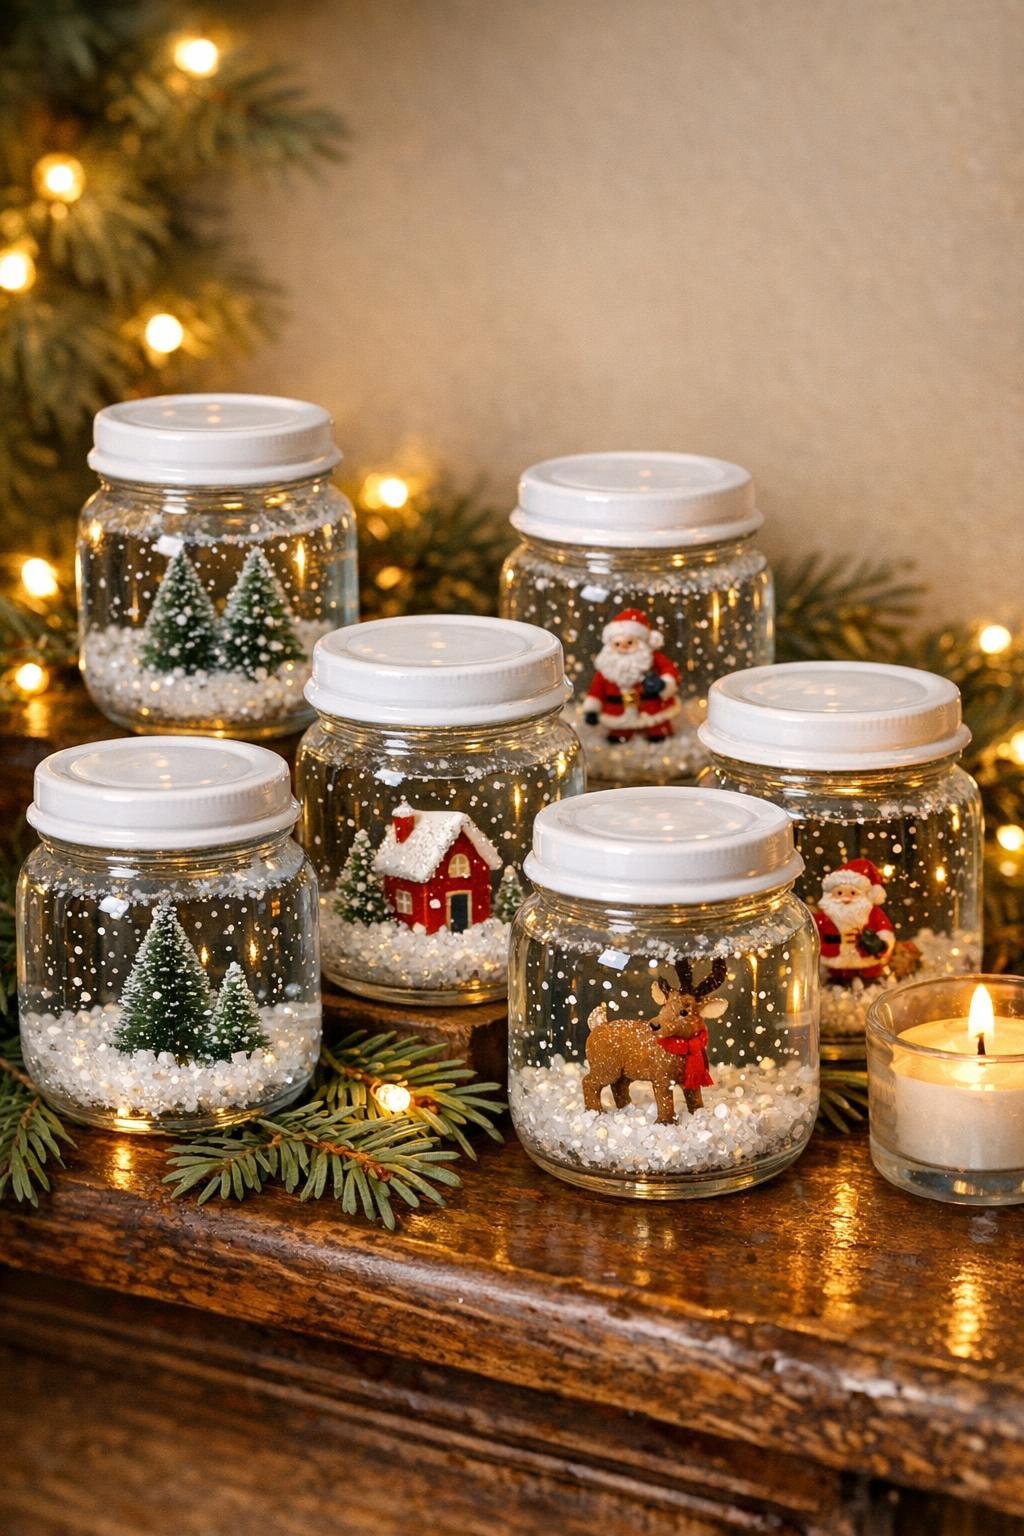
10. Turn each jar upside down, give it a gentle shake, and set the six finished pieces together so the glitter drifts slowly through the water.
Variations & Tips
Mix the scenes: I like using a combination of bottle-brush trees and tiny figurines so the set feels collected and charming instead of too matched.
Use distilled water if possible: If your tap water runs cloudy or mineral-heavy, distilled water gives the clearest finished look and helps the jars stay prettier longer.
Go easy on the glitter: One teaspoon per jar is plenty for this small size; too much can clump and hide the little scene inside.
Choose chunkier white glitter: Fine iridescent glitter can disappear in water, while a slightly larger white glitter reads more like falling snow.
Make them gift-ready: Once the seal is fully cured, tie a narrow ribbon or baker’s twine around each jar neck for an easy teacher, neighbor, or hostess gift.
Keep the scale small: Short trees and compact figurines work best, because baby food jars fill up fast and a crowded insert can push out too much water.
Test one jar first: If I’m using unfamiliar figurines, I always do one trial globe before assembling all six, just to make sure the height, glue, and glitter amount all look right.