
There is something so satisfying about taking the simplest stack of household materials and turning it into a little display that makes the whole room feel more festive. This project starts with plain brown lunch bags and a few basic craft supplies, and it comes together quickly enough to make in an afternoon while dinner is in the oven or the kids are working at the kitchen table with you.
I especially love projects like this for families because they look charming without asking for fancy tools or perfection. If you enjoy easy seasonal decorating, handmade holiday touches, or low-cost crafts that still feel special when they are all grouped together, this one gives you a big payoff for very little fuss.
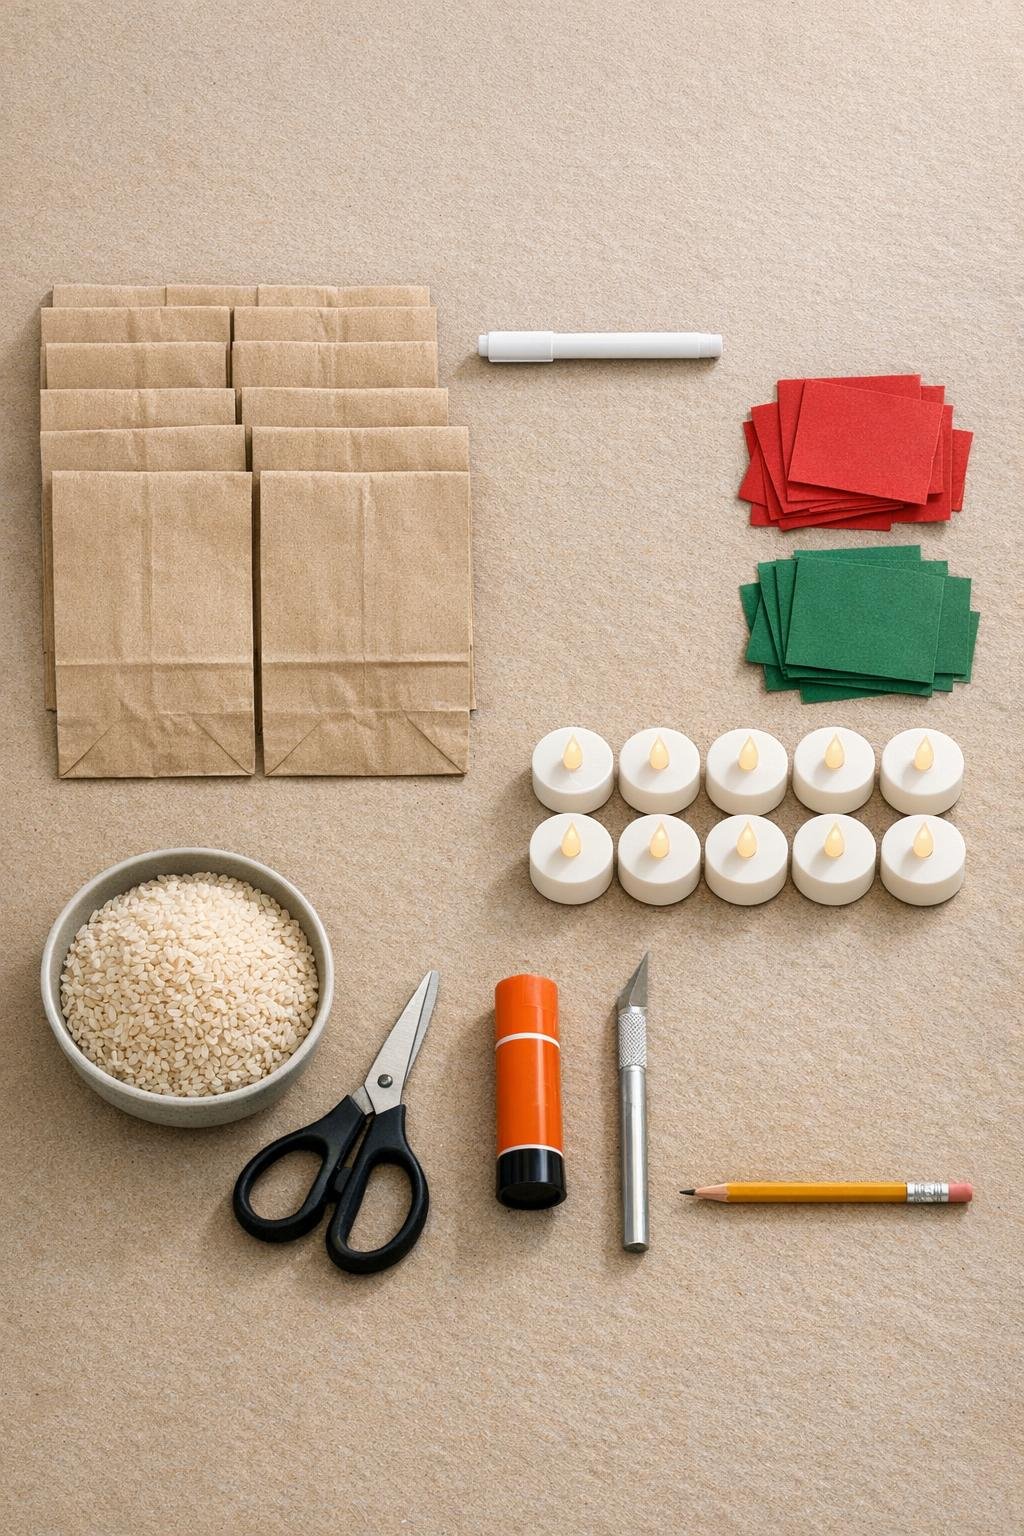
Materials
Instructions
1. Lay all 12 lunch bags flat on the table and fold the top section of each bag down in half so every bag has a clean, even crease. Press the fold firmly with your hand so the shape stays crisp.
2. Stand one folded bag upright and lightly sketch a simple house front on the flat side with pencil, keeping the folded top as the roofline. Draw a door near the bottom and 2 to 4 windows above or beside it.
3. Use scissors to round or angle the folded top corners slightly if you want varied roof shapes across the set. Leave some bags plain and trim others into cottage-style peaks so the little village looks collected over time.
4. Slip a cutting mat or scrap cardboard inside the first bag and carefully cut out the windows with the craft knife, leaving the door uncut if you want a solid front. Repeat on all 12 bags, varying window sizes and placements just enough to make each one feel individual.
5. Add white paint-pen details to each bag, tracing around the windows and drawing drippy icing lines along the folded roof edge. Keep the lines playful and slightly imperfect, like frosted gingerbread straight from a family baking day.
6. Draw extra details with the white paint pen, such as roof shingles, dots, swirls, candy-cane stripes, doorknobs, and snowy trim around the base. Let the ink dry for a few minutes before handling the bags much.
7. Cut small doors, shutters, wreaths, bows, and tiny layered shapes from the red and green cardstock scraps. Make enough accents for all 12 houses, keeping them small so the brown bag still stays the star.
8. Glue the cardstock pieces in place with the glue stick, adding a red door to some houses, green shutters to others, and little wreaths or bows where they fit nicely. Mix the accents across the set so the village feels full and cheerful instead of too matched.
9. Measure about 2 tablespoons of dry rice into the bottom of each bag to weight it down. This keeps the bags standing neatly and helps them glow safely without tipping over.
10. Open each bag gently so it forms a blocky little house shape, then place one battery tea light inside each one behind the window cutouts. Tuck the sides into shape with your fingers until the front looks flat and the roof fold reads clearly.
11. Switch on the tea lights and arrange the houses in a clustered village on a mantel, entry table, windowsill, or buffet. Stagger the heights and roof shapes so the whole display looks generous and layered.
12. Make final touch-ups with the paint pen if any house needs a little more trim, then fluff the arrangement once more so every window shows its glow. A dozen together gives the sweetest impact, especially in the evening.
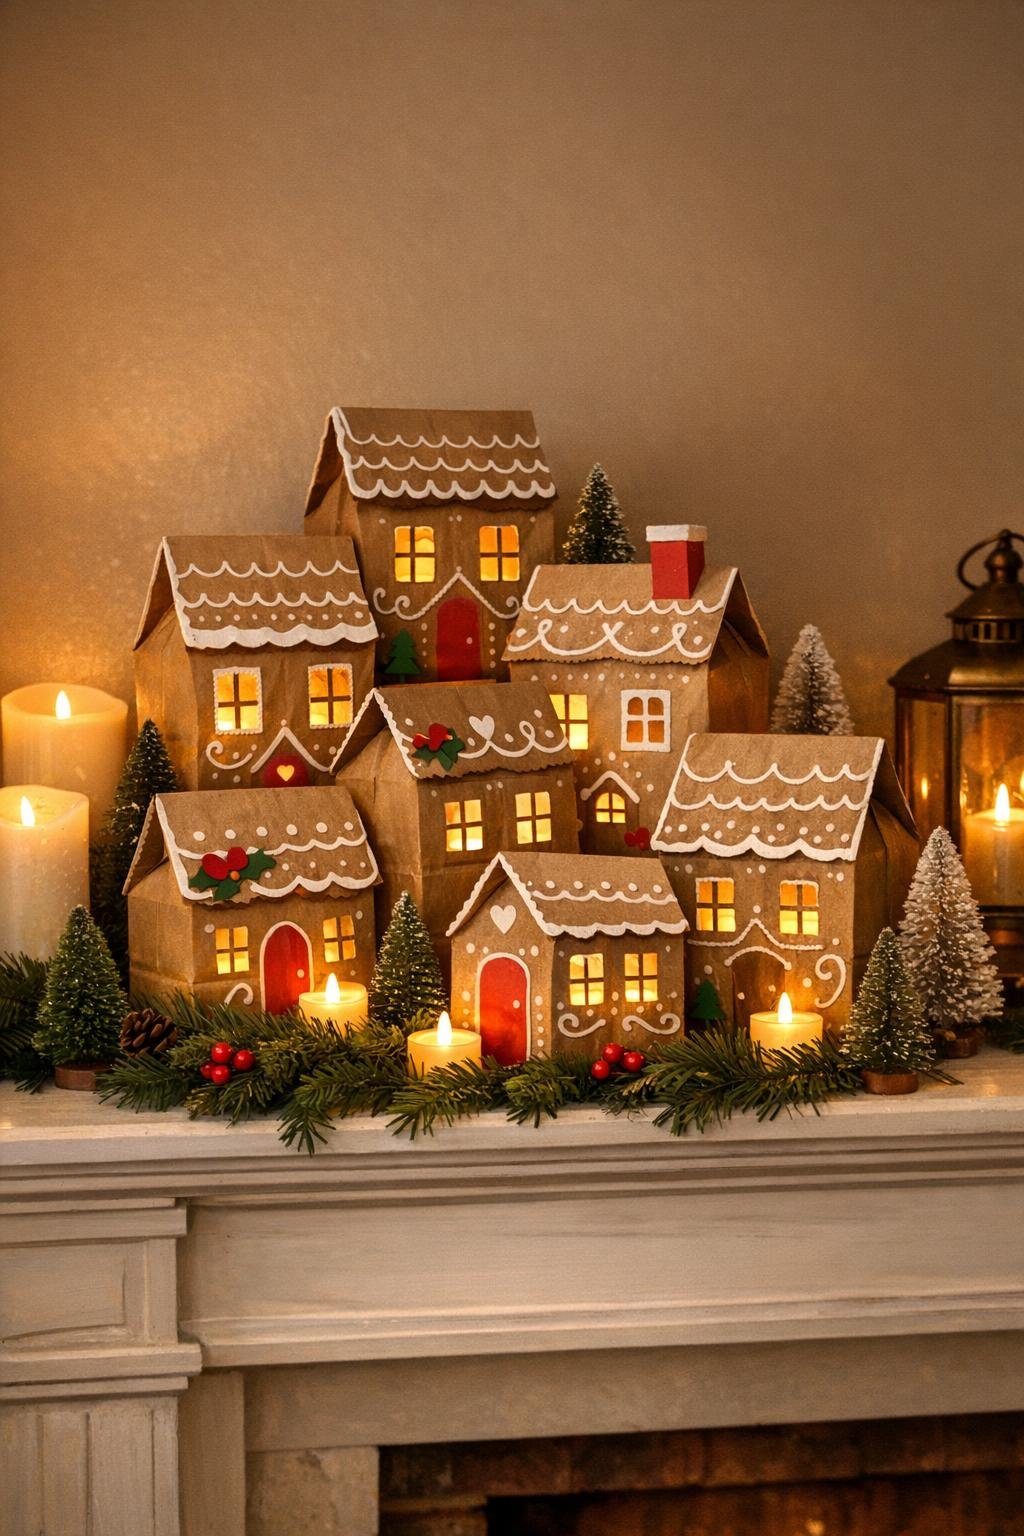
Variations & Tips
For picky decorators: If not everyone in the family wants to fuss with tiny details, let some people do only windows and icing lines while others add the cardstock accents. The mixed styles still look adorable together.
Kid-friendly version: For younger helpers, pre-cut the windows yourself and let them handle the white paint pen and glue-on decorations. That keeps the project fun and avoids frustration.
Display tip: These look best in a tight group instead of spread far apart. I like to cluster them close enough that the glow overlaps a little, almost like a tiny snowy main street.
Color variation: If you want a more classic gingerbread palette, use mostly red doors and green wreaths; for a softer look, keep nearly everything brown and white with just a few small colored accents.
Window tip: Cut windows a little smaller than you think you need. Small openings glow more warmly and help the bags keep their shape.
Safety note: Use only battery tea lights inside the bags, never real candles. The rice in the bottom adds stability, but flameless light is the safe choice for paper crafts.
Make-ahead tip: You can decorate all the bags a day or two ahead, then open them, add the rice, and place the lights right before displaying. That makes this an easy project to fit around family schedules.