
I have always had a soft spot for the little practical things that make a bedroom feel settled and cared for. This jewelry dish is one of those easy projects that looks like a clever antique-shop find, but it takes only a few minutes to put together: a small ceramic pinch bowl nestled right into the top of a vintage brass candlestick holder. It gives rings, earrings, and tiny keepsakes a proper resting place instead of letting them wander off across the dresser.
What I like most is that this is the kind of no-fuss project anybody can manage, even if you do not think of yourself as crafty. It is especially nice for a bedside table or vanity, and with just a few simple finishing touches, it looks polished, sturdy, and charming enough to keep out every day.
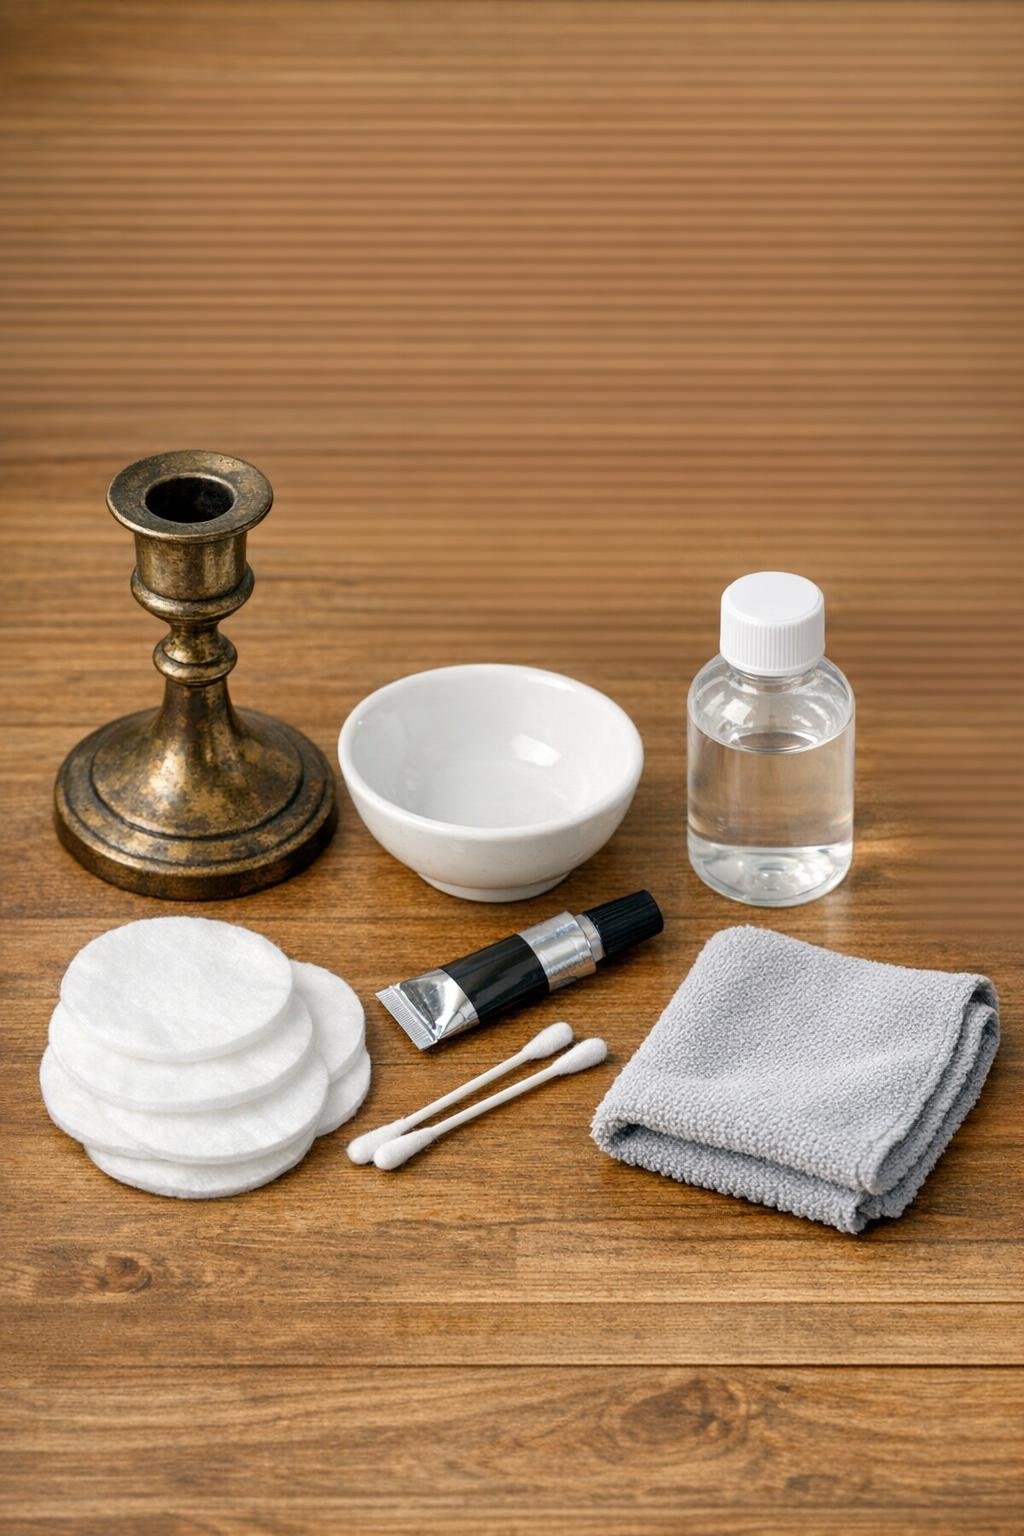
Materials
1 vintage brass candlestick holder, about 3 to 5 inches tall with a flat or slightly cupped top opening
Instructions
1. Set the brass candlestick holder and the ceramic pinch bowl on your dresser or work surface and test the fit by placing the bowl on top. Make sure the bowl sits centered and looks balanced from every side before you glue anything.
2. Wipe the top of the candlestick holder and the underside center of the pinch bowl with rubbing alcohol using a cotton pad. Let both pieces dry fully so the adhesive grabs cleanly.
3. If the brass is dusty or extra grimy, buff it lightly with the microfiber cloth before assembly. Leave the tarnish if you like that vintage bedroom look; I often do, because it gives the finished dish more character.
4. Apply a small ring of epoxy or a few small dots of strong adhesive to the top of the candlestick holder. Keep the glue slightly away from the outer edge so it does not squeeze out when the bowl is pressed down.
5. Lower the pinch bowl carefully onto the top of the candlestick holder and center it right away. Press gently for a few seconds so the bowl seats evenly and makes full contact.
6. Check the dish from eye level and from above to be sure it is straight. If needed, nudge it into place while the adhesive is still workable.
7. Use a cotton swab to remove any visible glue around the seam before it sets. Work neatly here, because that clean edge is what makes this simple little project look finished.
8. Let the piece cure undisturbed according to the adhesive directions, usually several hours or overnight. Do not add jewelry until the bond is fully set.
9. If you want to protect your furniture, stick felt pads to the underside of the brass base once the dish is cured. This is a small touch, but it keeps the holder from scratching a painted nightstand or wood dresser.
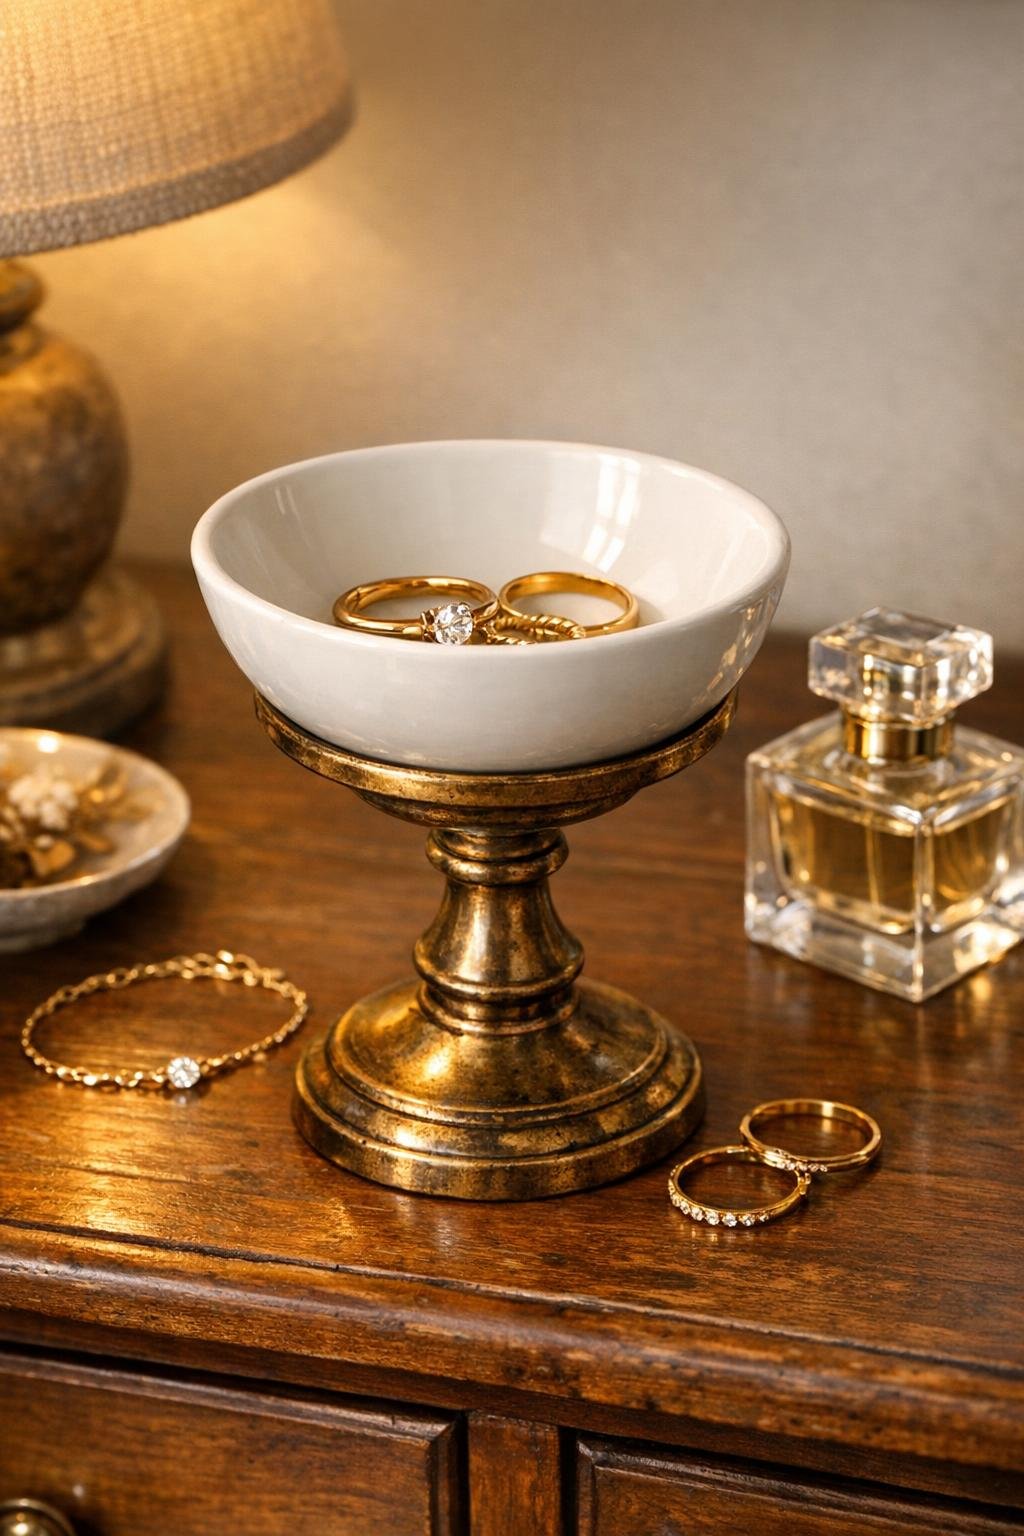
10. Style the finished jewelry dish with a few rings, stud earrings, or a delicate bracelet and place it on your bedside table, vanity, or dresser. The raised base gives it a graceful look, and the white bowl keeps every little treasure easy to see.
Variations & Tips
For a brighter finish: If you prefer polished brass, clean the candlestick thoroughly before gluing the bowl in place. A shinier base gives the piece a dressier vanity-table look.
For a thrifted mix-and-match style: Try different bowl shapes, such as a scalloped pinch bowl or a tiny floral prep bowl, as long as the base sits securely on the holder. Those old mismatched pieces often make the prettiest combinations.
For extra stability: Choose a candlestick with a wider, heavier base if you plan to keep the dish on a busy nightstand. A weightier holder is less likely to tip when you drop in rings at the end of the day.
For bedroom coordination: Match the bowl color to your room, such as soft white, pale pink, or a gentle cream. In my experience, those quiet colors keep the project looking restful and elegant.
For gift giving: Tuck a pair of earrings or a ring inside the dish and tie a ribbon around the stem of the candlestick. It makes a sweet handmade gift that feels thoughtful without being fussy.
Adhesive tip: Always use a glue rated for both ceramic and metal, and let it cure fully before use. That one patient step is what turns a pretty idea into a lasting little piece for everyday life.