
I love a laundry room project that takes something practical and makes it look intentional, and this one does exactly that. By turning a simple wooden tissue box cover into a dryer sheet holder, you get an easy-access dispenser that looks neat on a shelf, hides bright packaging, and somehow makes the whole room feel more put together in under an hour.
This is a great beginner project if you want a small win without dragging out half the garage. I’m always looking for little home upgrades that make everyday chores feel less chaotic, especially on busy work nights, and this is one of those tiny changes that punches way above its weight.
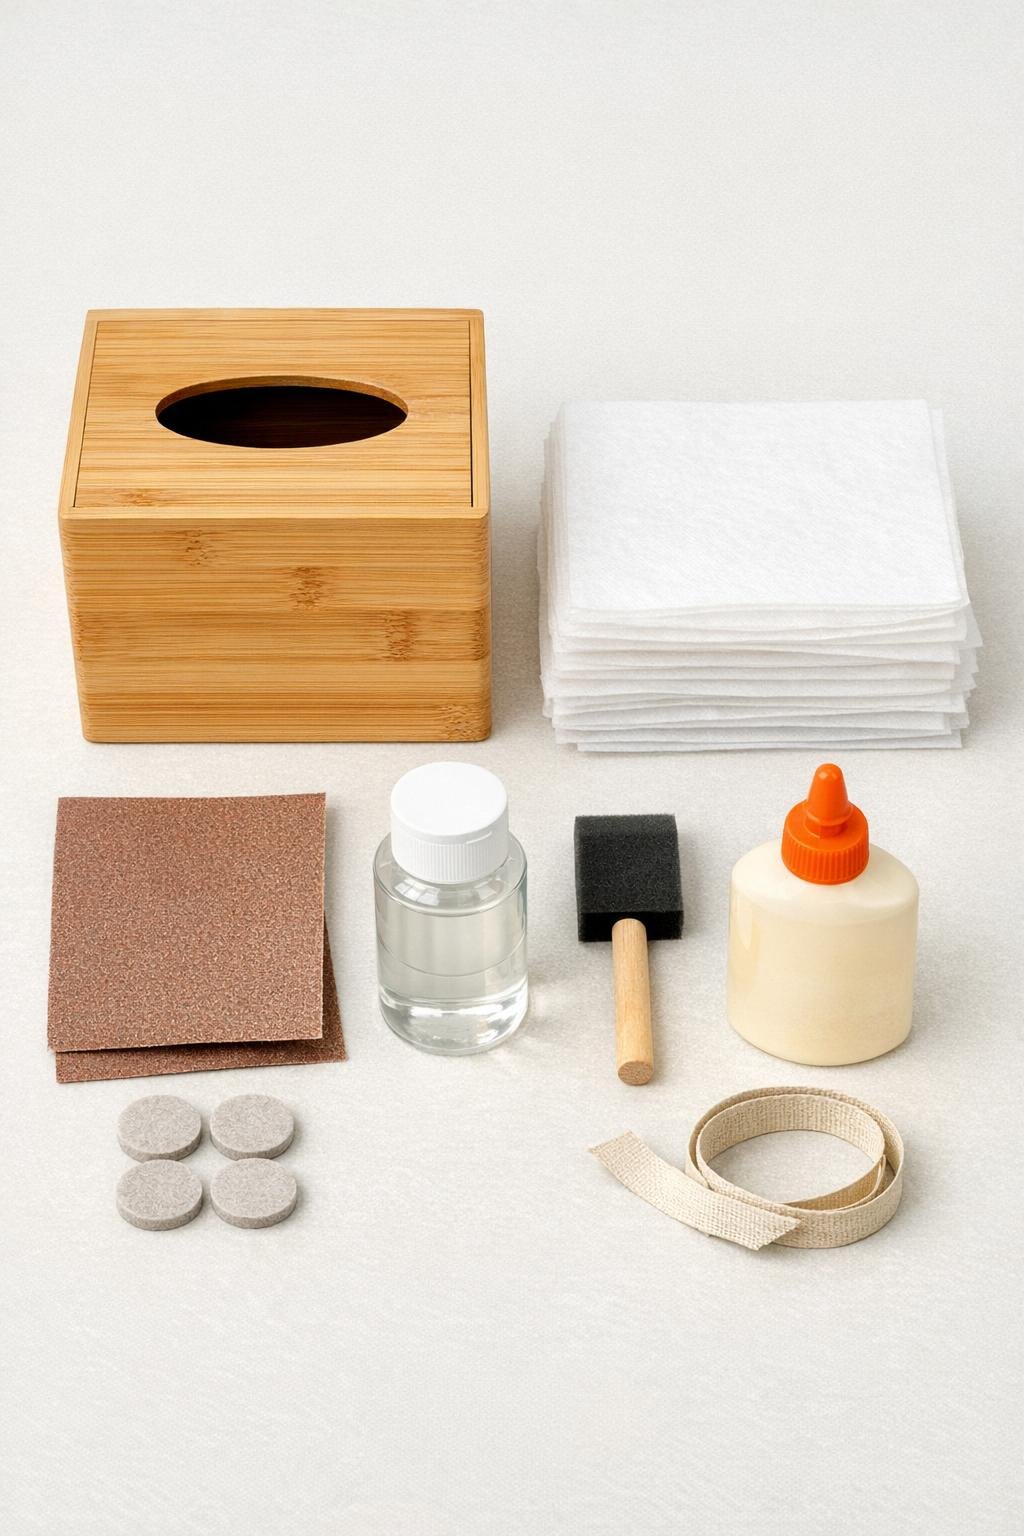
1. Wipe down the wooden tissue box cover and lightly sand all outer surfaces and the rim of the top opening with 220-grit sandpaper to smooth any rough spots.
2. Dust the cover with a soft cloth, then brush on a thin, even coat of clear matte sealer over the outside and around the top opening for a cleaner, more finished look.
3. Let the sealer dry completely, then add a second thin coat if you want extra protection from laundry room humidity and frequent handling.
4. If you want the dryer sheets to feed more easily, glue the two cut ends of the ribbon into a small loop and attach it to the center of the bottom dryer sheet in the stack, leaving the loop sticking out slightly.
5. Compress the full stack of dryer sheets with your hands, fold the stack gently in half if needed, and slide it down into the tissue box cover so the sheets sit snugly inside.
6. Turn the cover upright and pull one corner or the ribbon loop up through the top opening, then fan the first few sheets slightly so they’re easy to grab.
7. Press a felt pad onto each bottom corner of the box cover so it won’t scratch your shelf or slide around on the washer or countertop.
8. Set the finished holder in your laundry room and refill it by lifting the cover and slipping in another stack whenever it gets low.
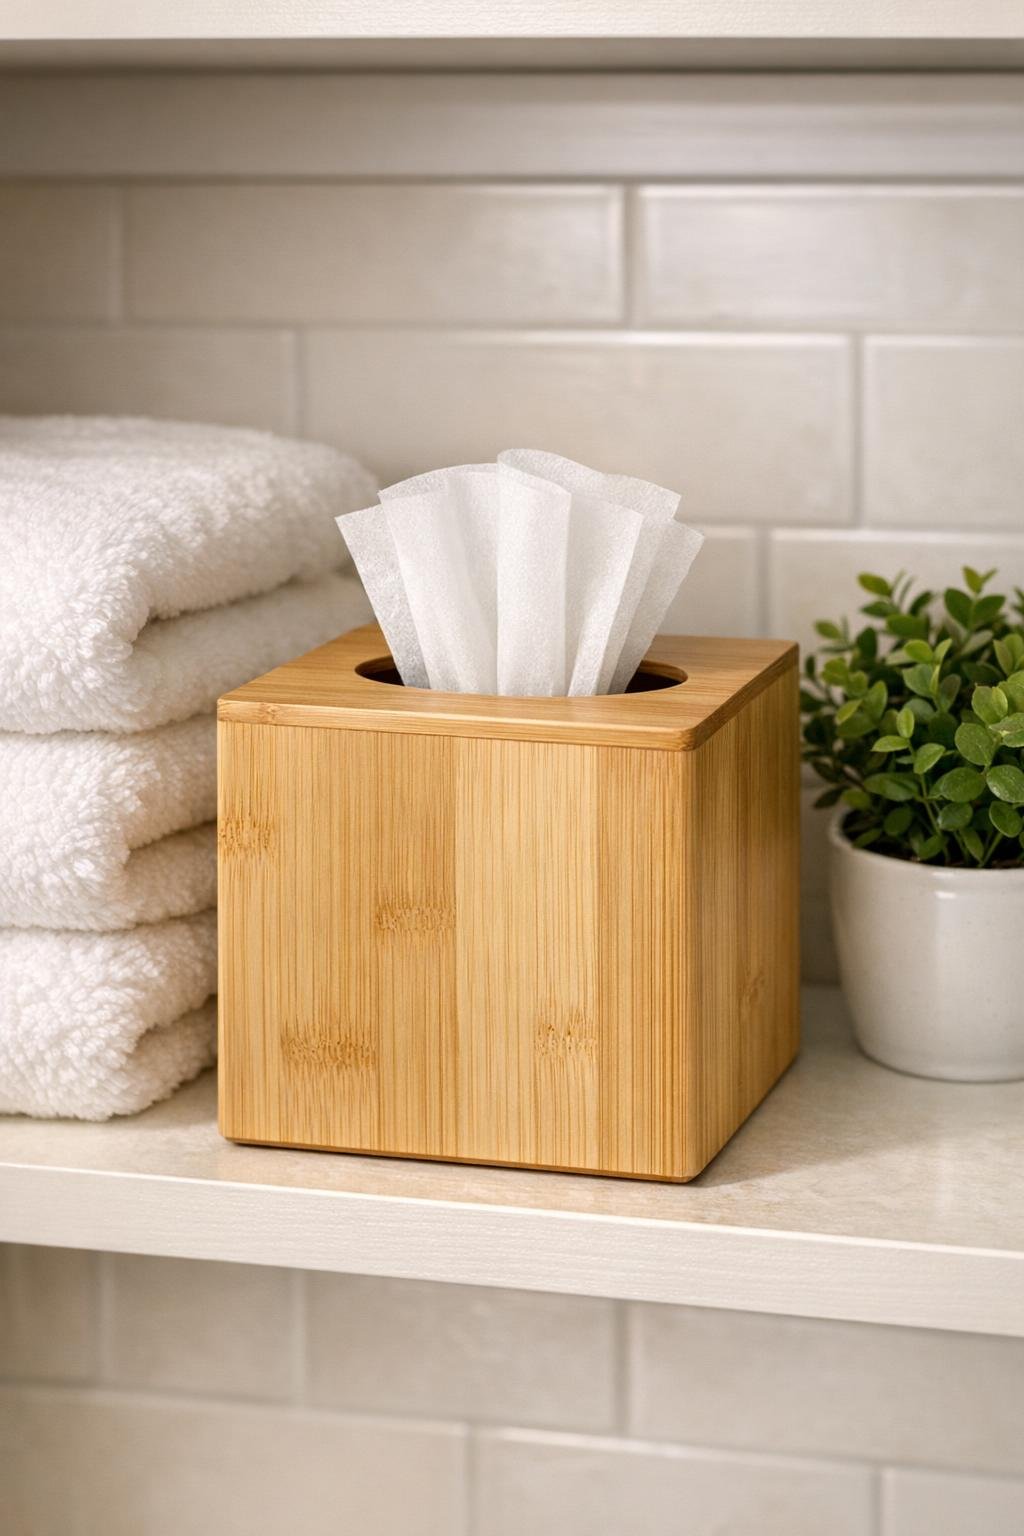
Painted finish: If your laundry room has a specific color palette, paint the box cover before sealing it. Soft white, sage green, and matte black all look clean and custom.
Extra-smooth dispensing: If the opening edge feels at all rough, sand it again very lightly after the first coat of sealer dries. That little step helps prevent sheets from catching.
Refill tip: I’ve found it easiest to refill from a loose refill pack instead of a stiff boxed package. A compressed stack slides in much faster when I’m trying to squeeze in chores after work.
Label-free look: Keep the holder plain for a spa-like laundry room, or tie a simple ribbon bow around one side for a softer decorative touch without making it fussy.
Size check: Tissue box covers can vary a bit, so quickly test the fit before sealing or decorating. A standard cube cover usually holds a generous stack, but a very narrow one may need a smaller refill amount.
Easy-care finish: A matte water-based sealer is my favorite here because it keeps the natural wood look and makes the holder easy to wipe down when laundry dust builds up.