
I’m always a little too excited by projects that start with the kind of supplies you can toss into your cart in five minutes, and this is one of those. Taking a few plain dollar store bars of white soap and turning them into something soft, moldable, and surprisingly pretty feels a bit like a kitchen science experiment for grown-ups, which is probably why I love it so much after a long workday.
This project is ideal if you want an easy handmade decoration that looks special without needing a craft room full of supplies. The transformation happens fast in the microwave, and once the soap is whipped into a clay-like dough, it’s simple to roll, cut, and finish into polished ornaments that look crisp, snowy, and gift-worthy.
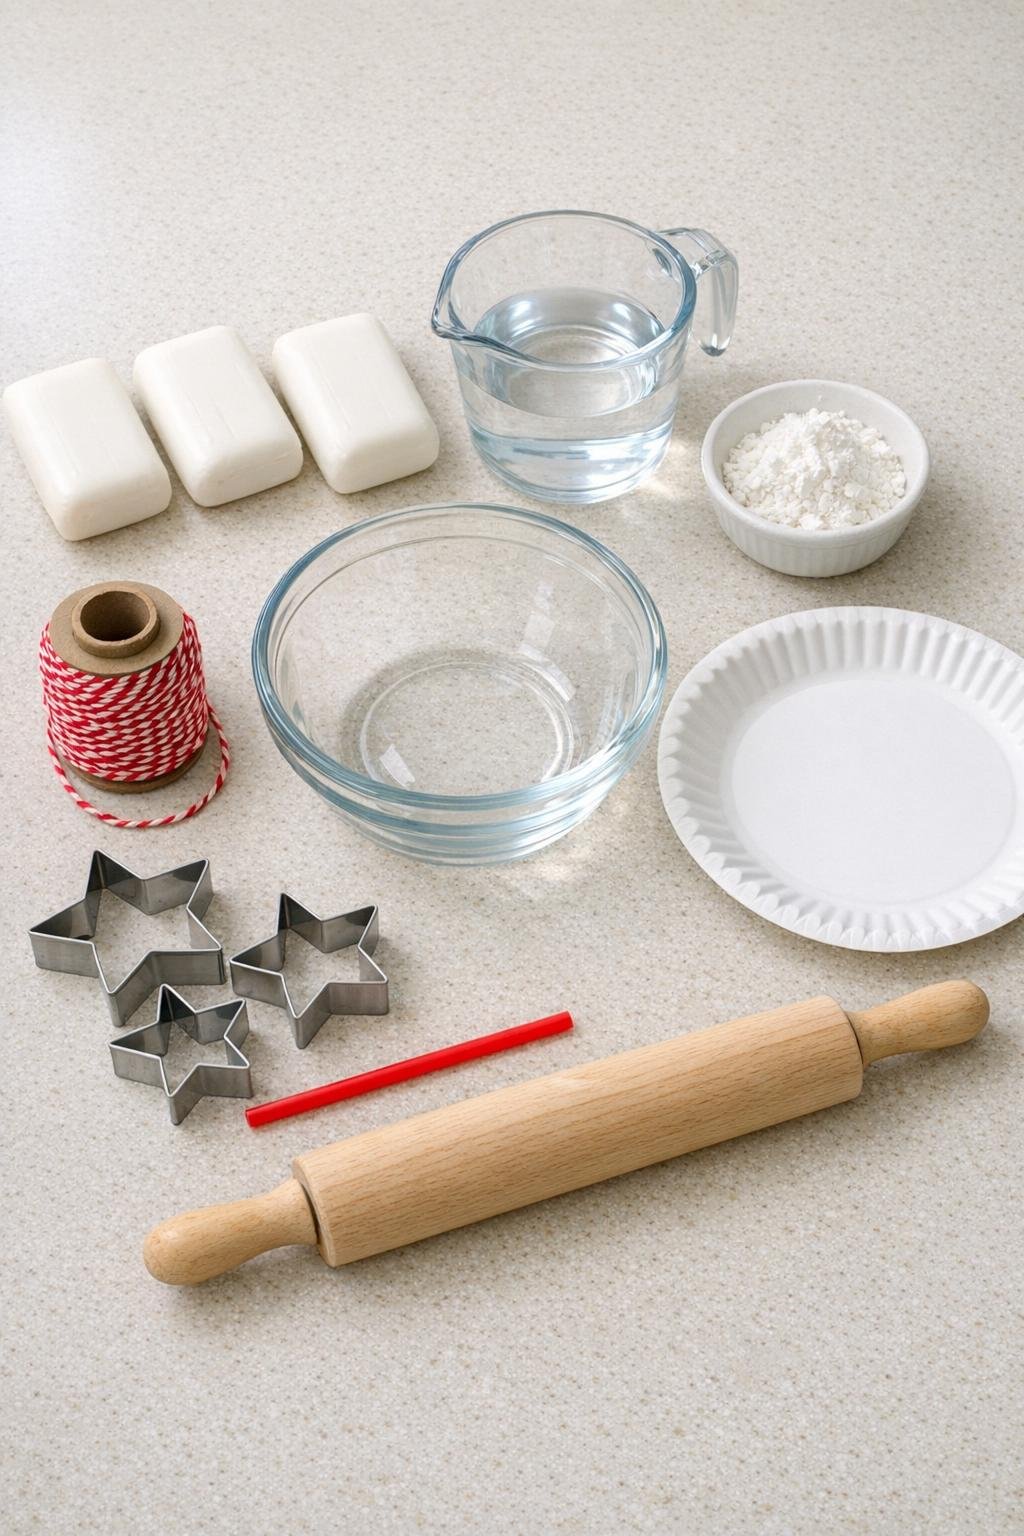
Materials
Instructions
1. Break or grate the 3 bars of soap into the glass bowl so they heat evenly, then pour in the 1/2 cup water.
2. Microwave the soap mixture in 30-second bursts for 2 to 3 minutes total, stirring between bursts, until the soap puffs up into a light white cloud and looks airy.
3. Let the puffed soap cool for 2 to 3 minutes, then crumble it with your hands into fine flakes directly in the bowl.
4. Sprinkle in the cornstarch and knead everything together until it forms a soft, smooth dough; if it feels sticky, dust in the extra teaspoon of cornstarch a little at a time.
5. Transfer the dough to the paper plate and knead briefly again until the texture is uniform and no dry bits remain.
6. Roll the soap dough to about 1/4 inch thick with the rolling pin, keeping the slab even so the ornaments dry at the same rate.
7. Press the star cookie cutters firmly into the dough and cut as many stars as possible, rerolling scraps once to make about 8 to 10 ornaments.
8. Use the drinking straw to punch a hanging hole near the top point of each star, placing it about 1/2 inch from the edge so it stays strong.
9. Smooth any rough edges with a fingertip lightly dampened with water, then set the ornaments on the paper plate in a single layer.
10. Let the ornaments air-dry for 24 to 48 hours, flipping them once halfway through so both sides firm up evenly.
11. Thread one 8-inch piece of red baker’s twine through each hole and tie a simple hanging loop with a neat knot.

Variations & Tips
For cleaner cut edges: If your cookie cutter starts dragging, dust the rim very lightly with cornstarch before the next cut. It makes a big difference in getting sharp star points.
For batch crafting: I like to cut all my twine pieces while the ornaments dry so assembly takes about five minutes the next day. It’s a small thing, but it makes the project feel very weeknight-friendly.
For different shapes: You can swap the star cutters for hearts, trees, or circles if that’s what you have, but keep the dough at the same 1/4-inch thickness so the pieces stay sturdy.
For a smoother finish: If the dough starts to dry while you work, knead it for a few seconds with barely damp hands. Too much water makes it sticky again, so go slowly.
For gifting: Tie a few finished ornaments together with extra baker’s twine and tuck them into a small box or basket. They look charming and have that fresh, clean-soap scent people never expect from a handmade decoration.
For storage: Keep the dried ornaments in a cool, dry container between seasons with a sheet of parchment between layers. That helps them stay crisp and prevents the twine from tangling.