
I love a project that turns something overlooked into front-porch decor that looks far more expensive than it is. If you have a pair of old clay pots tucked in the garage or picked up from a yard sale, this is the kind of easy makeover that gives them a whole new life with just a little paint, rope, and a few simple finishing touches.
This one is especially nice for anyone who wants a big visual payoff without needing power tools or advanced crafting skills. I’m always drawn to projects that feel generous and welcoming from the curb, and this one has that same cozy, dressed-for-the-season charm I try to bring to my own porch when guests are coming over.
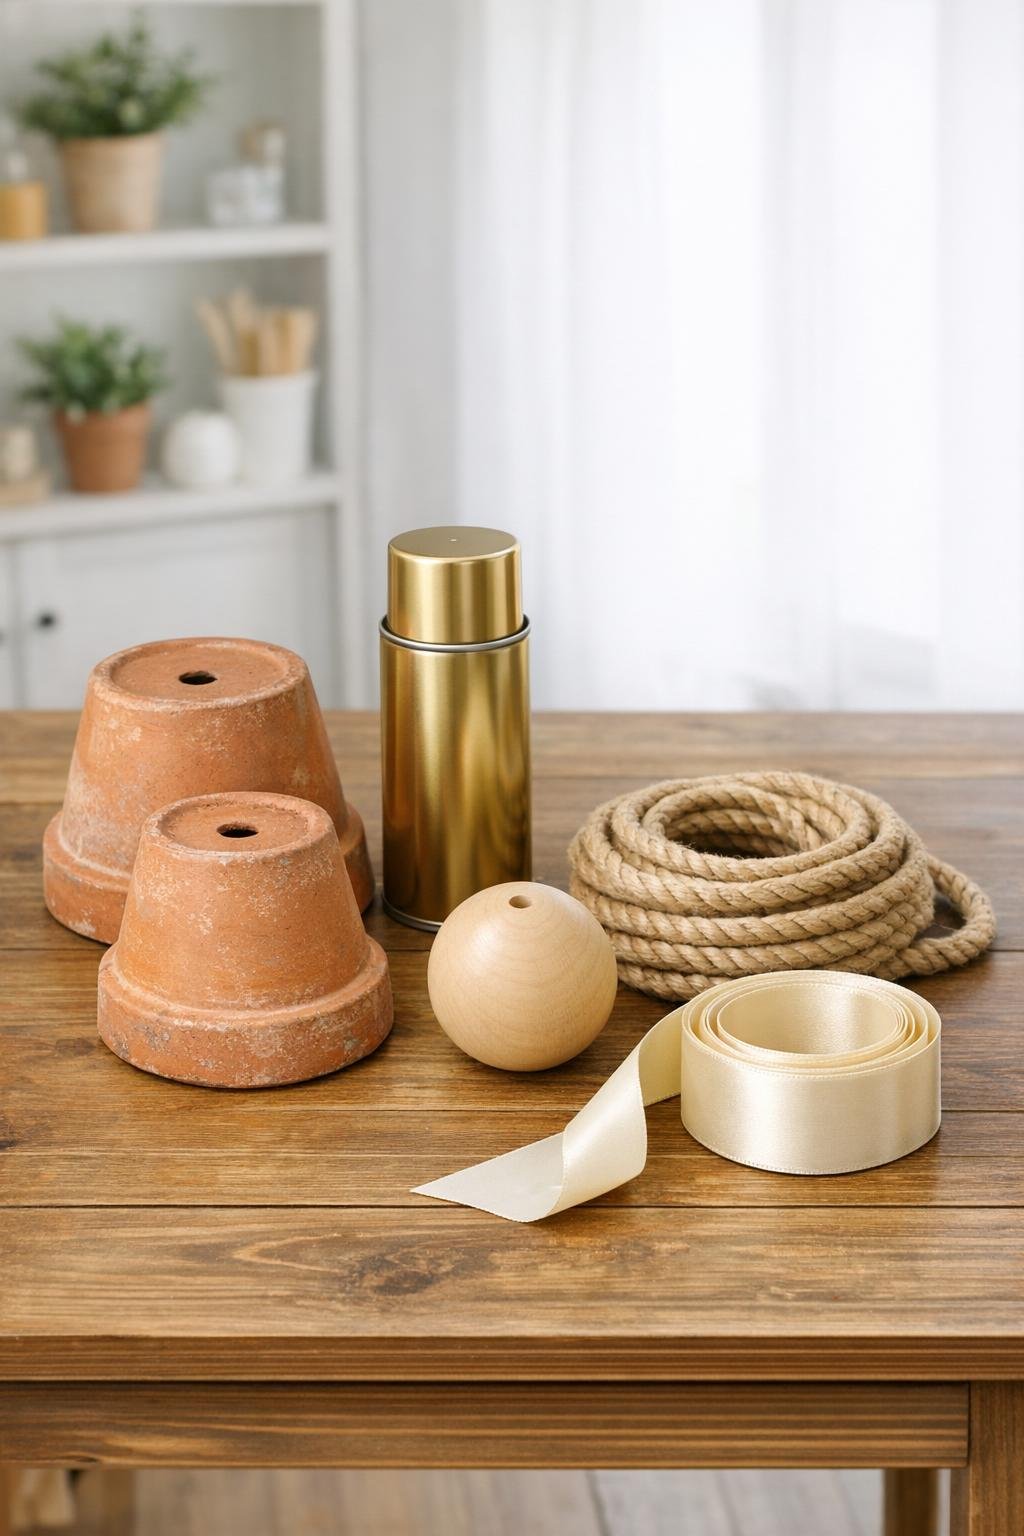
Materials
2 old clay pots, 10 to 12 inches wide at the rim, cleaned and fully dry
Instructions
1. Scrub the clay pots clean, let them dry completely, then lightly sand away any flaky spots or mineral buildup so the paint goes on smoothly.
2. Wipe both pots with a damp cloth to remove dust, then set them upside down on a protected surface outdoors or in a well-ventilated area.
3. Spray both pots with a light first coat of gold paint, covering the outside, rim, and a little way into the drainage-hole area; let them dry for the time listed on the can.
4. Add a second coat of gold paint for solid, even coverage, and let the pots dry completely so the finish looks rich and polished instead of patchy.
5. Cut the rope into two pieces, one 3 feet long and one 5 to 6 feet long; tie a large knot at one end of the shorter piece so it cannot slip back through a pot’s drainage hole.
6. Thread the short rope up through the drainage hole of one upside-down pot from the outside, then slide the wooden bead onto the rope inside the pot and tie a knot above it so the bead hangs down below the pot like a bell clapper.
7. Thread the long rope through the second upside-down pot in the same direction and knot it securely inside the pot so you have a hanging loop above and a finished bell shape below.
8. Nestle the smaller finished bell under the larger one by tying the short rope from the bead bell onto the long hanging rope, adjusting the height until the two upside-down pots hang as a stacked pair with a little space between them.
9. Add a dot of hot glue to the knots inside each pot if needed to keep them from shifting, then let the glue cool fully before moving the piece.
10. Make a full bow with the wide ribbon using 2 to 2 1/2 yards, tie the center tightly with the jute twine, and trim the ribbon tails into long angled ends for a fuller, porch-ready look.
11. Hot glue the ribbon bow at the top front of the hanging rope where the bells will display best, pressing until secure and fluffing the loops so the bow looks full from the street.
12. Hang the finished piece on a sturdy porch hook, door peg, or covered-entry bracket, then adjust the bead and ribbon so everything hangs centered and balanced.
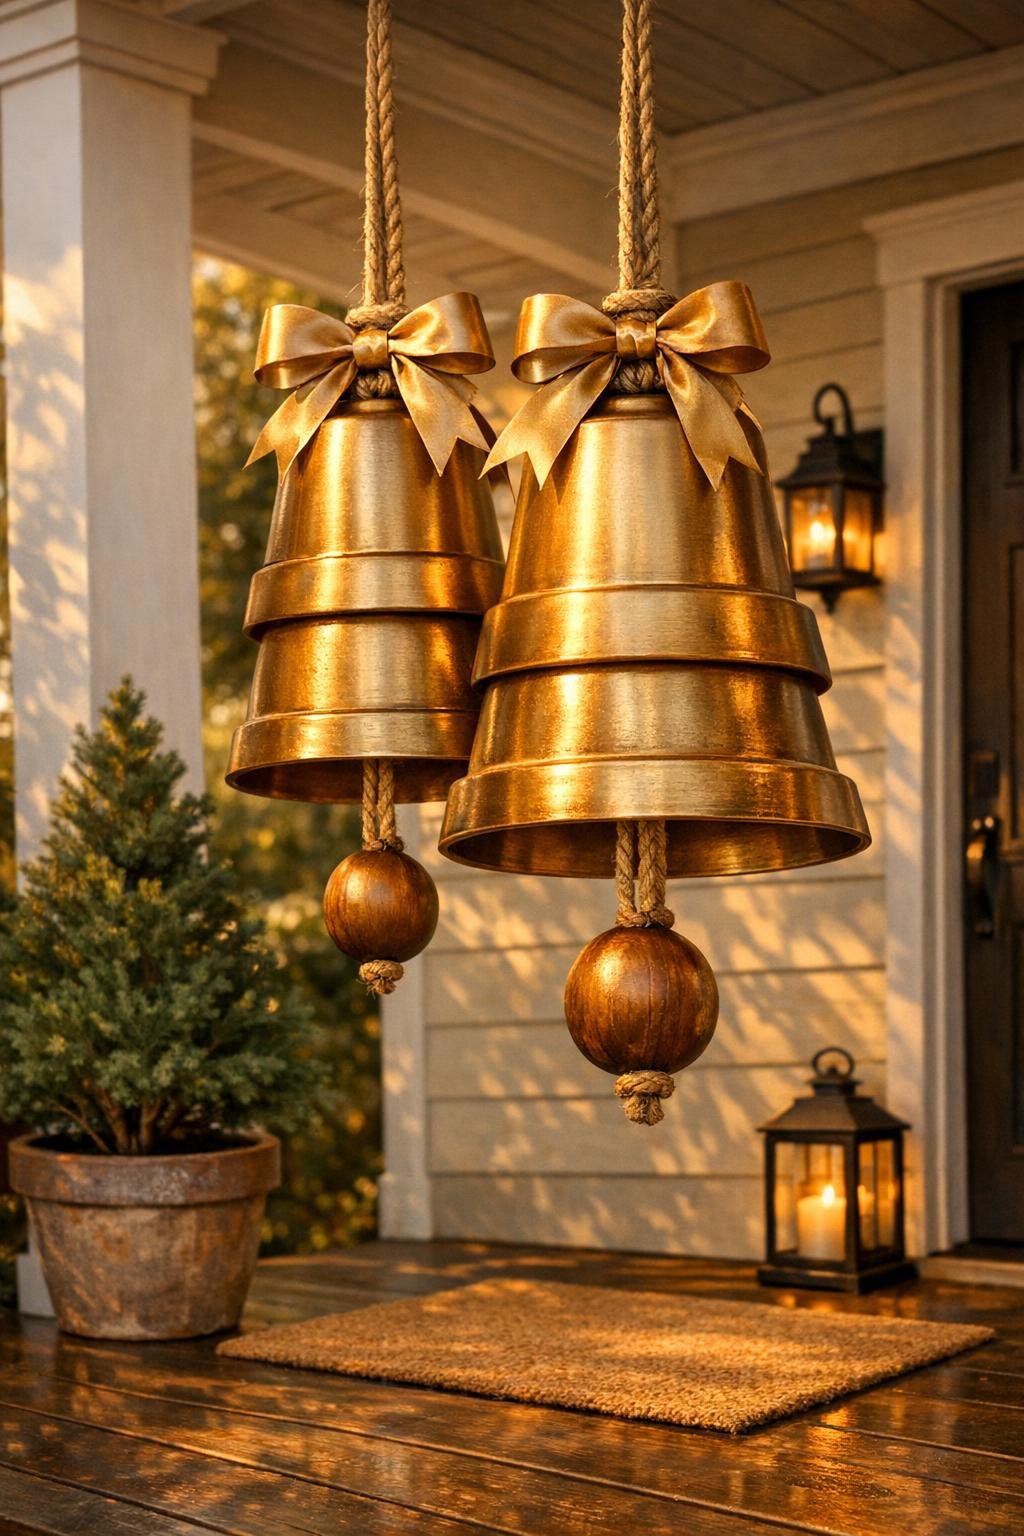
Variations & Tips
For a fuller look: Use one slightly larger pot on top and one slightly smaller pot underneath so the stacked shape feels more dramatic and fills vertical porch space beautifully.
Ribbon swap: If you decorate by season like I do, change only the ribbon and keep the bells the same; plaid works for winter, burlap is lovely for fall, and a soft striped ribbon feels fresh in spring.
If your pots are very old: A quick extra sanding helps a lot before painting, especially if the clay is chalky or has old soil stains that could show through a metallic finish.
Color idea: Gold is warm and festive, but matte black, creamy white, or bronze also look beautiful if that fits your porch better.
For windy porches: Add a tiny dab of hot glue where the bead knot sits so the clapper stays where you want it and does not slide over time.
Hanging tip: I like to test the height before trimming any extra rope; porch decor almost always looks better when it hangs a little lower than you first expect, especially near a door.
For picky decorators: In my house, everybody has an opinion about bows and finishes, so if your family is the same way, let each person vote on ribbon style while you keep the base bells neutral enough to work all year.