
There’s something in me that just can’t stand to throw away a serviceable old Christmas tree. Maybe it comes from growing up in the country, where we used what we had, mended what we could, and found one more good season out of things folks in town might have hauled to the curb. If you’ve got an old artificial tree that’s seen better days but still has decent branches, this project turns it into something surprisingly handsome and useful for a small space.
I especially love this idea for apartment dwellers, narrow entryways, porches with a protected wall, or any room where a full tree eats up too much floor space. It gives you that full, festive look without the bulk, and it’s simple enough for a determined beginner. Best of all, the old tree stays recognizable, so you keep that familiar holiday shape while giving it a clever second life.
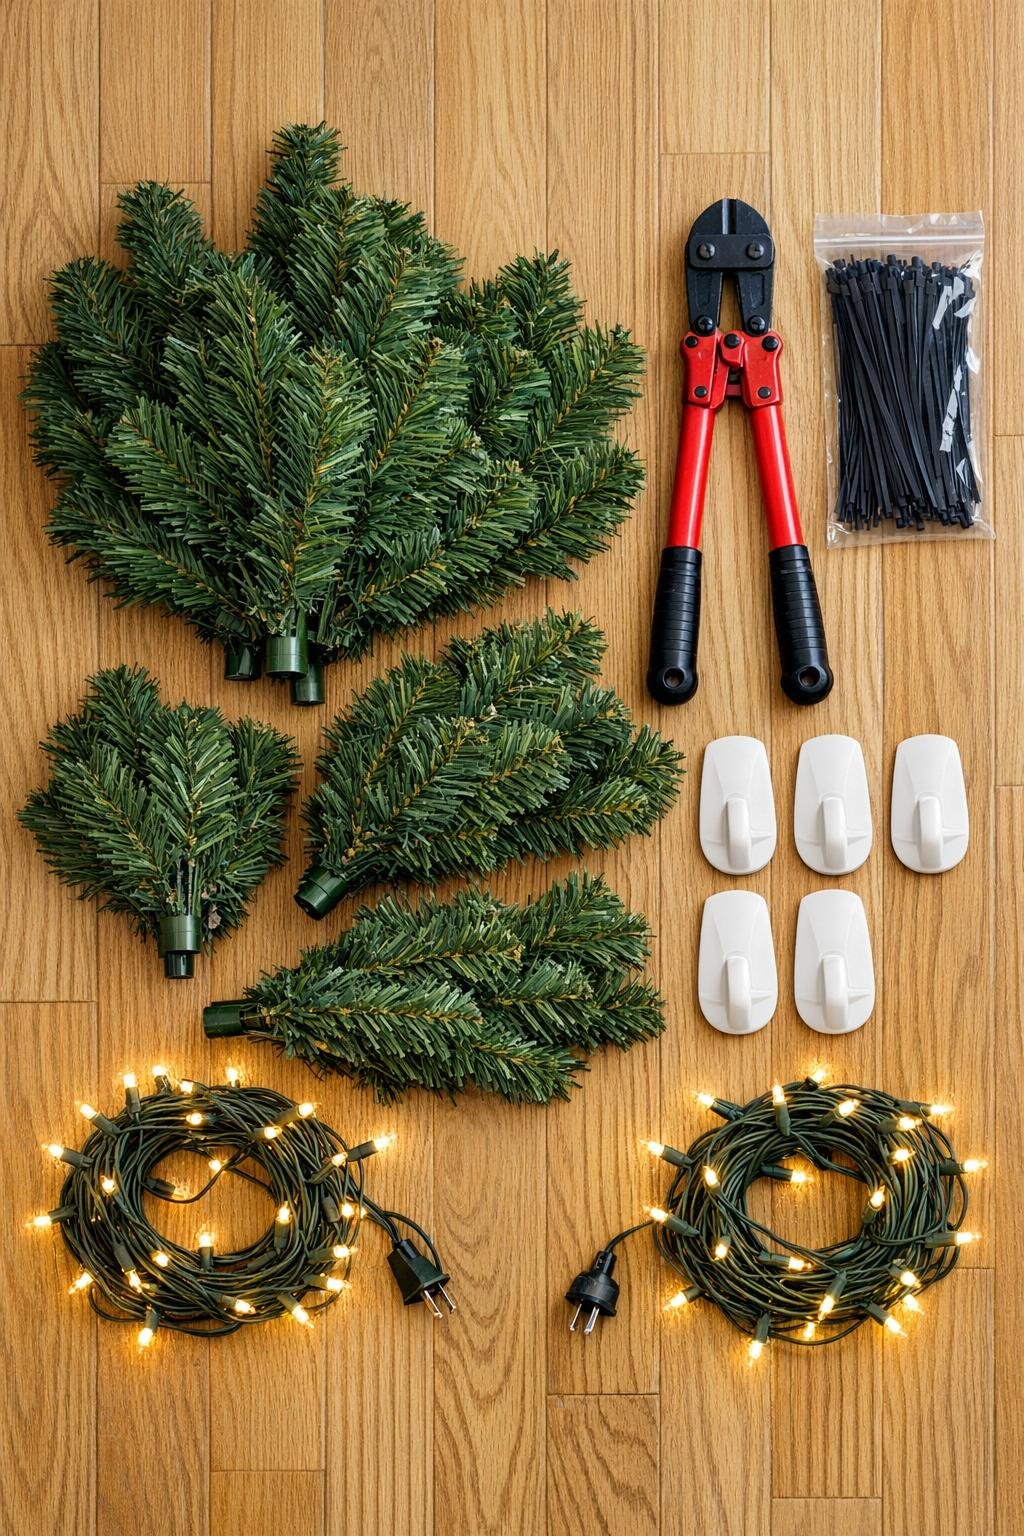
Materials
Instructions
1. Set the old tree up loosely so you can see its shape, then decide which side will become the flat back. I like to pick the least attractive side, especially if a few branches are thin there.
2. Put on work gloves and remove any stand, center caps, or extra hardware that will get in the way. Lay the tree sections on the floor in order from top to bottom so the taper stays true.
3. Use the bolt cutters to cut away the branches and wire framework from one full side of each section, creating a long flat plane from top to bottom. Cut carefully and evenly so you keep the front half full and rounded while the back becomes as flush as possible.
4. Save the cut branches instead of tossing them, because they’re perfect for filling bare spots later. Trim any sharp wire ends with the bolt cutters and tuck them inward so the back sits safely against the wall.
5. Reassemble the tree sections and lean the tree against the wall to check the profile. If any part bows out too much, snip one or two more branches from the back and reshape the remaining ones until the tree rests flatter.
6. Measure the height and mark where the top, middle, and lower third of the tree will sit on the wall. Apply the command hooks in a vertical line, following the package directions, with enough spacing to support the tree evenly.
7. Lift the tree into place and secure the trunk or center pole to the hooks with zip ties. Start at the top, then fasten the middle and bottom so the tree stays centered and snug to the wall.
8. Stand back and fluff every branch forward and slightly outward, working from the bottom up. Use the saved cut branches and extra zip ties or floral wire to fill thin areas, especially along the outer edges, so the silhouette looks lush and intentional.
9. Wrap the string lights from top to bottom, tucking the wire deep into the branches so only the glow shows. Use one strand for the upper half and one for the lower half if you want fuller, even coverage.
10. Add lightweight ornaments, concentrating them toward the front and outer branch tips instead of the flat back. If you like a polished finish, tie a ribbon bow at the top and trim any stray plastic sprigs with pruning shears.
11. Plug in the lights and make final adjustments so the outline looks balanced from across the room. The prettiest result comes when the bottom branches are spread widest and the upper branches stay slightly narrower for a true tree shape.

Variations & Tips
For tiny apartments: Use just the top 4 to 5 feet of the tree and hang it higher above a narrow console table or bench. You still get the full holiday look without giving up precious floor space.
For extra fullness: Don’t be shy about wiring the saved cut branches back onto the front and side edges. That little bit of patching is what makes the finished tree look rich and store-bought in the best possible way.
For porch use: This works beautifully on a covered porch wall, but use outdoor-rated lights and weather-friendly hooks. I’d also keep ornaments unbreakable and simple if winter wind might reach them.
For a cleaner profile: If the center pole still pushes away from the wall, add one more hook at the widest part of the tree and cinch it in with a zip tie. A snug fit makes the whole project look much more custom.
For a sentimental touch: I love using a few old family ornaments on a project like this. It feels fitting somehow—an older tree carrying older memories into one more Christmas.
Safety tip: Keep the tree light in weight and decoration, and always follow the hook packaging for wall type and cure time. If your tree is especially large or heavy, anchor it to a solid support instead of relying only on removable hooks.