
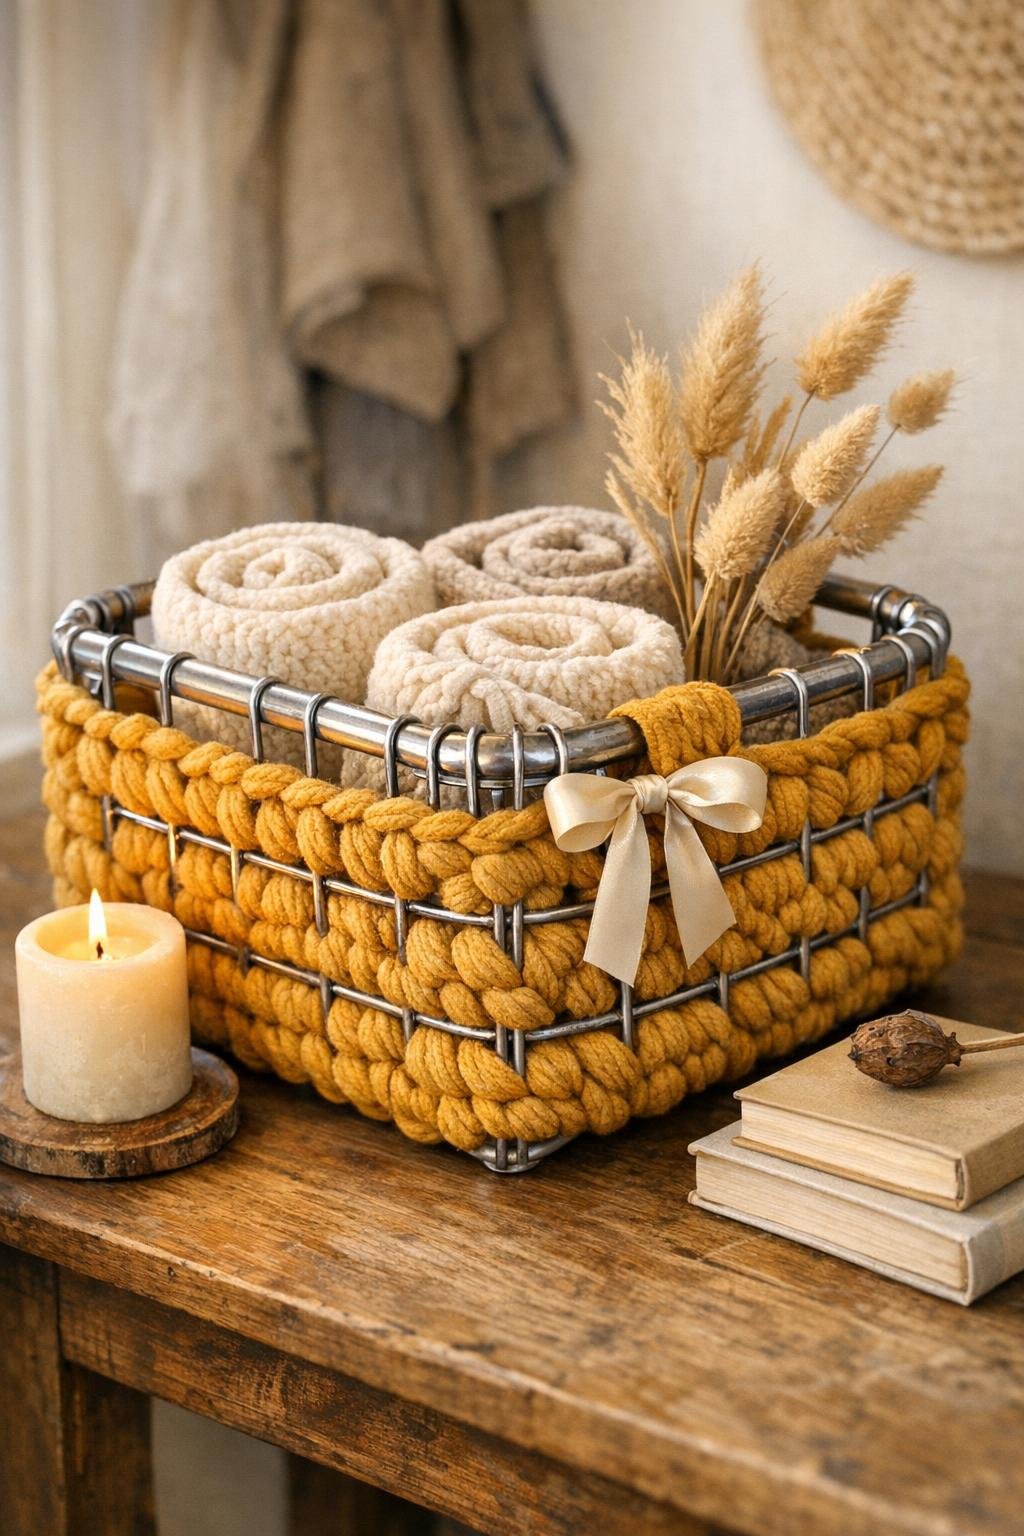
I love a thrift-store project that feels a little weird at first and then turns out surprisingly useful, and this crochet basket made from an old oven rack absolutely falls into that category. The metal rack does all the heavy structural work, and the chunky mustard yarn softens it into a roomy decorative basket that looks modern, handmade, and genuinely intentional instead of “I glued yarn to junk.”
If you know basic crochet stitches and can work with a big hook, this is very doable. I’m always looking for projects I can chip away at after work without needing to set up my whole house like a workshop, and this one gives you a big payoff fast: the vintage oven rack stays visible enough to keep its character, but the thick stitching makes it feel warm and polished.
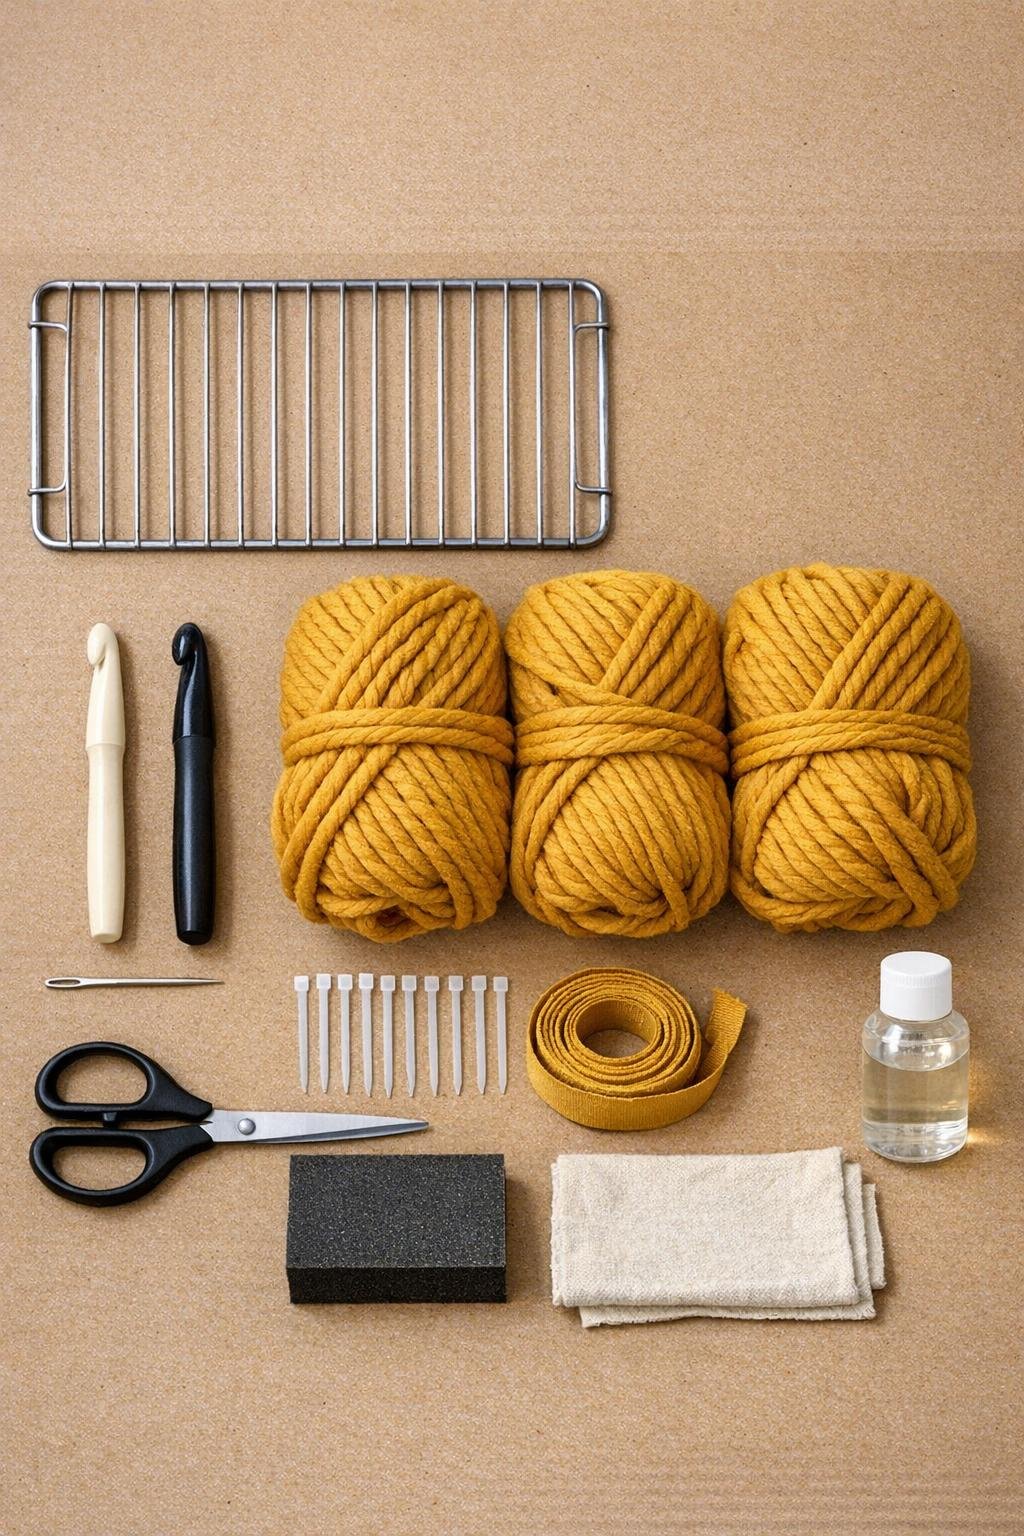
Materials
Instructions
1. Wash the oven rack with warm soapy water, scrub off any grease or residue, and dry it completely. Lightly sand any rough or rusty spots so the yarn won’t snag while you crochet.
2. Seal the cleaned rack with a light coat of clear matte sealer and let it dry fully. This simple step makes an old thrifted rack feel much cleaner and helps prevent discoloration from rubbing onto the yarn later.
3. Set the rack horizontally and decide which long sides will become the basket’s top edges. Fold the rack gently upward along its natural lines or hinged sections, if it has them, to form a shallow rectangular tub shape about 6 to 7 inches deep.
4. Secure the corners where the sides meet using the clear zip ties, pulling them tight so the rack holds its basket shape. Trim the zip tie tails close so there are no sharp ends sticking out.
5. Tie the chunky mustard yarn onto one bottom corner rung with a sturdy double knot, leaving a 6-inch tail. Using the 15 mm hook, work single crochet stitches directly around each metal rung across the bottom, packing the stitches snugly so the silver metal peeks through only slightly.
6. Continue crocheting row by row through the bottom grid, wrapping each bar and bridging across openings until the base is densely covered. Keep your stitch tension firm but not tight so the basket bottom looks full and cushioned instead of sparse.
7. When the bottom is covered, rotate the piece and begin working up the sides by crocheting around the vertical and horizontal rungs. Use single crochet and occasional slip stitches to anchor the yarn tightly to the frame and keep the sides neat.
8. Build up each side with closely packed stitches, filling the metal grid while still letting the oven rack structure show through in lines underneath. Add an extra row at the upper third of each side if you want a more plush, basket-like look with better coverage.
9. At the corners, crochet two or three stitches around the same junction point to round and soften the angles. This is the step that makes the finished basket look deliberate and cozy instead of stiff and industrial.
10. Switch to the 12 mm hook and crochet a finishing round around the top edge, working one tight border row around every exposed top bar. This clean edge hides uneven spots and gives the basket a more finished silhouette.
11. For handles, choose the two shorter sides and crochet 12 to 15 chain stitches between two upper corner points on each side, then work back across each chain with single crochet for thickness. Anchor each handle firmly into the metal frame with a few extra stitches so it can hold the basket’s shape when lifted lightly.
12. Weave in all yarn tails with the yarn needle, tucking them through the thick stitches and around the metal bars for security. Trim any fuzz, then tie a short length of mustard twill ribbon into a simple bow on one handle if you want a soft decorative finishing touch.
Variations & Tips
Use a flatter rack: If your thrifted oven rack is very rigid and won’t bend much, keep it as a low-sided tray basket instead of forcing deep walls. It still looks great on a coffee table or kitchen island.
Try a two-tone version: Mustard looks beautiful with cream or oatmeal, so you can crochet the base in mustard and the top edge and handles in a lighter shade for contrast.
Best way to use it: I like this kind of basket for lightweight storage like napkins, hand towels, mail, yarn, or produce with peels. I would skip anything damp or very heavy since the shape is sturdy but still decorative.
Keep the stitches generous: The project looks best when the yarn coverage is dense and plush. If your rack has wide gaps, add more stitches around each bar rather than stretching the yarn across open spaces.
Make it fit your schedule: This is a great stop-and-start project for busy evenings. I’d do the cleaning and shaping one night, cover the base the next, and finish the sides and handles while watching a show.
Protect delicate surfaces: If the finished basket will sit on wood furniture, add a few small felt pads to the bottom contact points of the metal rack so it won’t scratch.