
I love a project that turns something headed for the donation pile into a decoration people stop and ask about. This one uses a small stack of old wooden hangers and a few basic supplies to make a statement piece that feels cozy, clever, and a little bit rustic without being fussy. It comes together fast, hangs flat on the wall, and gives you that big seasonal payoff from materials you may already have tucked in a closet or laundry room.
If you like easy decorating ideas that look more special than they are hard, this is a wonderful afternoon project. I especially like making this when I want one larger piece to fill an empty wall, entry corner, or porch nook without spending much, and it is simple enough to do with older kids helping sort, sand, and tie.
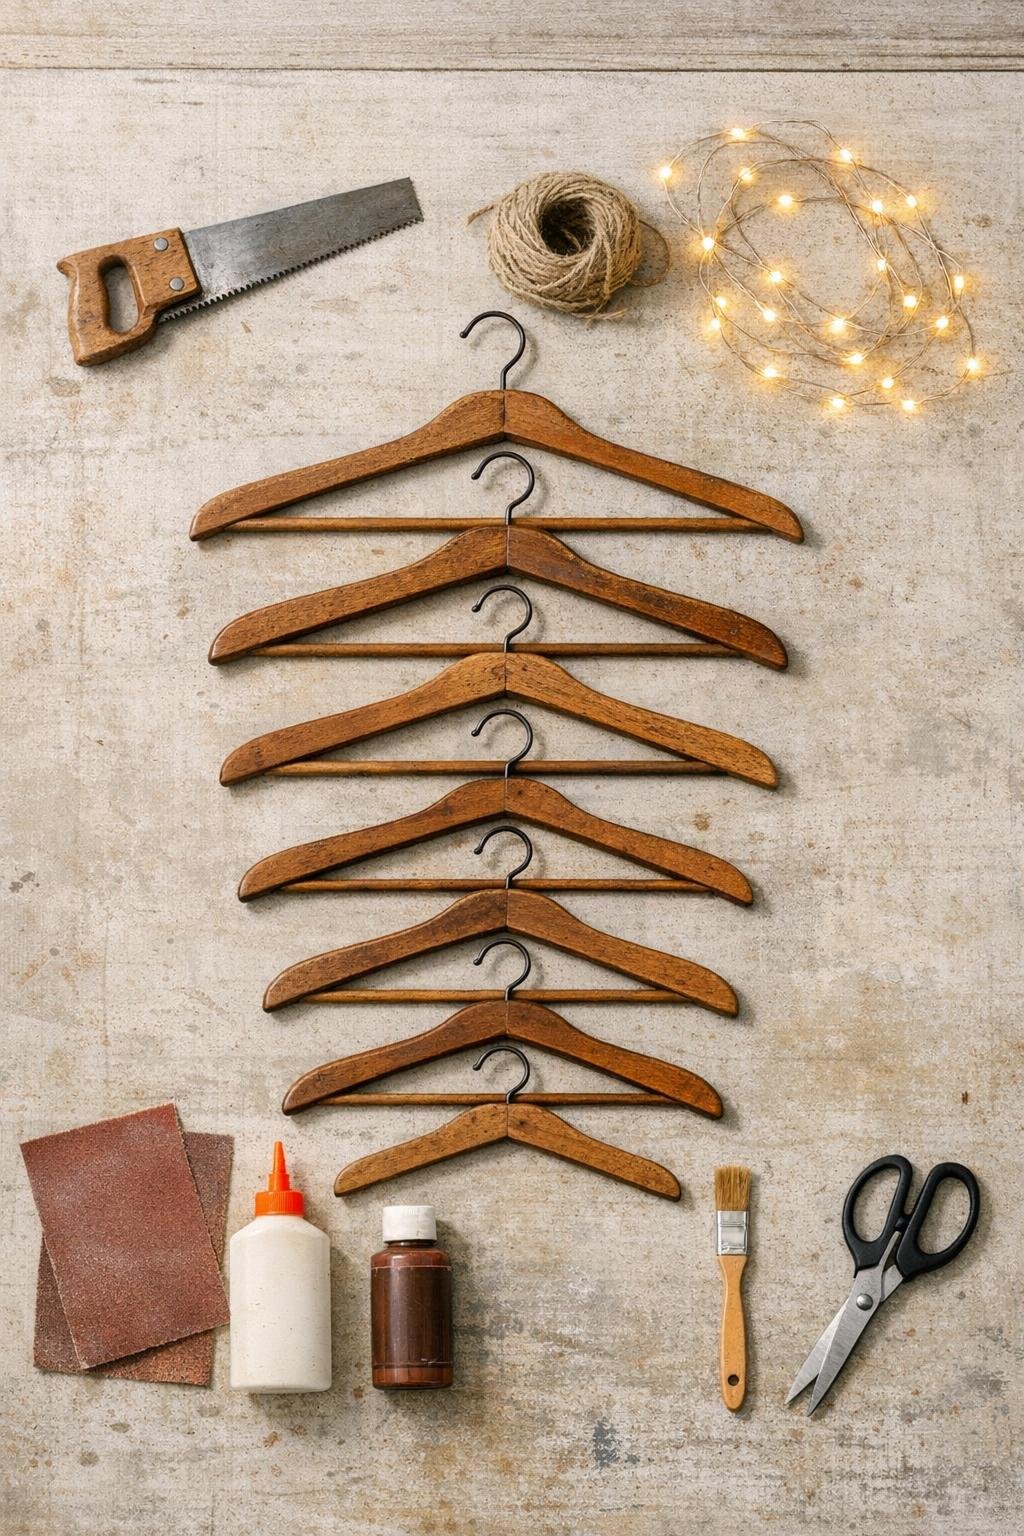
Materials
Instructions
1. Sort the eight wooden hangers from widest to narrowest, because that size order creates the full tree shape and keeps the bottom nice and generous.
2. Cut the hook off each hanger with the saw, trimming right at the base of the metal or wooden neck so the top bar stays as long and clean as possible.
3. Sand any rough cut spots and scuffed areas until the wood feels smooth enough to handle and the hangers look intentionally matched rather than rescued.
4. Dry-fit the hangers on the floor or a table, largest on the bottom and smallest on top, overlapping them by 2 to 3 inches so the stack forms a full tree silhouette with even spacing.
5. Measure and mark two vertical tie points on each side, about 1 inch in from the outer edges, so your twine lacing will hold the shape evenly.
6. Run a long piece of twine down the left side, wrapping and knotting each hanger to the one above it, then repeat on the right side, pulling snug as you go so the whole piece lifts as one.
7. Add a small dab of wood glue at each knot and let it dry for 10 to 15 minutes; this little step keeps the layers from slipping once it is hanging on the wall.
8. Brush a light coat of brown or dark green craft paint over worn spots, cut ends, or mismatched wood tones if needed, then let some of the wood grain show through for a warm rustic finish.
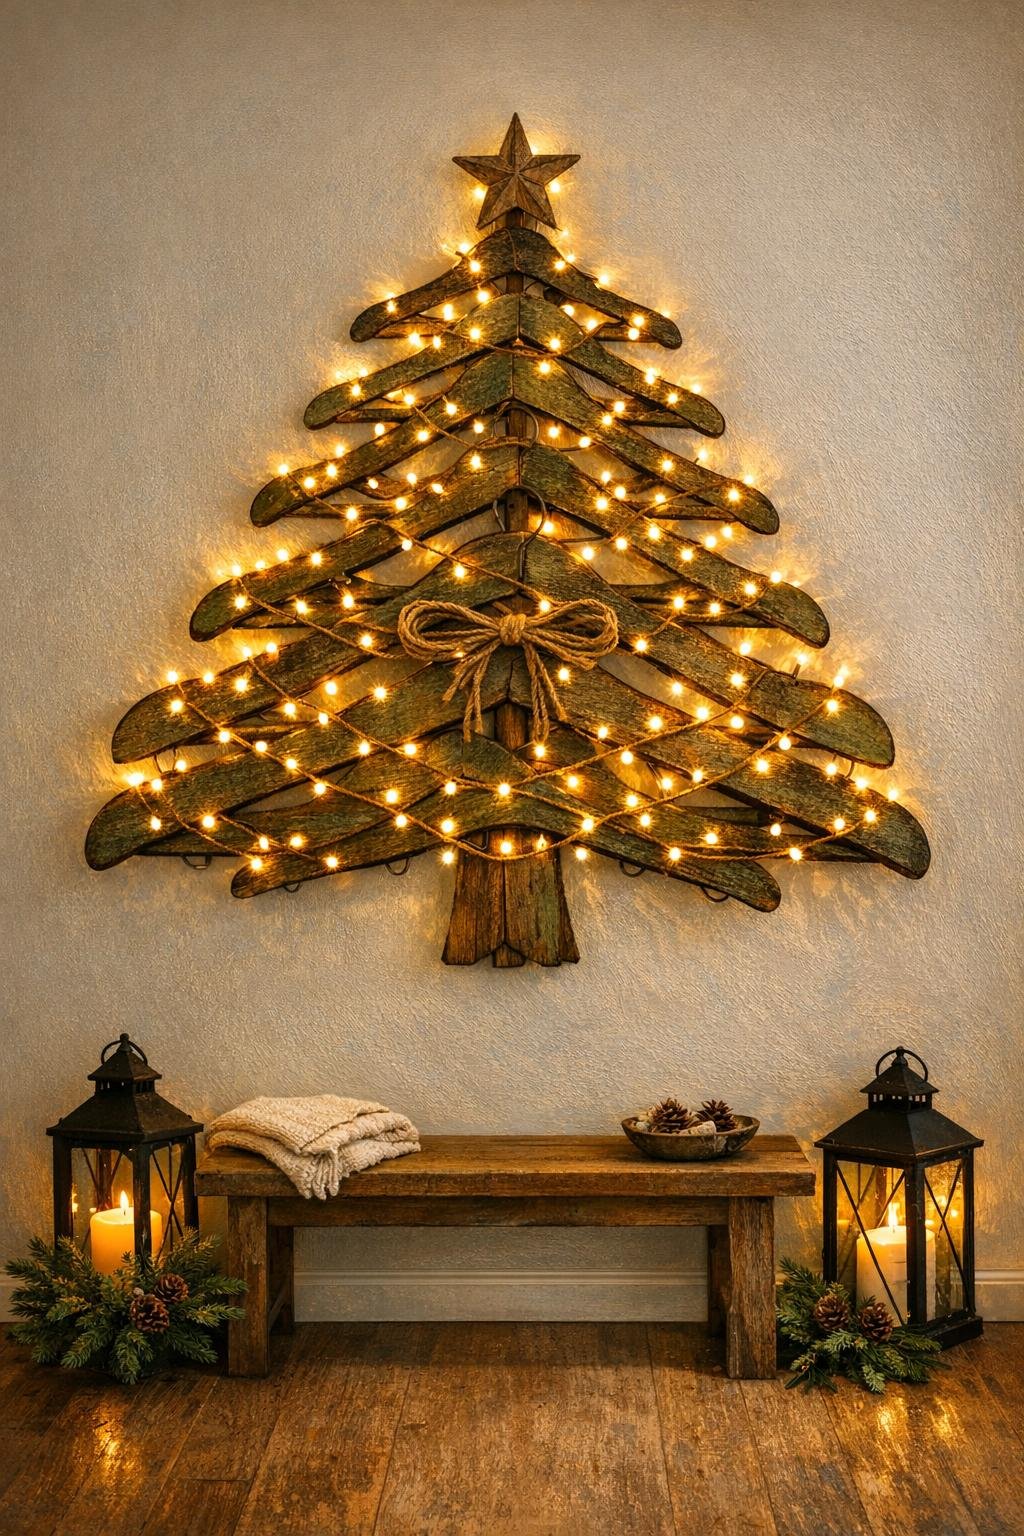
9. Tie a loop of ribbon or twine at the very top for hanging, then attach the star ornament or wooden star to the top hanger point so the tree has a finished topper.
10. Weave the fairy lights back and forth across the hanger bars, tucking the wire around the side ties and spacing the lights evenly from top to bottom for full coverage.
11. Add a simple twine or ribbon bow near the top and check the balance, adjusting any hanger angle so the outline looks symmetrical and full once upright.
12. Seal the painted areas with a light matte topcoat, let everything dry fully, then hang it on the wall and tuck the battery pack behind the lowest hanger or along the back with twine.
Variations & Tips
For a fuller look: Use thicker overlap at the top and slightly wider spacing at the bottom so the shape reads like a generous, classic tree instead of a skinny triangle.
If your hangers do not match: That is completely fine. A thin wash of dark green, walnut brown, or even white paint helps different wood tones look intentional while still keeping the hanger character visible.
For picky decorators: In my house, not everyone wants glitter or anything too fancy, so I keep the accents simple with warm lights, twine, and one topper. If your family likes more sparkle, tuck in a few small ornaments or bells without covering the hanger shape.
For safer hanging: If the piece feels heavy, use two small wall hooks instead of one so the tree stays flat and does not tilt.
For a porch version: Use outdoor-rated lights and a weather-resistant sealer, then hang it in a covered spot where the wood is protected from direct rain and snow.
For extra charm: Clip on a few mini clothespins to hold holiday cards, family notes, or recipe tags. That little personal touch is the kind of thing guests always notice first.