
There’s something deeply satisfying about taking a stack of worn wooden measuring sticks and turning them into a piece that looks like it came straight off a boutique wall display. I’m always drawn to projects like this because they use humble materials, come together quickly, and still have that crisp, architectural look that makes people stop and ask where you bought it.
This is a great build for anyone who likes easy woodworking without a lot of fuss. If you can measure, mark, and make a few simple cuts, you can pull this off in an afternoon, and the aged wood grain and stained finish do a lot of the decorating work for you.
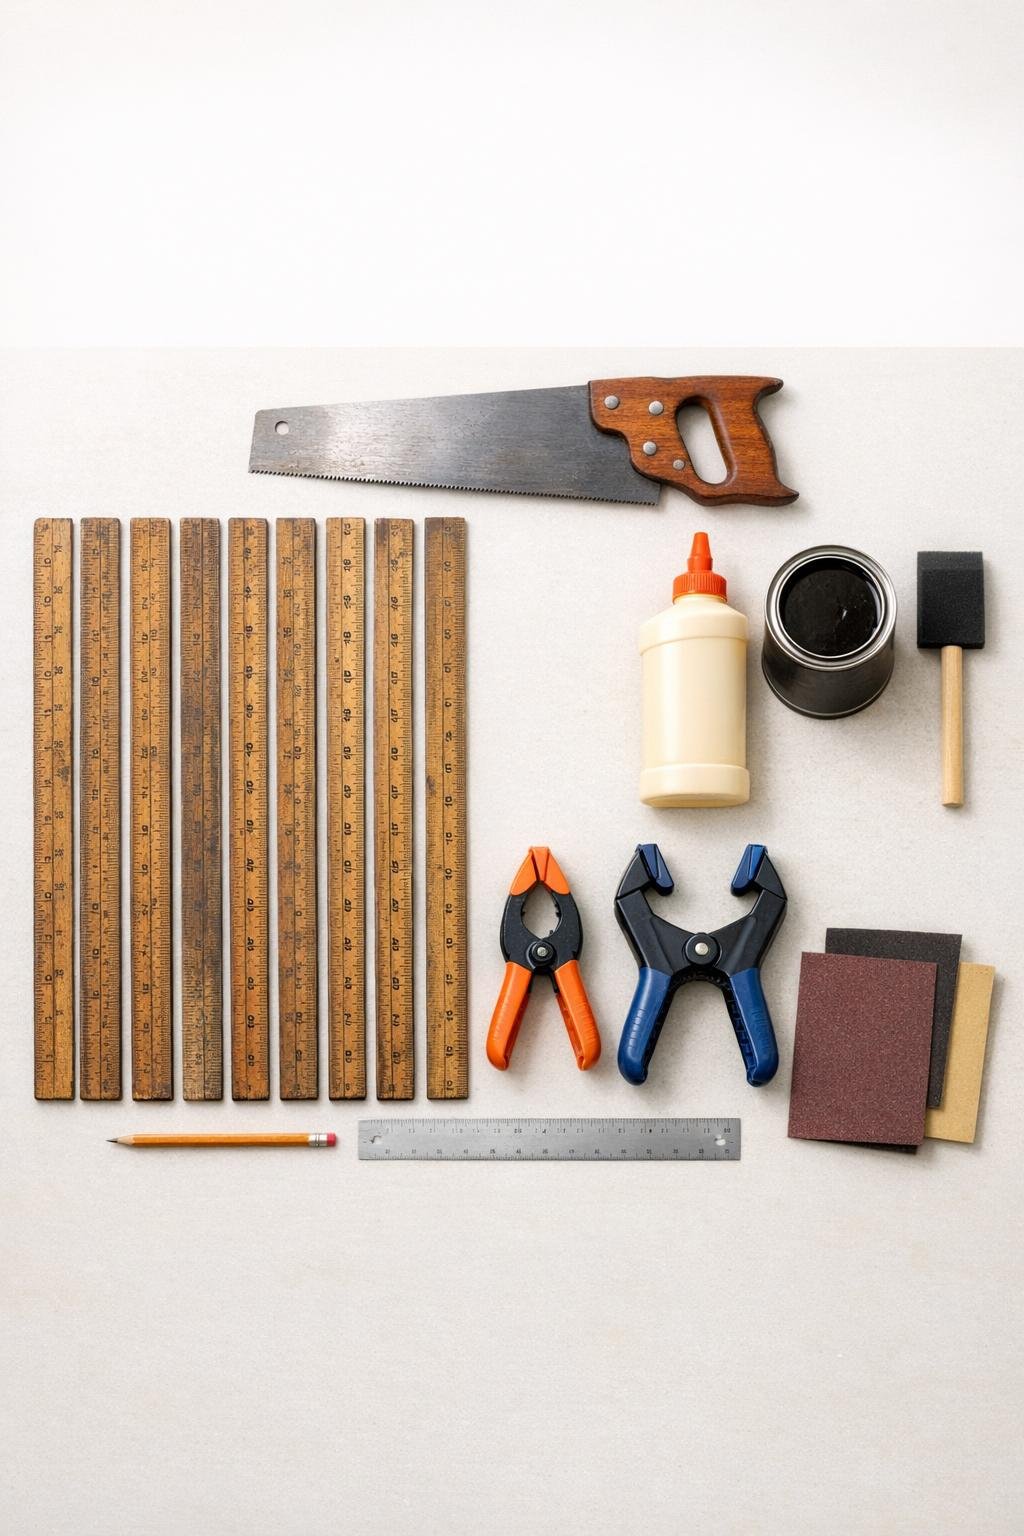
Materials
Instructions
1. Cover your work surface and lightly wipe down all 10 yardsticks so dust and loose grit don’t get trapped in the glue or stain.
2. Measure and mark each yardstick at 18 inches, then cut all 10 to the same length so you end up with 10 equal pieces.
3. Sand the freshly cut ends and any rough spots with 220-grit sandpaper, keeping the faces mostly intact so the old markings and patina still show.
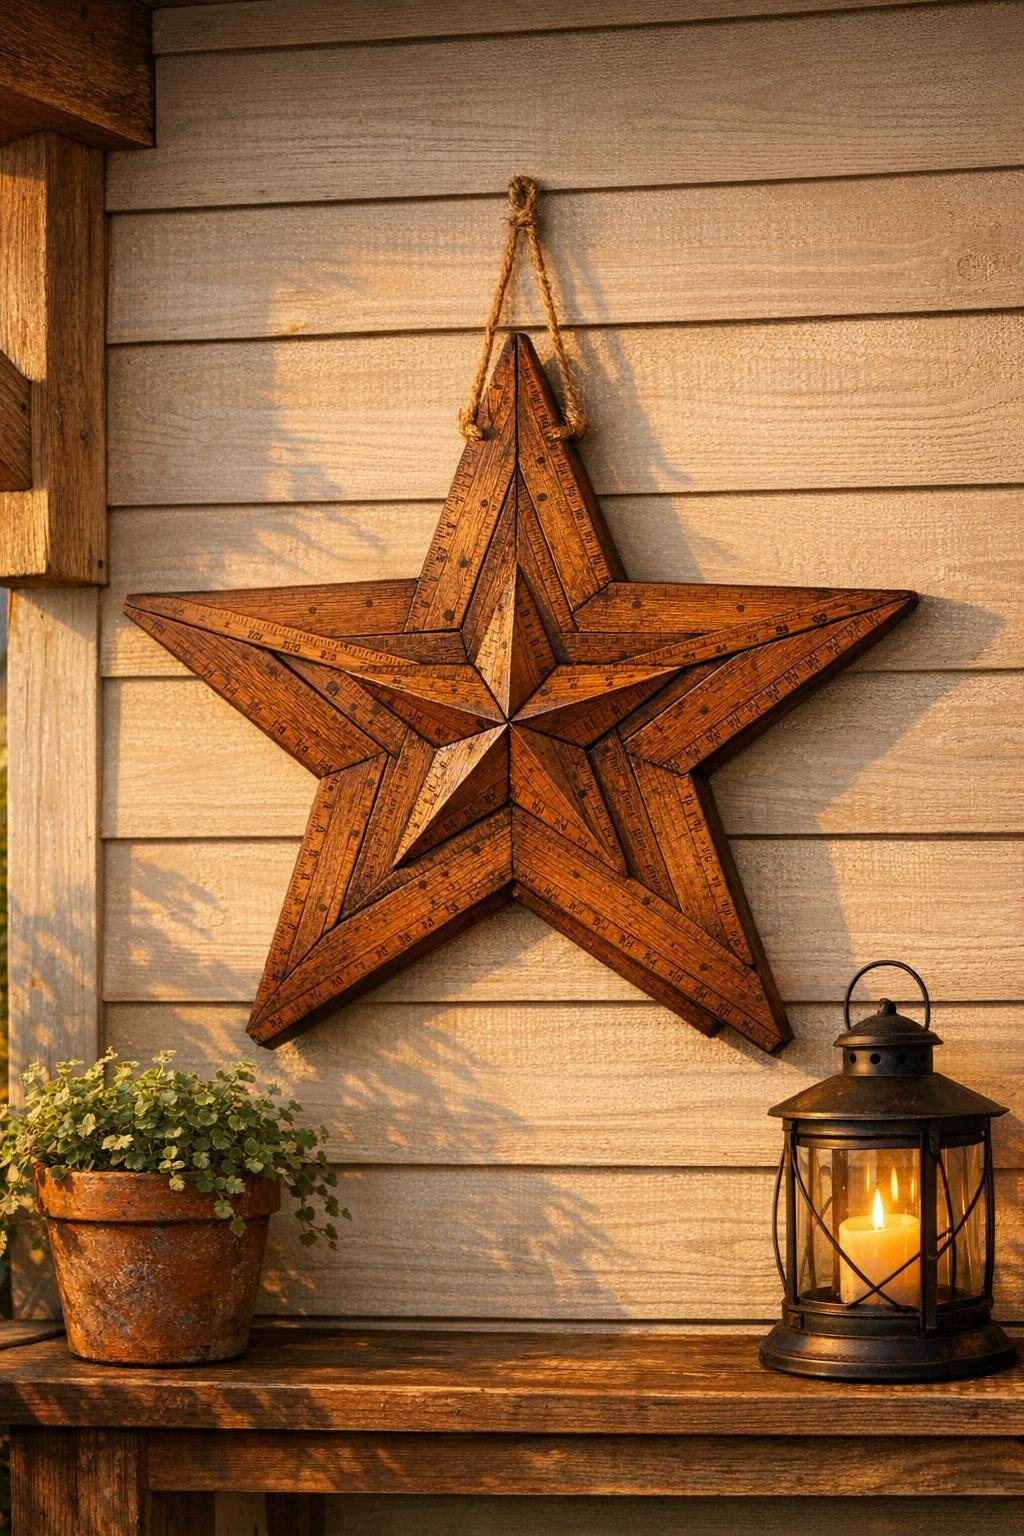
4. Lay out 5 pieces into a large five-point star shape, overlapping the ends evenly to create a balanced frame with a pentagon opening in the center.
5. Once the shape looks even, glue each overlap point and clamp or press them in place until the frame holds together securely.
6. Add the remaining 5 pieces on top of the first layer, centering one on each star point to build thickness and give the design that fuller barn-star look.
7. Let the glue dry fully, then check the back and add a little extra glue to any joint that feels loose.
8. Brush or wipe stain over the entire piece, working it into the cut ends and overlap joints, then wipe off the excess so the printed markings and wood texture still peek through.
9. If you want extra durability, apply a light coat of matte clear topcoat after the stain dries, then let it cure completely.
10. Attach a hanger to the back, or lean the finished piece on a mantel, shelf, or porch wall where the layered shape and aged wood can really stand out.
Variations & Tips
Painted farmhouse finish: If you prefer a more rustic painted look, dry-brush white or black paint over the stain after it dries so the numbers and wood tone still show through.
More contrast: For a bolder design, stain the base layer darker and leave the top layer lighter; that little bit of contrast makes the star points pop beautifully.
Safer cutting: I like to cut one piece first, then use it as a template for the other nine so the star comes together without awkward gaps.
Outdoor display: If you’re hanging it on a porch, use an exterior-grade clear sealer to help protect the wood from humidity and seasonal weather.
Placement tip: This piece looks best with some breathing room around it, especially on siding, over a mantel, or layered above a wreath where the strong lines can really be appreciated.
Using mixed yardsticks: If your old sticks don’t match perfectly, keep that variation. Slightly different tones and worn markings give the finished piece the kind of character I usually associate with old kitchen tools and inherited cutting boards—used, useful, and much prettier with age.