
I’ve always had a soft spot for projects that turn the ordinary into something people stop and stare at. Around here, used kitchen odds and ends rarely go straight to the trash without me wondering whether they’ve got one more good life in them, and foil pie tins are one of those humble little things that surprise you. With just a pair of scissors, a wooden dowel, and a glue gun, you can coax a whole lot of shine and texture out of something most folks would never look at twice.
This is a good little project for anyone who likes easy crafting with a big payoff. You don’t need fancy tools, exact perfection, or a craft room full of supplies. If you can cut a fringe and stack layers, you can make this, and the result has that merry, old-fashioned sparkle I remember from holiday church suppers and five-and-dime decorations when I was a girl.
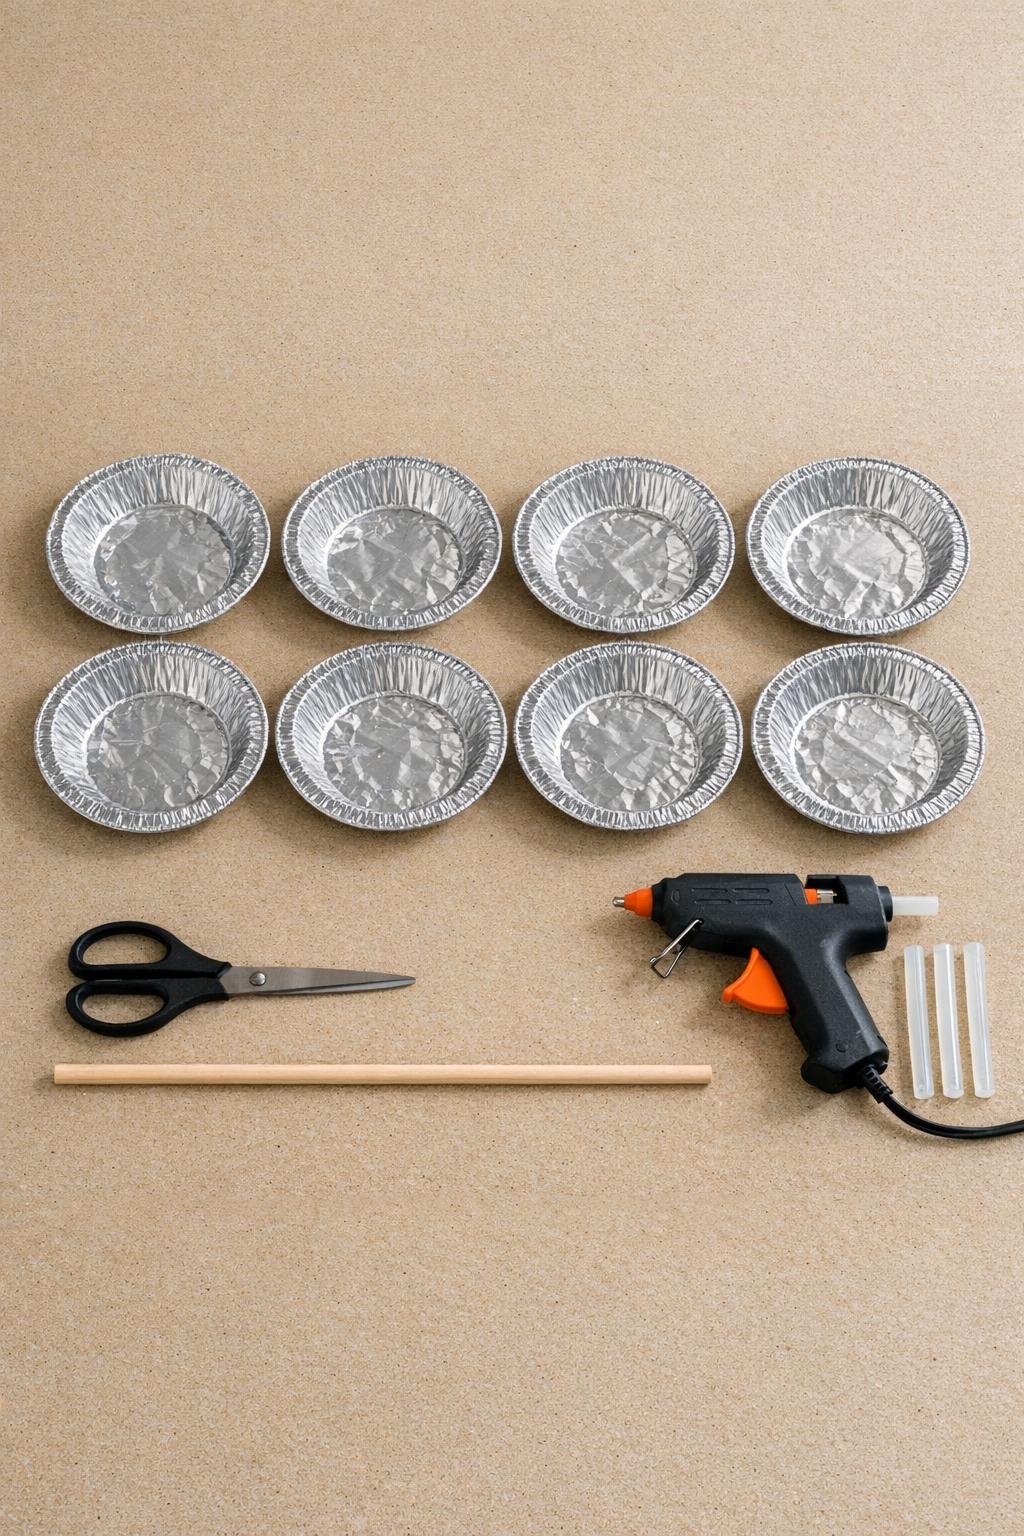
Materials
Instructions
1. Wash and dry all 8 foil pie tins, then gently smooth any crushed spots so the rims are round and even again.
2. Stack the tins and decide which one will be the base and which will be the top; leave the prettiest, least dented tin for the top layer.
3. On the first tin, use your scissors to cut fringe all the way around the outer rim, making cuts about 1/2 inch deep and 1/4 inch apart.
4. Repeat the fringe cutting on the remaining 7 tins so every tin has a full ring of narrow metallic strips.
5. Fluff each fringed rim by bending the cut strips slightly upward and outward with your fingers; this gives the layers more body and that soft tinsel look.
6. Mark the center of each tin bottom, then carefully poke or snip a small hole just large enough for the dowel to pass through.
7. Add a generous bead of hot glue to one end of the dowel and set the first tin onto it, widest side down, so it forms a sturdy base.
8. Slide on the second tin above the first, offsetting it slightly so the fringed edges don’t nest too tightly, then glue it in place about 1 1/2 inches above the base.
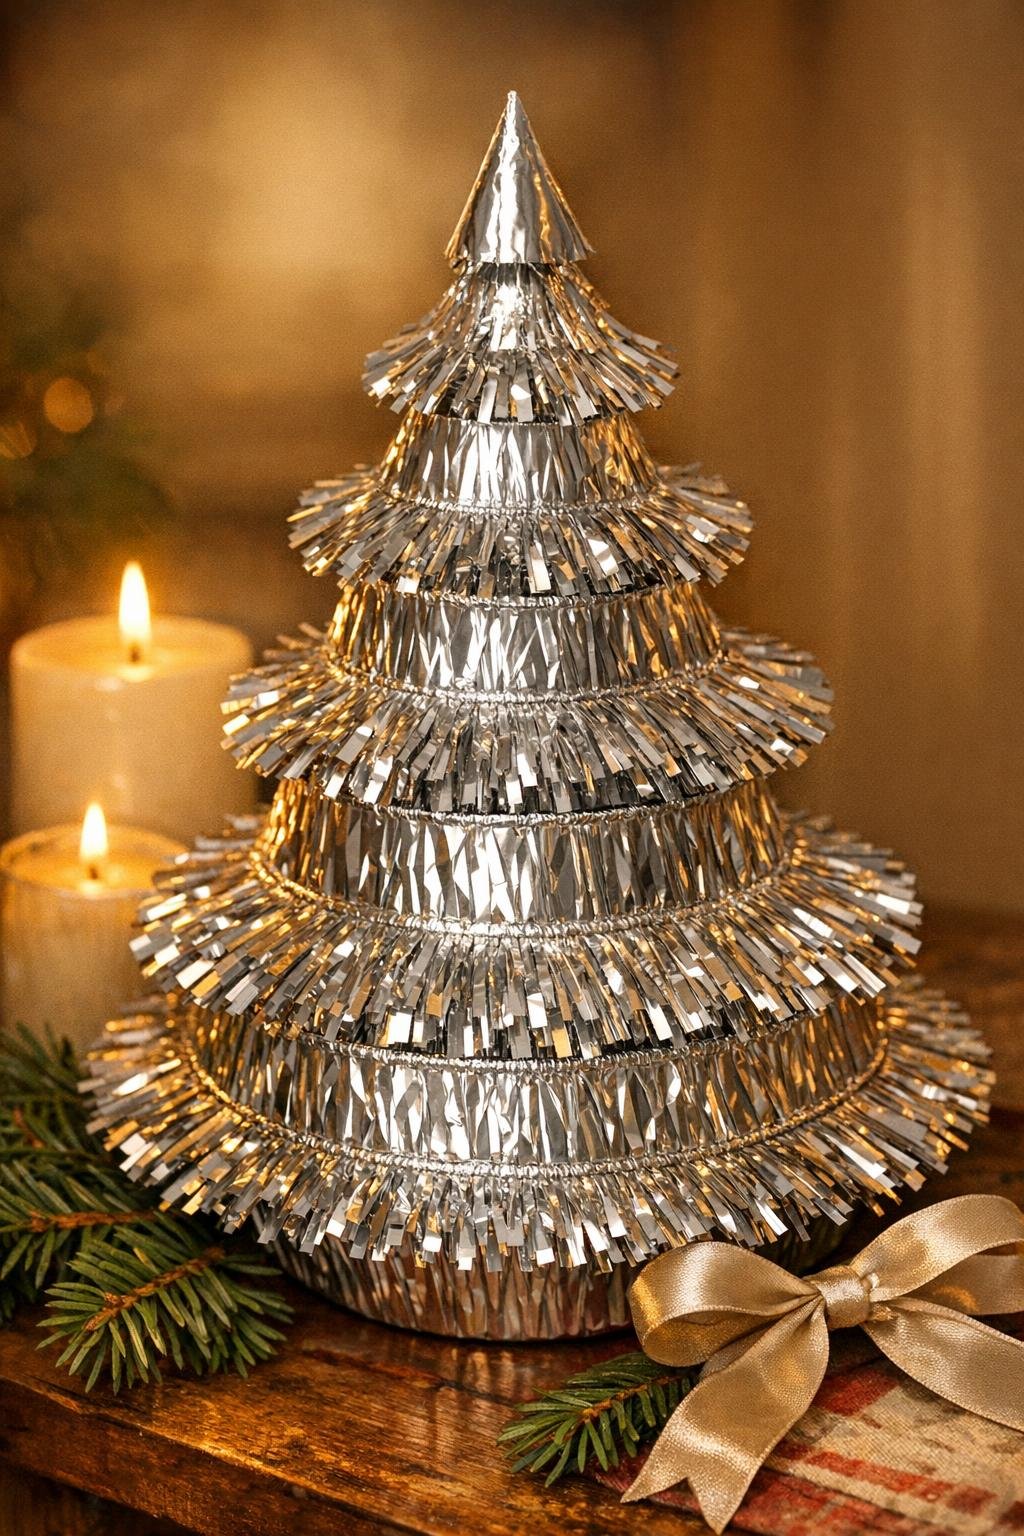
9. Continue stacking and gluing the remaining tins one at a time, spacing them a little closer together as you go upward to create a full tapered tree shape.
10. For the top tin, pinch the fringe a little tighter and angle the strips upward before gluing so the top looks neat and softly pointed instead of flat.
11. Stand back and gently bend, spread, and separate all the fringe layers until the outline looks even, lush, and full from every side.
12. Add one last bead of hot glue anywhere a tin feels loose, then let the whole piece cool completely before moving it to display.
Variations & Tips
Use fresh or saved tins: Clean used pie tins work beautifully, but if yours are badly crushed, mix in a few new ones so the finished shape stays full and balanced.
Make the fringe fuller: If you want extra fluff, cut your slits a little closer together, about 1/8 to 3/16 inch apart, and spend an extra minute separating the strips by hand.
Adjust the height: A 16-inch dowel makes a nice tabletop piece, but you can shorten the dowel for a squat little centerpiece or use a longer one for a taller display as long as you keep the widest tins at the bottom.
Hide the glue neatly: Hot glue disappears best when you apply it right around the center holes and press each tin into place before adding the next layer.
Give it more sparkle: If you like a little extra holiday shine, tuck a narrow ribbon bow near the top or weave in a few tiny battery lights after the glue has cooled.
Display it safely: This piece is very lightweight, so I like to place it where it won’t get bumped often, such as a mantel, buffet, or side table away from little elbows and swinging doors.