
There are a few projects I love because they look wildly creative but are actually very manageable on a busy weekend, and this is one of them. You start with a few cheap balloons, a bag of concrete, and some basic paint, and somehow it turns into a porch piece that looks substantial, polished, and absolutely worth the effort.
I’m always drawn to outdoor projects that can handle Midwest weather and still feel cheerful from the street, and this one really delivers. If you want something budget-friendly, sturdy, and a little dramatic without needing special tools, this is a great make. The shaping is simple, the supplies are easy to find, and the finished result has that fun handmade charm that makes a front porch feel styled instead of forgotten.
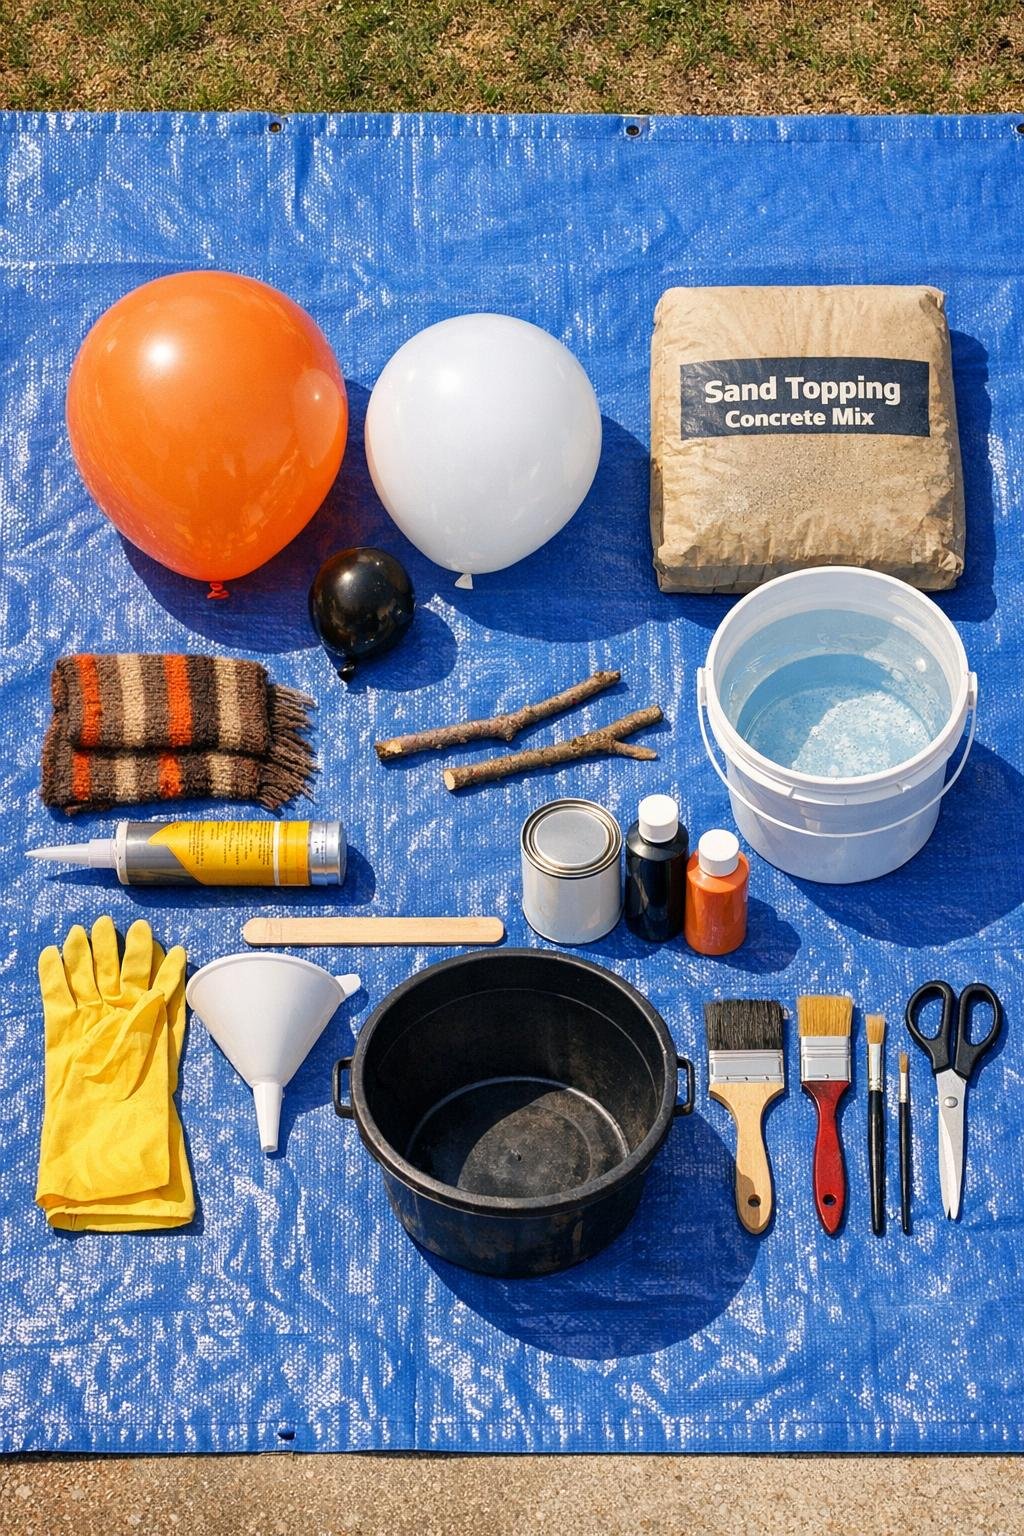
Materials
1 balloon, 12-inch size
Instructions
1. Spread out a tarp or work on an easy-to-clean surface, then put on rubber gloves and set all three balloons, the funnel, and your bucket within reach.
2. Mix the concrete in the bucket with water a little at a time until it reaches the texture of thick pancake batter; it should pour through the funnel slowly without being soupy.
3. Stretch the 12-inch balloon opening over the funnel, then pour concrete into the balloon until it forms a full round sphere about 10 to 11 inches wide; tie it closed tightly.
4. Repeat with the 9-inch balloon, filling it to about 8 inches wide, then fill the 5-inch balloon to about 4 to 4 1/2 inches wide and tie it off.
5. Gently roll and pat each filled balloon on the tarp to round out the shape, then let them rest undisturbed for 24 to 36 hours until fully hard.
6. Cut and peel away the balloons with scissors, then set the concrete spheres upright with the flattest side down so each one sits steadily.
7. Brush off any loose grit, then paint all three concrete spheres with 2 full coats of white exterior paint, letting the first coat dry before adding the second for solid coverage.
8. Stack the large, medium, and small painted spheres to check the proportions, then use generous beads of construction adhesive between each layer and press them together to form a stable three-ball stack.
9. Let the adhesive cure fully according to the tube directions, then press one twig into each side of the middle sphere with extra adhesive to create arms angled slightly upward.
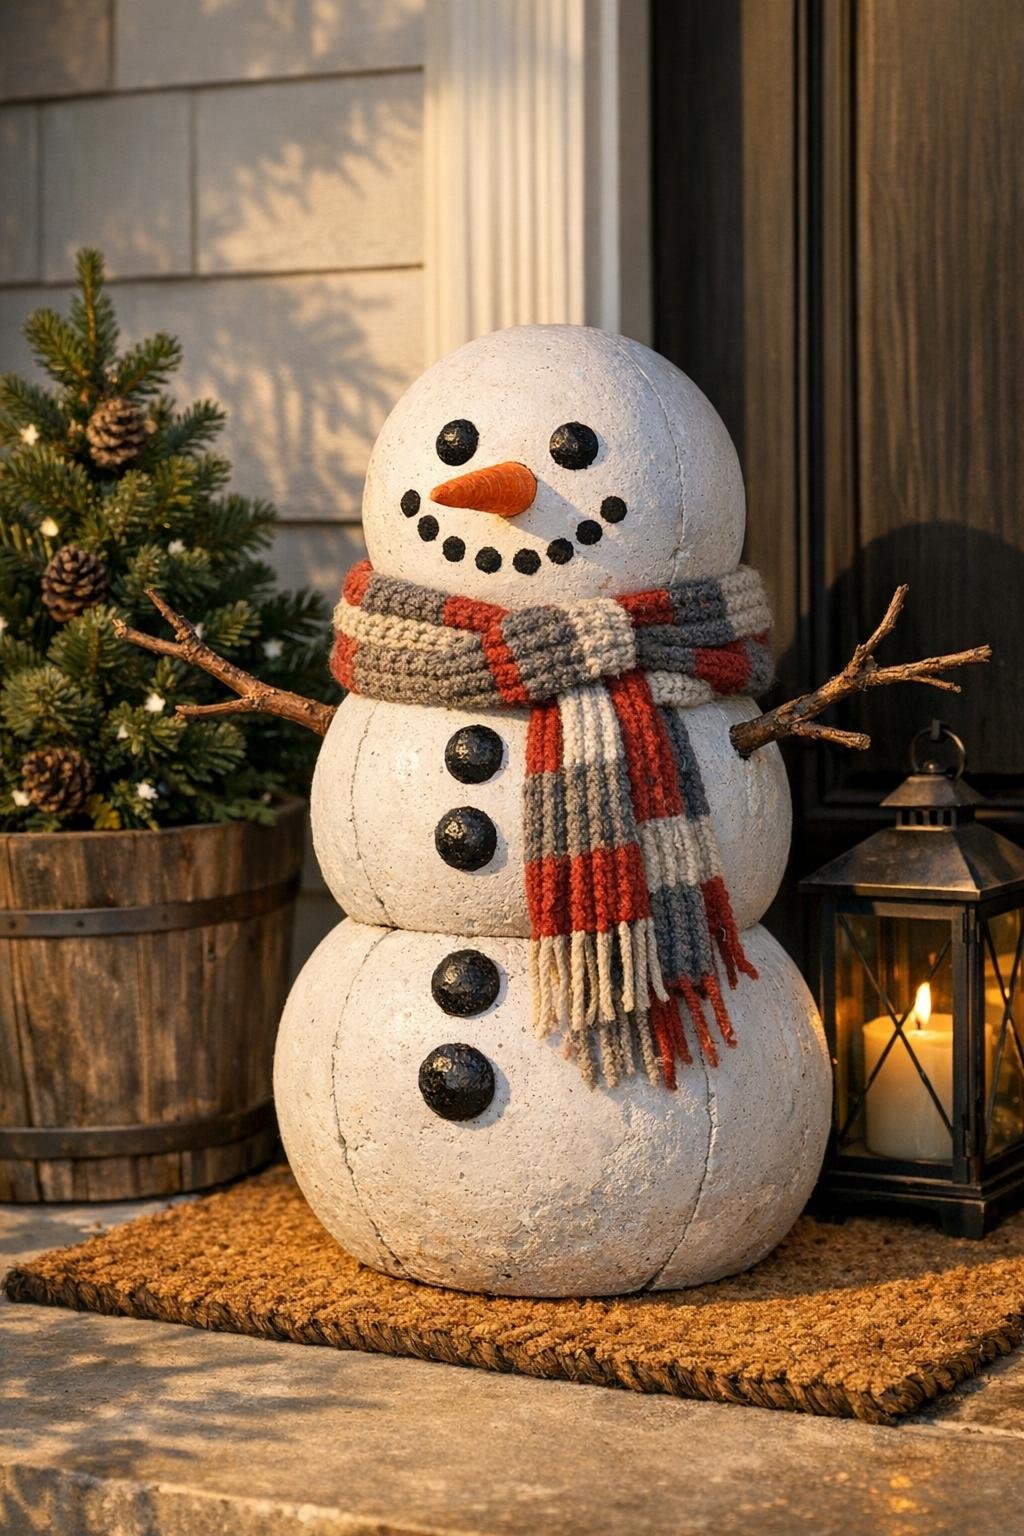
10. Paint two eyes, a dotted smile, and three coal-style buttons with black acrylic paint, then add a long orange carrot nose centered on the smallest top sphere.
11. Wrap the knit scarf around the neck area where the top and middle spheres meet, fluff and arrange it, and touch up any paint if needed.
12. Place the finished piece on your porch where it will stay dry while the paints and adhesive finish hardening, and let it sit another full day before leaving it out for the season.
Variations & Tips
Make it smoother: If your concrete mix seems chunky, stir it a little longer before filling the balloons. A smoother mix gives you cleaner round shapes and makes painting easier later.
Control the size: Don’t overfill the balloons. I like keeping the bottom ball around 10 to 11 inches so it looks substantial on the porch without becoming too heavy to move.
Use a damp brush for paint: Exterior paint goes on concrete more evenly if your brush is just barely damp. It helps the first coat soak in instead of dragging.
Add more personality: You can give the face different expressions, paint extra coal buttons, or tie the scarf in a fuller knot for a more bundled-up look.
Choose the right scarf: A thicker knit scarf gives the project that finished, styled look and also helps disguise the seam between the top two sections beautifully.
Weather tip: This holds up well outdoors, but I still like placing it in a somewhat sheltered porch spot so the painted details stay crisp longer through snow and freeze-thaw cycles.
Easy moving trick: Build it near its final location if possible. Once those concrete spheres are stacked and glued, the piece gets heavy fast, which is great for stability but not so fun for carrying across the yard.