
This is one of those wonderfully satisfying little projects that looks far fussier than it really is. You start with simple foam balls and a pile of fabric scraps, then tuck the fabric right into the surface with a butter knife until each ball is covered in soft, quilt-inspired panels. It’s calming, forgiving, and a lovely way to use up those bits of fabric I always tell myself I’ll save for “something special.”
I especially love this for a cozy afternoon at the table, because it doesn’t require a sewing machine, a hot iron, or any advanced crafting skill. If you can cut fabric and press it into a line, you can make these—and once you finish the first one, it’s very hard not to keep going until you have a whole set.
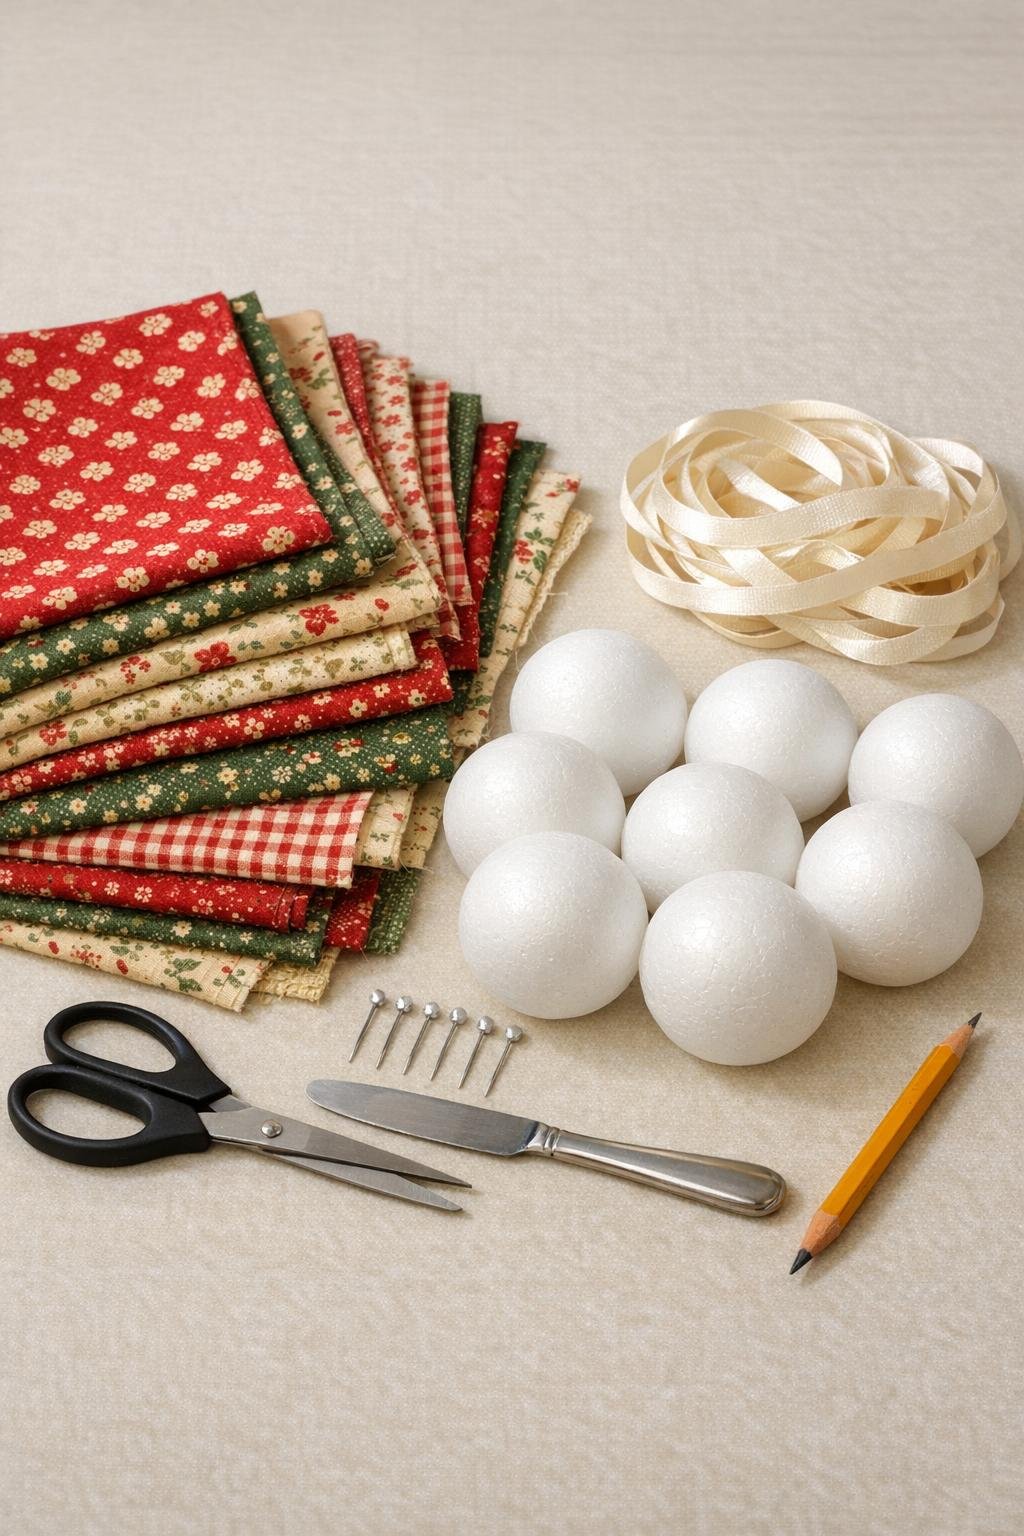
Materials
6 white foam balls, 3 inches in diameter
Instructions
1. Divide your fabric scraps by color family so each ball has a pleasing mix of prints, then cut the ribbon into six 36-inch lengths and set aside.
2. Use the pencil to draw four evenly spaced lines from top to bottom around each foam ball, then draw one line around the middle to create eight wedge-like sections.
3. Press the butter knife gently into each pencil line to make a shallow groove about 1/4 inch deep; this gives the fabric somewhere to tuck and keeps the pattern crisp.
4. Cut your first fabric scrap into a patch slightly larger than one section, leaving about 1/2 inch extra all the way around so you have enough to tuck into the grooves.
5. Center that fabric patch over one section and use the butter knife to push the raw edges into the grooves, working from the middle of each side outward until the fabric lies smooth.
6. Trim away any bulky corners if needed, then keep adding fabric patches one section at a time, alternating prints and colors so the ball looks full and balanced from every angle.
7. Continue until all eight sections are covered, smoothing each patch with your fingers before tucking so you avoid puckers and get that tidy quilted look.
8. Cut a 36-inch ribbon length in half if you want a smaller hanger, or leave it full for a fuller bow; tie the ribbon into a loop and place the ends together.
9. Push a straight pin through the ribbon ends and insert it securely into the top of the foam ball where several grooves meet, then tie an extra bow if you want a more dressed-up finish.
10. Fluff the ribbon, check for any loose fabric edges, and use the butter knife to tuck those in so the ornament looks neat and finished all the way around.
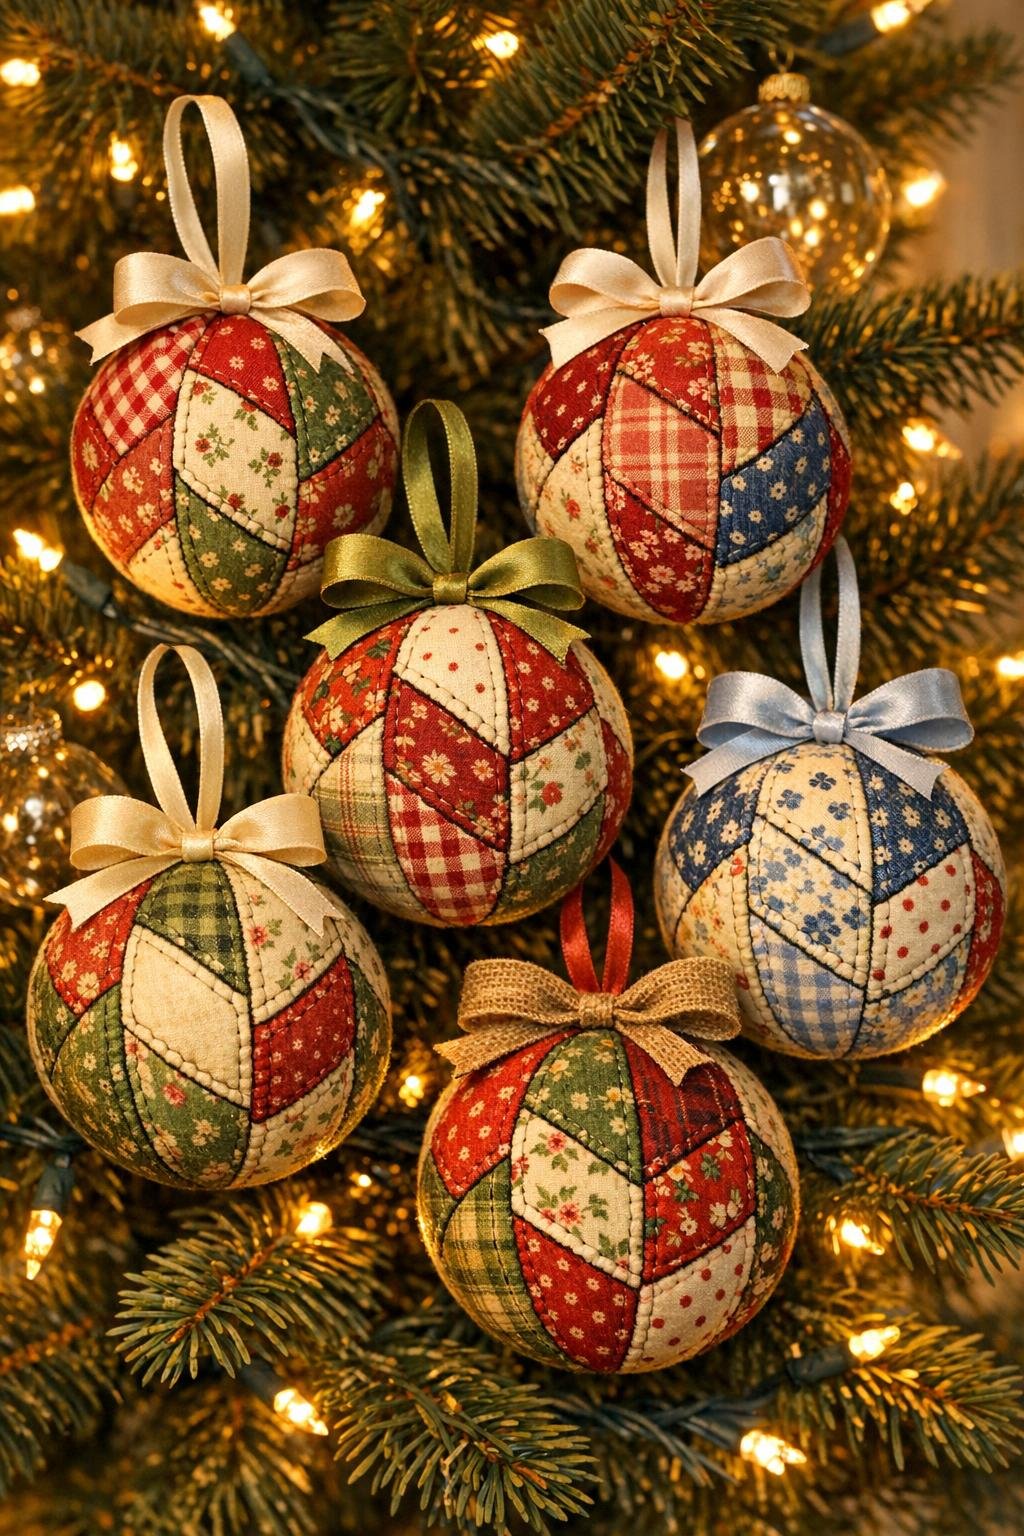
Variations & Tips
For coordinated sets: Use two or three fabrics per ball instead of many small prints if you want the ornaments to look more classic and less scrappy.
For picky decorators: If your family likes a calmer tree, stick to one color palette per ornament—red and cream, blue and white, or green and gold all look beautiful.
For easier cutting: Cut a paper template from one section after you groove the first ball, then use it to quickly trace fabric pieces for the rest.
To hide seams: If any groove looks uneven, tuck in a narrow ribbon or decorative trim over the line for a polished finish without extra fuss.
To make them gift-worthy: Pair two or three ornaments in matching fabrics and tie them together with ribbon for an easy handmade present that looks thoughtful and complete.
Fabric choice tip: Lightweight cotton is the easiest to work with because it tucks cleanly and doesn’t add too much bulk at the edges.
Storage tip: Pack the ornaments in a shallow box with tissue paper so the ribbon stays pretty and the fabric doesn’t get snagged between seasons.