
There are a handful of crafts that look almost suspiciously casual at the beginning, and this is one of them. You start with a taped-down sheet of wax paper, a glue gun, and a mess of loose squiggles that honestly do not look promising for the first few minutes. But if you trust the process and keep your lines light and lacy, that scribbled glue turns into something airy and wintry with a lot more sparkle and structure than you’d expect.
I love projects like this because they give you a big visual payoff without needing fancy tools or precise drawing skills. If you can trace, layer, and add a finishing dusting of glitter, you can make a whole flurry of these for windows, garlands, gifts, or a tree branch display. It’s especially good for impatient crafters, because the materials are simple, the shapes are forgiving, and you can make a generous batch in one sitting.
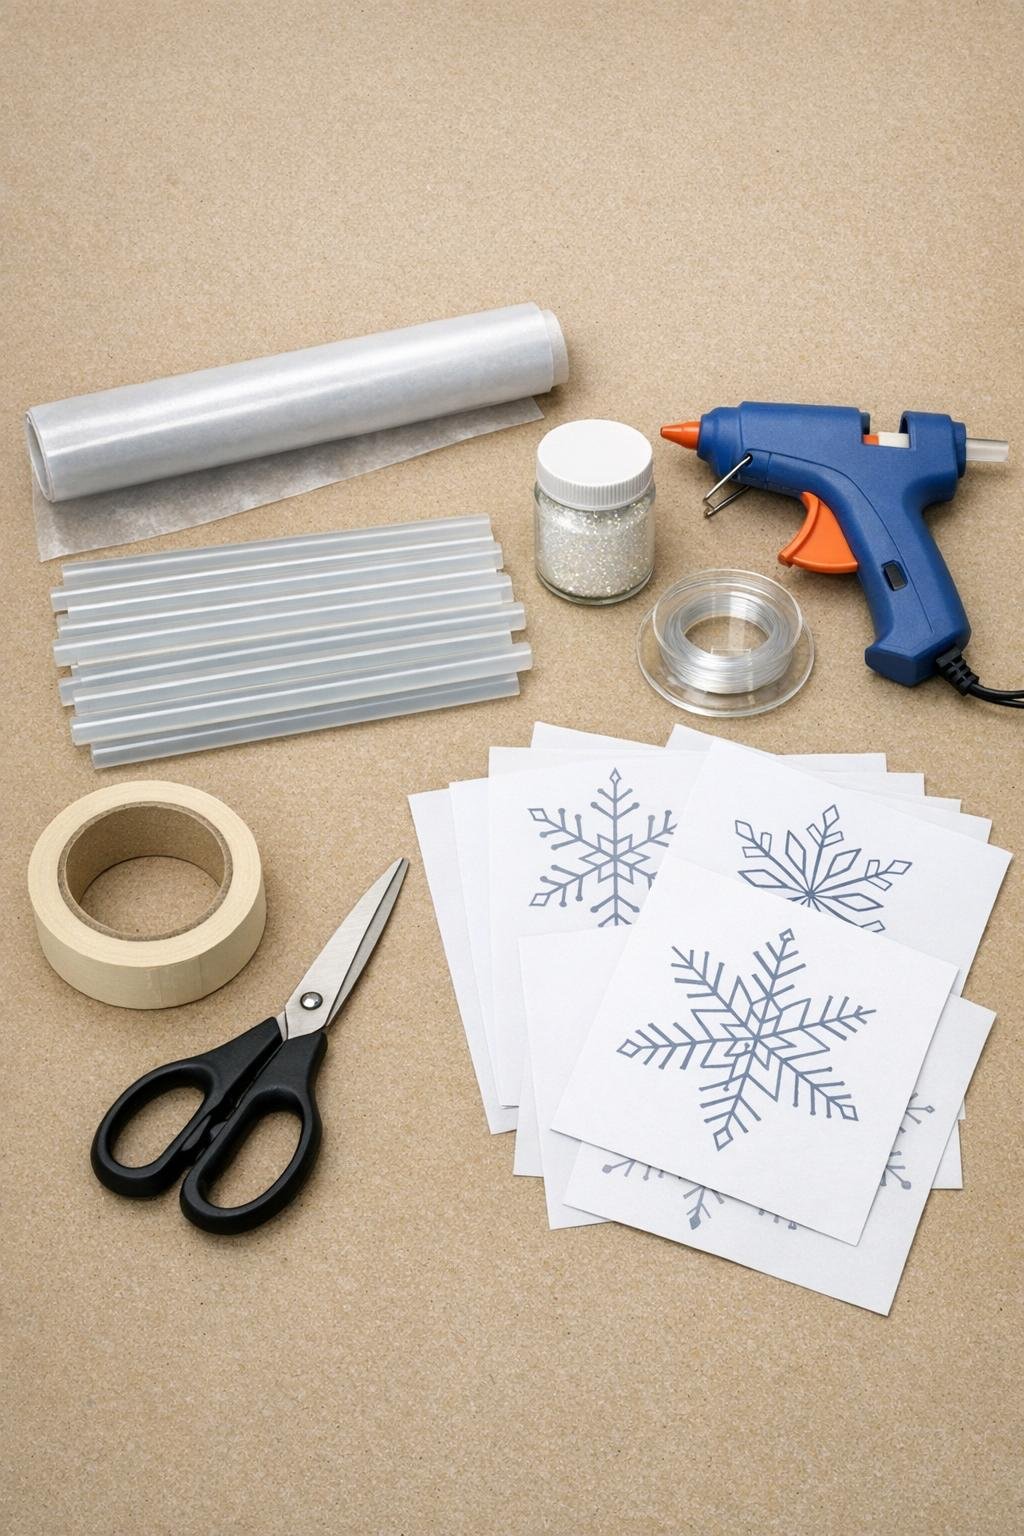
Materials
1 roll wax paper, cut into 8 to 10 sheets about 12 x 12 inches each
Instructions
1. Print several snowflake templates in different sizes, then place them on your table and cover each one with a sheet of wax paper. Tape the wax paper tightly on all four sides so it stays flat while you work.
2. Plug in the glue gun and let it heat fully so the glue flows smoothly instead of making chunky lines. Have extra glue sticks unwrapped and ready, because stopping mid-snowflake can leave thick blobs.
3. Start by tracing the main snowflake lines directly over the template through the wax paper, keeping the glue lines thin and steady. Work from the center outward so the shape stays balanced.
4. Fill in each arm with loose scribbles, loops, and little branch marks, connecting every decorative line back to the main structure. The goal is a lacy, webbed snowflake, not a solid puddle of glue.
5. Add a small glue ring or reinforced dot at the top tip of one arm if you plan to hang the snowflake. Keep that spot slightly thicker than the rest so it won’t tear when you thread the line through later.
6. While the glue is still warm, sprinkle fine glitter generously over the entire snowflake so it sticks to the surface. Let it sit for 20 to 30 seconds, then gently tap off the excess onto a sheet of paper so you can funnel it back into the jar.
7. Repeat the tracing, scribbling, and glittering process until you’ve made a full batch. With the materials listed, you can comfortably make 8 to 12 snowflakes depending on size and how densely you lace the centers.
8. Let the snowflakes cool completely for 5 to 10 minutes, then peel them off the wax paper slowly from one edge. If any strand feels flimsy, add a tiny line of hot glue to reinforce it and dust that spot with more glitter.
9. Trim away any wispy glue threads with scissors, especially between points and around the center. A quick cleanup makes them look crisp instead of cobwebby.
10. Cut lengths of clear fishing line 8 to 18 inches long, depending on how you want to display them. Tie or thread each piece through the reinforced top area and knot it securely.
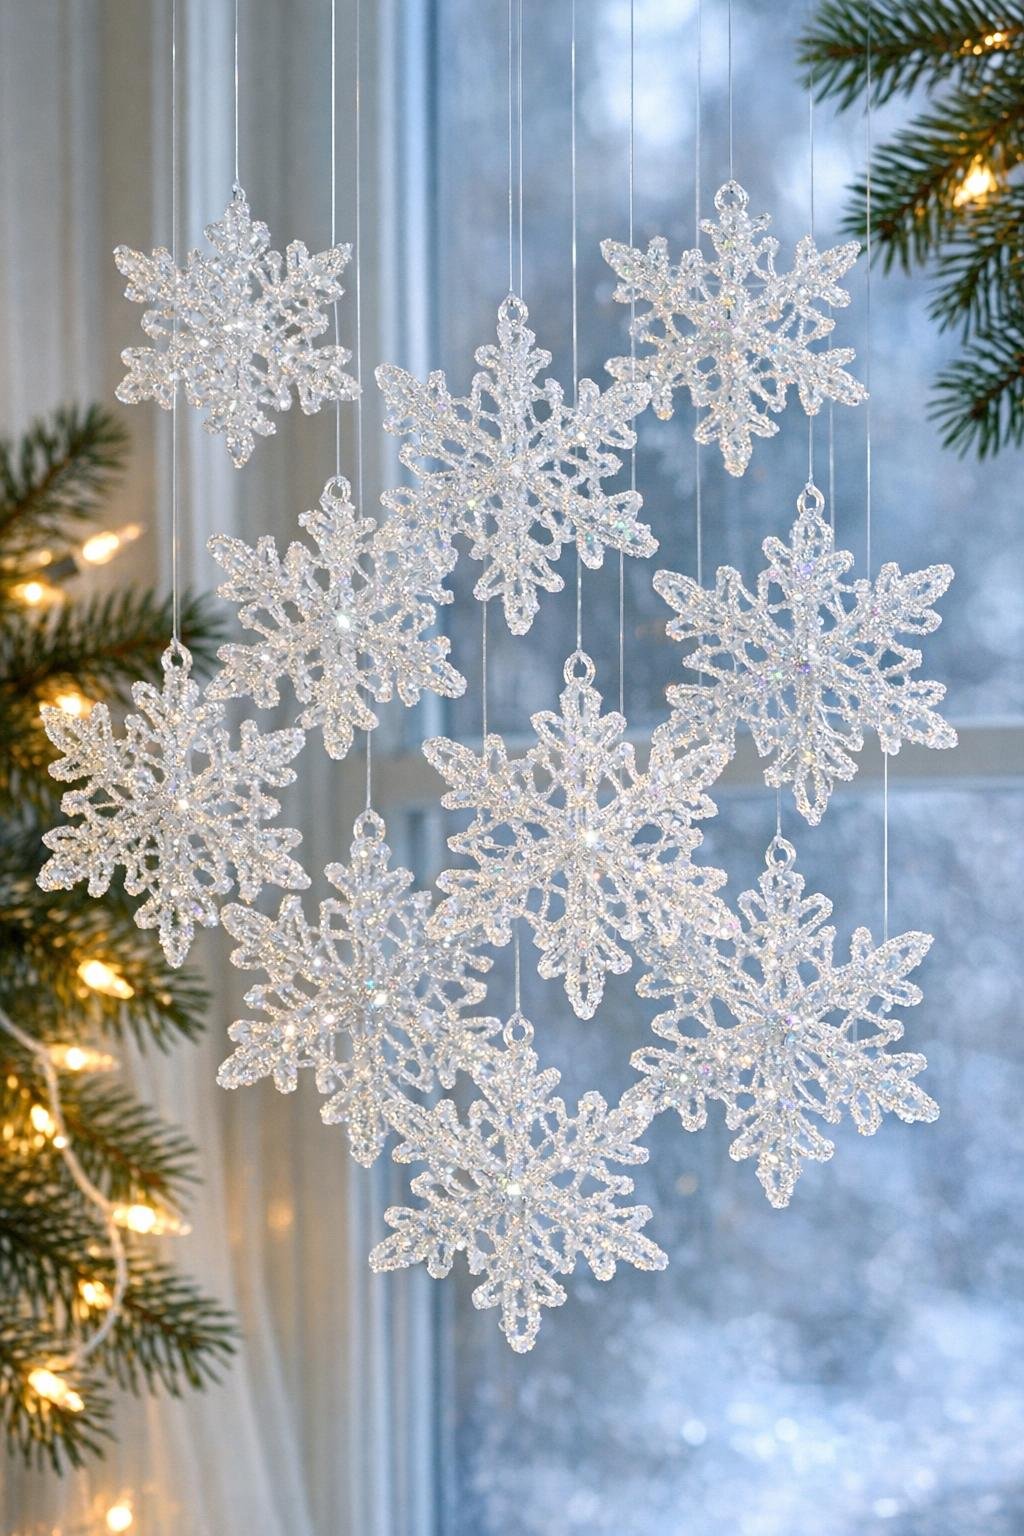
11. Hang them individually in a window, cluster them at different heights from a branch, or string several together for a fuller display. They catch light best when you vary the sizes and keep the spacing a little uneven, like a real flurry.
Variations & Tips
For fuller snowflakes: Make the center extra dense with overlapping loops before extending the arms. That little bit of fullness gives the finished pieces a more dramatic, frosted look.
For easier tracing: Choose templates with six bold arms and simple branch shapes instead of very fine, intricate cuts. Hot glue naturally wants to round out, so slightly chunkier designs come out cleaner.
For better sparkle: Mix white glitter with iridescent glitter for depth. I like the combination because it reads snowy in daylight and picks up lamplight beautifully at night.
If the glue blobs up: Your glue gun may not be hot enough, or you may be moving too slowly. Let the gun heat another minute and keep the tip gliding so the lines stay threadlike.
For window displays: Hang the snowflakes at three different lengths and overlap small, medium, and large sizes. That layered arrangement looks far richer than a single row.
For gift toppers or ornaments: Scale the templates down to 3 or 4 inches wide and use shorter loops of fishing line. They’re lightweight, so they work nicely tied onto wrapped packages or tucked onto a tree.
For cleaner removal: Wait until the glue is fully cool before peeling. If you rush, the snowflake can stretch slightly, and those pretty crisp points are what make the finished batch look polished.