
Cardboard and hot glue are two of those humble supplies I always keep around, and every so often they surprise me. This project starts with the kind of messy, casual glue scribbling that looks like nothing special at first, but with the right paint treatment it turns into a richly textured piece with real depth and presence.
If you like easy crafts that give you a big visual payoff without fancy tools, this is a wonderful one to try. I designed this version to make a large, porch-worthy accent that looks far more substantial than the materials would suggest, and it’s especially satisfying if you enjoy faux-finishing and a little bit of creative transformation.
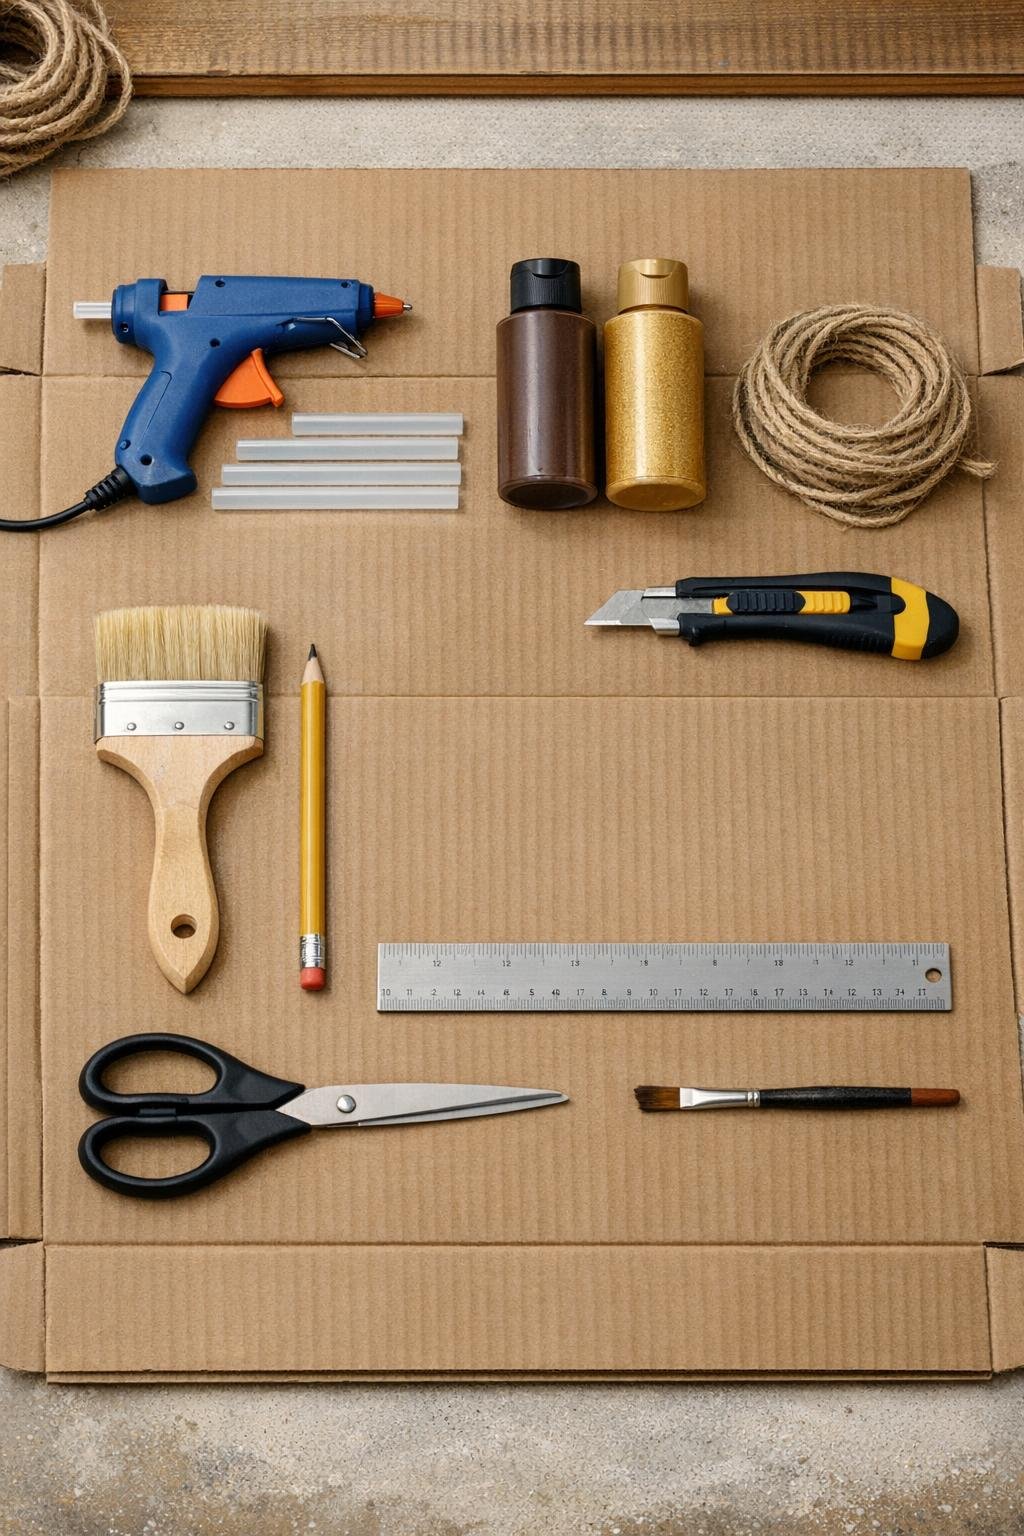
Materials
Instructions
1. Flatten the cardboard box completely and choose the smoothest large section for your star, keeping the corrugation intact and avoiding crushed corners.
2. Draw a 24-inch five-point star on the cardboard with a pencil and ruler, making the points long and evenly spaced so the finished piece has strong porch presence.
3. Cut out the star with a box cutter for long straight lines and scissors for tighter corners, then trim any fuzzy cardboard bits from the edges.
4. Lightly sketch a few long angled lines inside the star to guide your glue pattern, dividing the shape into carved-looking sections without making the design too rigid.
5. Heat the glue gun and scribble hot glue all over the front in loose looping lines, following the star’s angles and filling every section with raised texture from point to point.
6. Add a second pass of glue along some of the sketched section lines and around the outer edges to build deeper ridges that will read like carved detail after painting.
7. Let the glue cool fully for 10 to 15 minutes, then snip away any wispy glue threads so the texture looks intentional instead of stringy.
8. Paint the entire front and edges with brown acrylic paint, pushing the paint down into every groove and coating all exposed cardboard.
9. Let the brown coat dry, then add a second coat anywhere the cardboard still shows through, especially on the cut edges and between thicker glue ridges.
10. Pour a small amount of gold paint onto a plate, load only the tips of the dry brush, and lightly sweep across the raised texture so the high spots catch a warm metallic highlight.
11. Build the gold gradually, concentrating on the ridges and point edges until the star looks dimensional and faux carved rather than fully metallic.
12. Flip the star over and glue or tape the two pieces of jute twine into a hanger loop near the top back, then cover the ends with the small cardboard scrap for reinforcement.
13. If you want extra durability, seal the front, edges, and back with a clear matte sealer and let it dry completely before hanging.
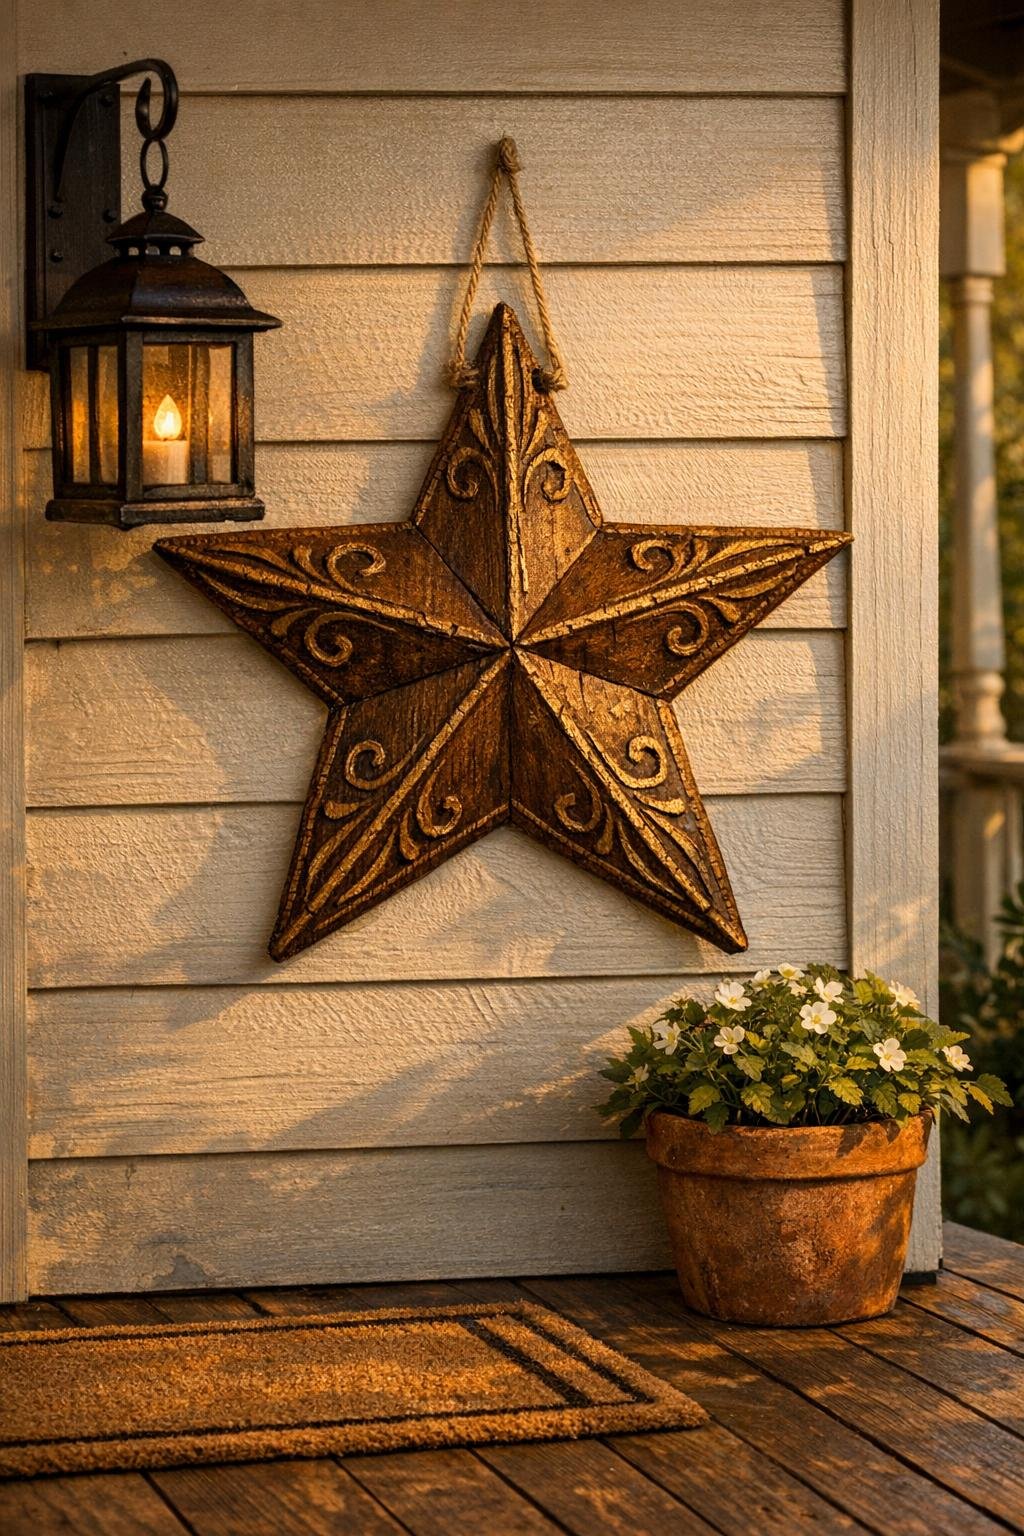
14. Hang the piece on a covered porch wall or front door area where the light can catch the texture and show off the carved effect.
Variations & Tips
Richer wood tone: If you want a deeper, older finish, mix a little black or burnt umber into some of the brown paint and brush it into the grooves before dry brushing the gold on top.
More carved definition: Make your glue scribbles denser near the center and along the section lines. I’ve found that a generous texture field gives the most convincing carved look once paint hits it.
Alternative finish: Swap the gold for copper, bronze, or a lighter tan dry brush if you want the piece to lean more rustic than glam.
Outdoor placement: Because the base is cardboard, this project is best on a covered porch, enclosed entry, or sheltered wall. A sealer helps, but I would still keep it out of direct rain.
Cleaner cuts: Change your blade as soon as it starts dragging. Cardboard compresses quickly, and a fresh blade makes the points look much crisper.
Easy scaling: For a larger statement piece, increase the star to 30 inches and use a second layer of cardboard glued behind it before adding the texture.