
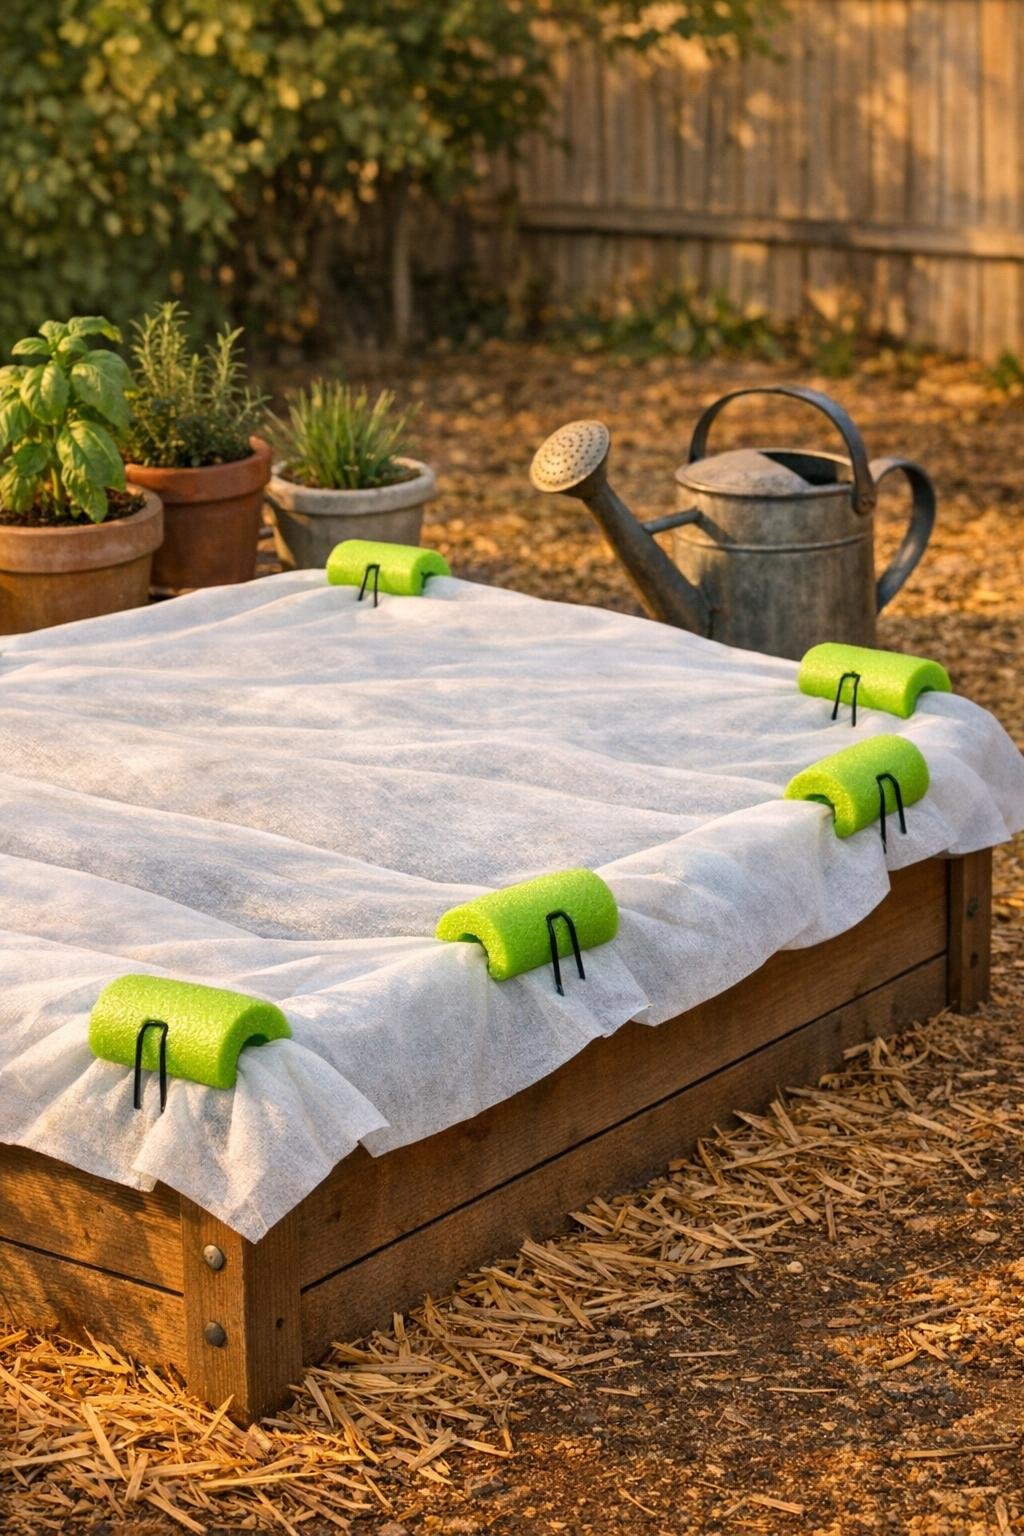
There’s a certain kind of garden fix I love most: the one that costs almost nothing, uses what’s already easy to find, and solves an annoying seasonal problem better than the store-bought version. This simple raised-bed tarp anchor is exactly that. By slicing a foam pool noodle lengthwise and pairing it with one common yard item, you can make a grippy, gentle clamp that holds frost cloth or a lightweight tarp on a raised bed without tearing the fabric or letting the wind sneak underneath.
I like this project for gardeners who want their beds covered fast before a cold snap, especially if you’re tired of bricks, random boards, or flimsy clips that pop off by morning. The finished anchors are bright, easy to spot at dusk, soft on row cover fabric, and surprisingly polished-looking for something made in just a few minutes.

Materials
Instructions
1. Measure the pool noodle and mark it into 6 equal sections, each about 8 to 9 inches long, so you’ll have enough anchors to secure both long sides and the ends of a standard raised bed.
2. Cut the pool noodle crosswise at each mark to make 6 short foam pieces.
3. Slice each short noodle piece lengthwise along one side only, creating a straight slit from end to end so it can open up and clip over the edge of fabric.
4. Test one slit piece by pressing it open and clipping it over the edge of your frost cloth or tarp; widen the slit slightly if the fabric bunches instead of sliding in smoothly.
5. Drape the tarp or frost cloth over your raised bed, leaving 6 to 8 inches of overhang on every side so the cover can be pinned securely without pulling tight.
6. Clip a noodle piece over the cover at each anchor point around the bed, spacing them evenly with one near each corner and one at the center of each long side.
7. Push one metal landscape staple down through the center hole of each noodle piece and into the soil just outside the bed edge, driving it deep enough that the foam sits snugly against the cover.
8. Adjust the fabric so it stays gently tented over the plants, then press each foam anchor flat and even to spread pressure across the cover instead of creating one hard pinch point.
9. For windy weather, angle the end anchors slightly outward as you push in the staples; this gives the cover more resistance against lifting and keeps the edges tucked down better overnight.
10. Check that all sides are sealed close to the soil, with no large gaps, and your raised-bed tarp anchor is ready for frost protection, seedling shielding, or holding shade cloth in place on bright afternoons.
Variations & Tips
For larger beds: Use a second pool noodle and add more anchors every 18 to 24 inches so the cover stays full and secure instead of flapping between anchor points.
For heavier tarps: Choose 8-inch landscape staples and cut slightly longer noodle sections, around 10 inches each, to create more grip and better pressure distribution.
For delicate row cover: Make the slit just narrow enough to hold the fabric without forcing it; that little bit of restraint protects lightweight material from stretching or tearing.
For easier storage: Keep the foam clips slid onto a spare staple or tucked into a garden tote so you can cover a bed quickly when the forecast suddenly drops.
Color-coding trick: If you have more than one bed, use different noodle colors for different cover types, such as green for frost cloth and blue for shade cloth, which makes setup much faster in a hurry.
Best use note: This works especially well for temporary cold snaps, insect cloth, and light weather protection; for long-term snow load or very strong wind, add hoops under the cover for extra support.