
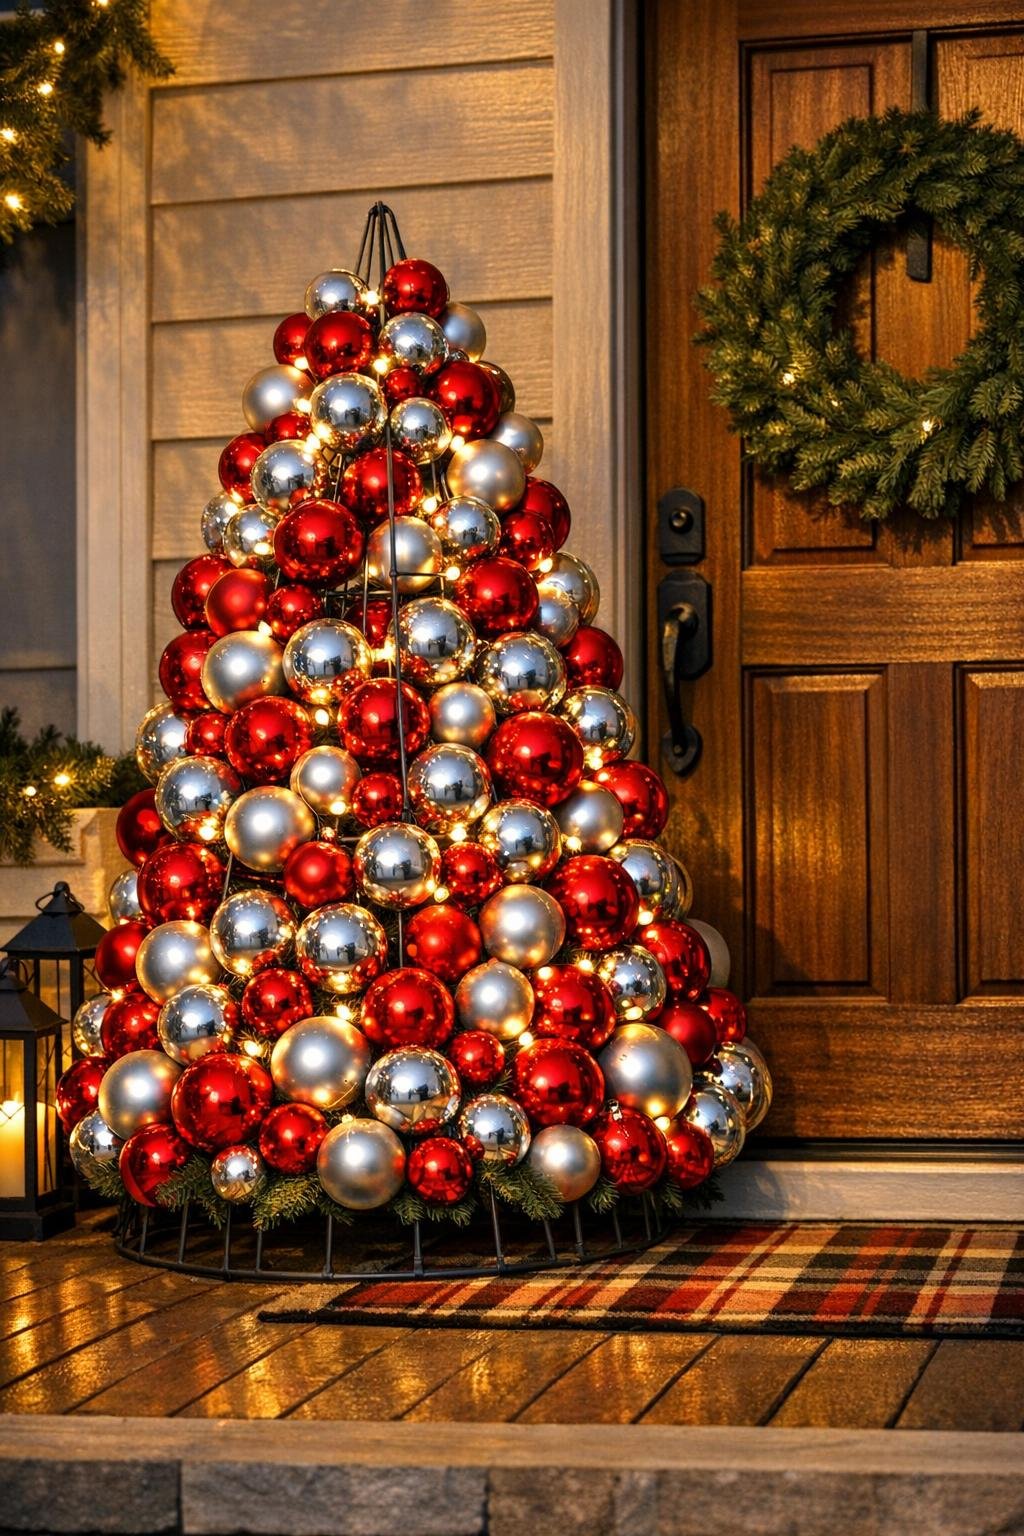
This is the kind of budget-friendly project I love most: simple supplies, easy assembly, and a big, cheerful payoff that makes the whole porch feel festive. If you’ve ever wanted a holiday decoration that looks full and special without requiring fancy tools or crafting experience, this one absolutely delivers.
I also appreciate that it’s forgiving. You don’t need perfect spacing or designer-level styling to make it turn out beautifully, and that makes it a great weekend project for busy families, first-time crafters, or anyone who wants something eye-catching by the front door with very little fuss.
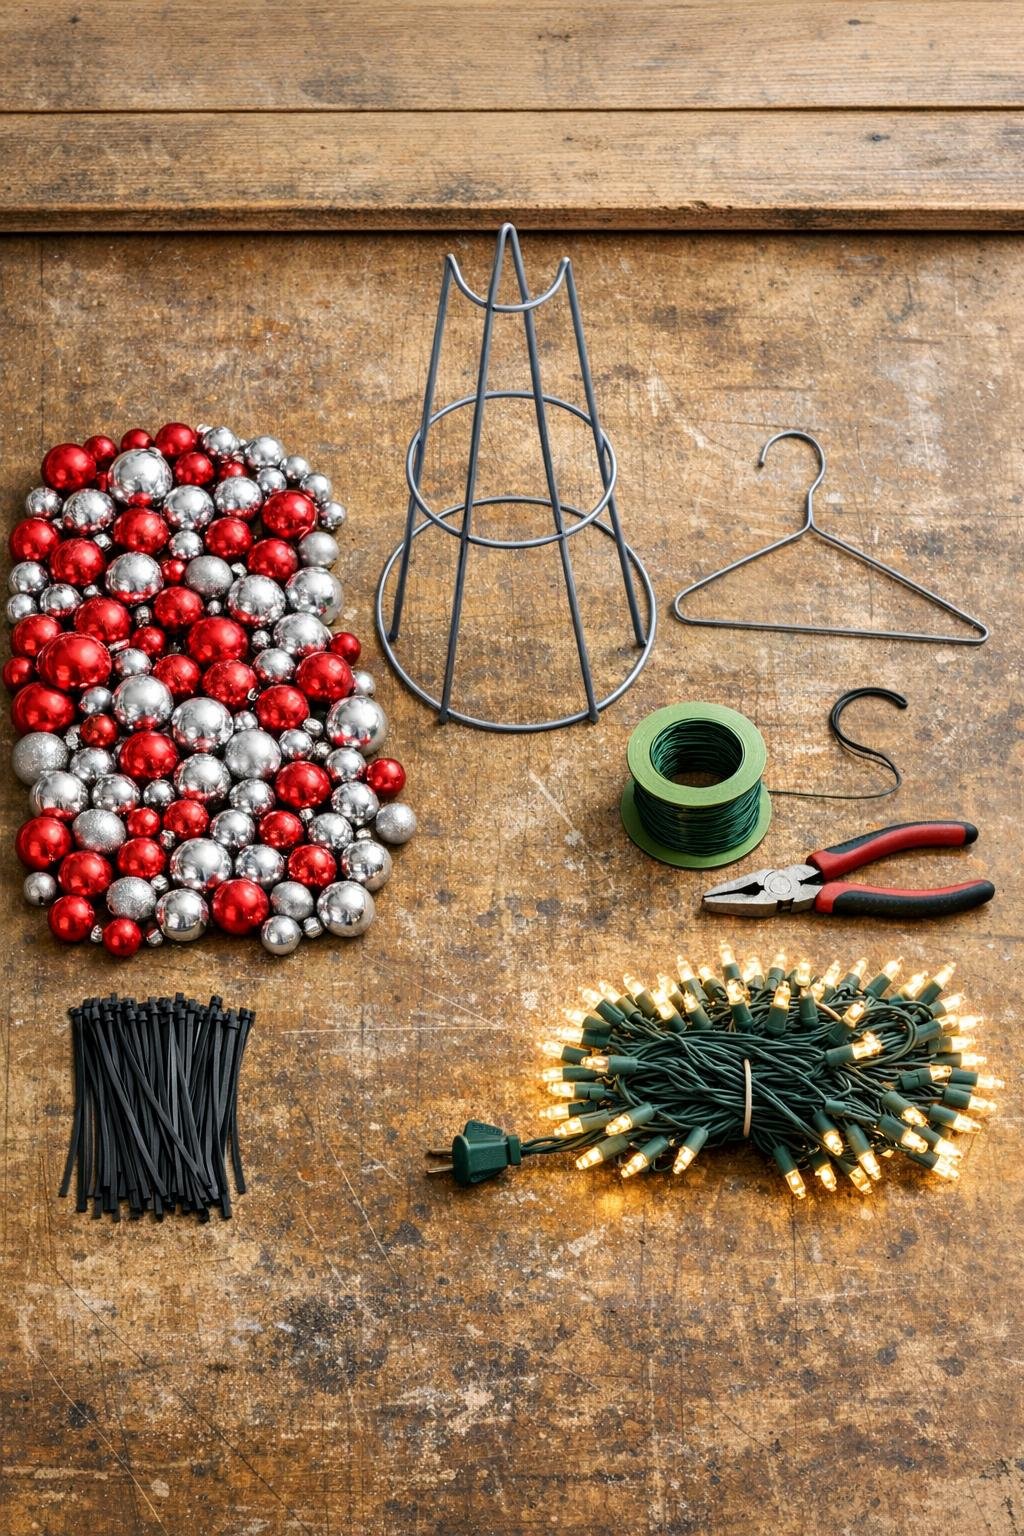
Materials
150 dollar store plastic ornament balls in red and silver, mixed sizes from 1 1/2 inches to 2 1/2 inches
Instructions
1. Turn the tomato cage upside down so the wide ring sits on your work surface and the three legs point up to form the top of the tree.
2. Pull the loose ornament tops off any balls that feel weak, then sort the ornaments by size so you can use the largest ones at the bottom and the smallest ones near the top.
3. If you’re using a wire hanger, straighten it with pliers and bend a small loop at one end so the ornaments cannot slide off while you work.
4. Thread 8 to 12 ornaments onto the wire, mixing red and silver as you go, and leave just enough room between them to let each ball keep its shape and shine.
5. Wrap that wired ornament strand around the bottom section of the tomato cage and twist the wire ends tightly to anchor it to the metal frame.
6. Continue making ornament strands and attaching them around the cage, working in horizontal rows from the bottom upward so the frame fills in evenly.
7. Tuck the larger ornaments low and toward the outside edge, then use medium and small ornaments higher up to keep the tree shape full and balanced.
8. Use zip ties anywhere the wired strands need extra support, especially around the bottom ring and the middle rows, then trim the tie tails neatly with pliers.
9. Fill any obvious gaps by wiring single ornaments directly onto the cage until the surface looks lush and generously covered from every angle.
10. Gather the three top legs together, secure them with wire or a zip tie, and add two or three small ornaments at the top to soften the point.
11. Weave the string of lights in and out through the ornaments, starting near the bottom and spiraling upward, keeping the bulbs slightly tucked back so the ornaments stay front and center.
12. Secure the light plug near the back base with a zip tie or clear tape, fluff the ornament placement with your hands, and add a weather-resistant ribbon bow at the top or front if you’d like a little extra finish.
Variations & Tips
Color mix: Red and silver gives a classic look, but gold and cream feels elegant, and bright multicolor is especially fun if you have little ones who like a more playful holiday porch.
For picky decorators: In my house, somebody always wants “less sparkle” and somebody else wants “more.” A simple compromise is to keep the main tree in just two colors and let everyone choose one special accent ornament to tuck into the front.
Outdoor durability: Plastic ornaments are the best choice here because they’re lightweight and much safer for porch use than glass. If your porch gets strong wind, add a few extra zip ties through the middle and bottom rows.
Make it fuller: If you can still see too much of the frame, wire single ornaments into the open spots instead of making another full strand. That little touch makes a big difference and gives the tree that abundant, polished look.
Lighting tip: Warm white lights make the red and silver ornaments glow beautifully, but cool white lights will give you a crisper, icier look. I like to test the light strand before weaving it in so there are no surprises later.
Easy porch pair: Make two and place one on each side of the door for a balanced entry. If you do that, keep the ornament colors and light style the same so everything feels intentional and pulled together.
Storage: If you have room, store the whole piece upright in a large plastic bag or a tall box instead of taking it apart. It saves so much time next season, which is exactly the kind of shortcut I appreciate once the holidays get busy.