
By late summer, I always seem to have a coffee can, a seed tin, and at least one apron pocket full of plant clips, twist ties, and little garden odds and ends. This simple organizer is my kind of project: quick, thrifty, and genuinely useful when the beds are winding down and I’m sorting what gets saved for next year. We’re turning cut wire coat hangers into sturdy hanging dividers, then pairing them with two dollar store basics to make a tidy vine clip organizer that keeps everything visible instead of rattling around in a drawer.
If you’ve got tomato clips, cucumber clips, orchid clips, or those little reusable support rings that always vanish at the wrong moment, this is a good one to make. It’s easy enough for an afternoon at the kitchen table, but the finished piece looks neat and hardworking hanging in a shed, potting corner, or mudroom closet. It reminds me of the old farm habit of making do with what you had, only cleaned up a little so it feels like something you’ll be happy to use year after year.
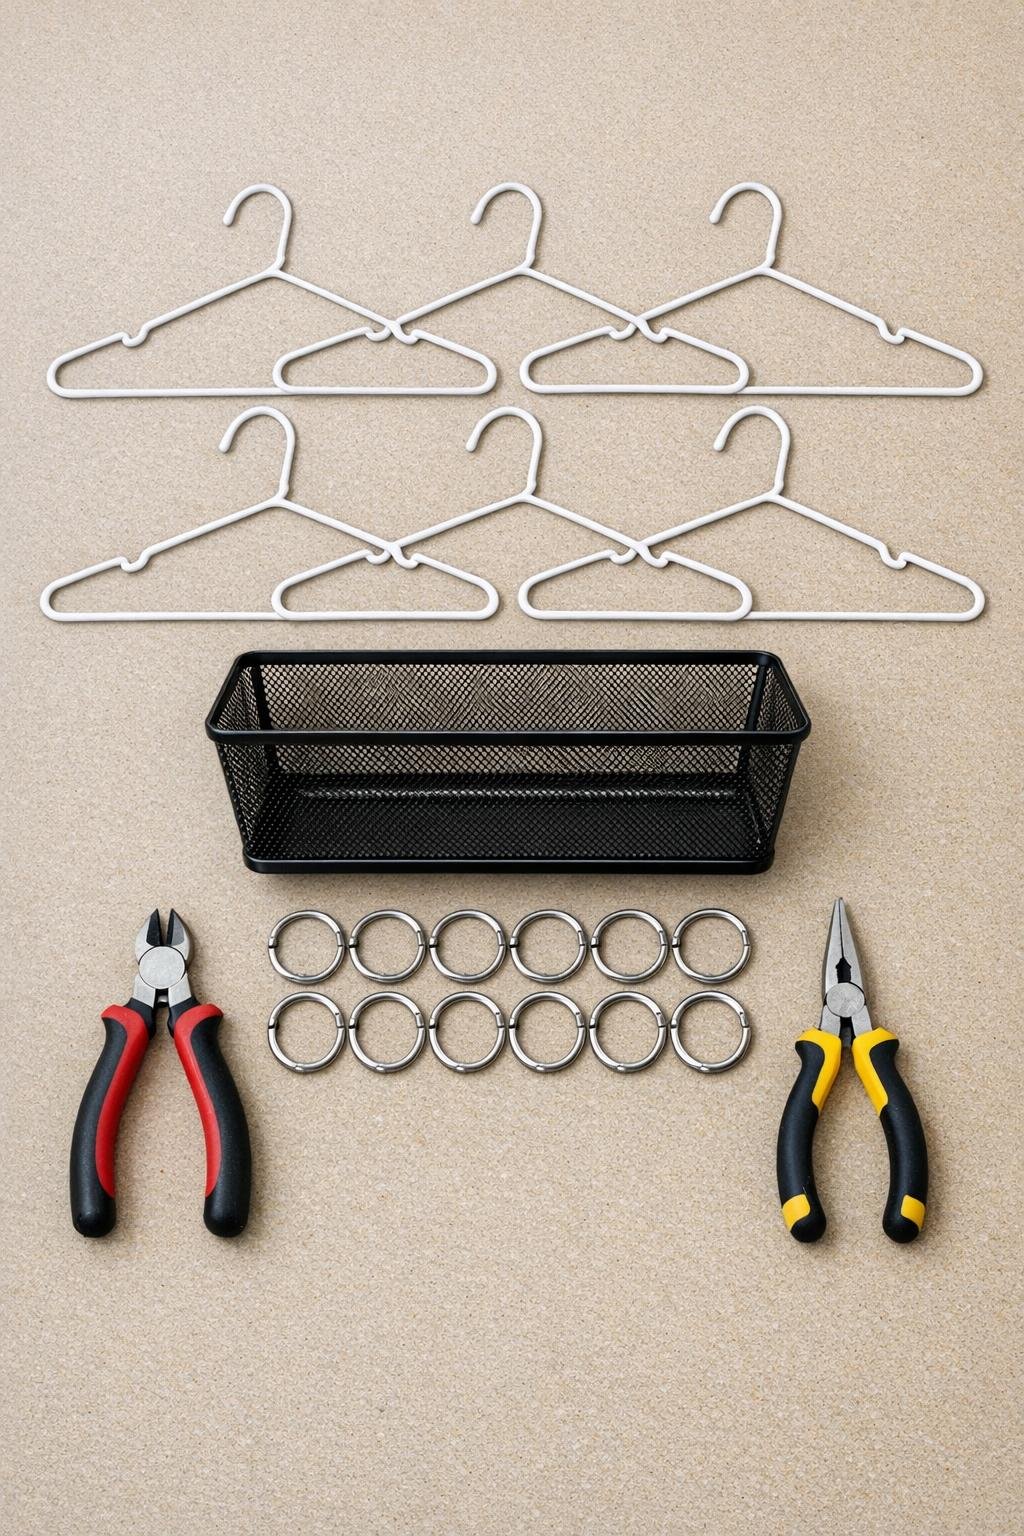
Materials
Instructions
1. Cut the twisted bottom bar off each wire coat hanger with wire cutters so you’re left with long wire lengths and the hanger hooks still attached to some pieces.
2. Straighten 6 of the longest wire sections with your hands and needle nose pliers, then trim them to about 10 inches long so they fit neatly across the basket width with a little extra for fastening.
3. Smooth any sharp cut ends with sandpaper or by pinching and curling the tips inward with pliers so the organizer is safe to handle.
4. Space the 6 straight wire bars evenly across the top opening of the mesh basket from front to back, like dividers, leaving enough room between them for your fingers to reach in and grab clips.
5. Lash each end of every wire bar to the basket rim with two tight wraps of floral wire, then twist the ends flat with pliers so the dividers stay firm and don’t wobble.
6. Wrap each fastening point with a short piece of black electrical tape to cover the twisted wire ends and give the whole top edge a cleaner, finished look.
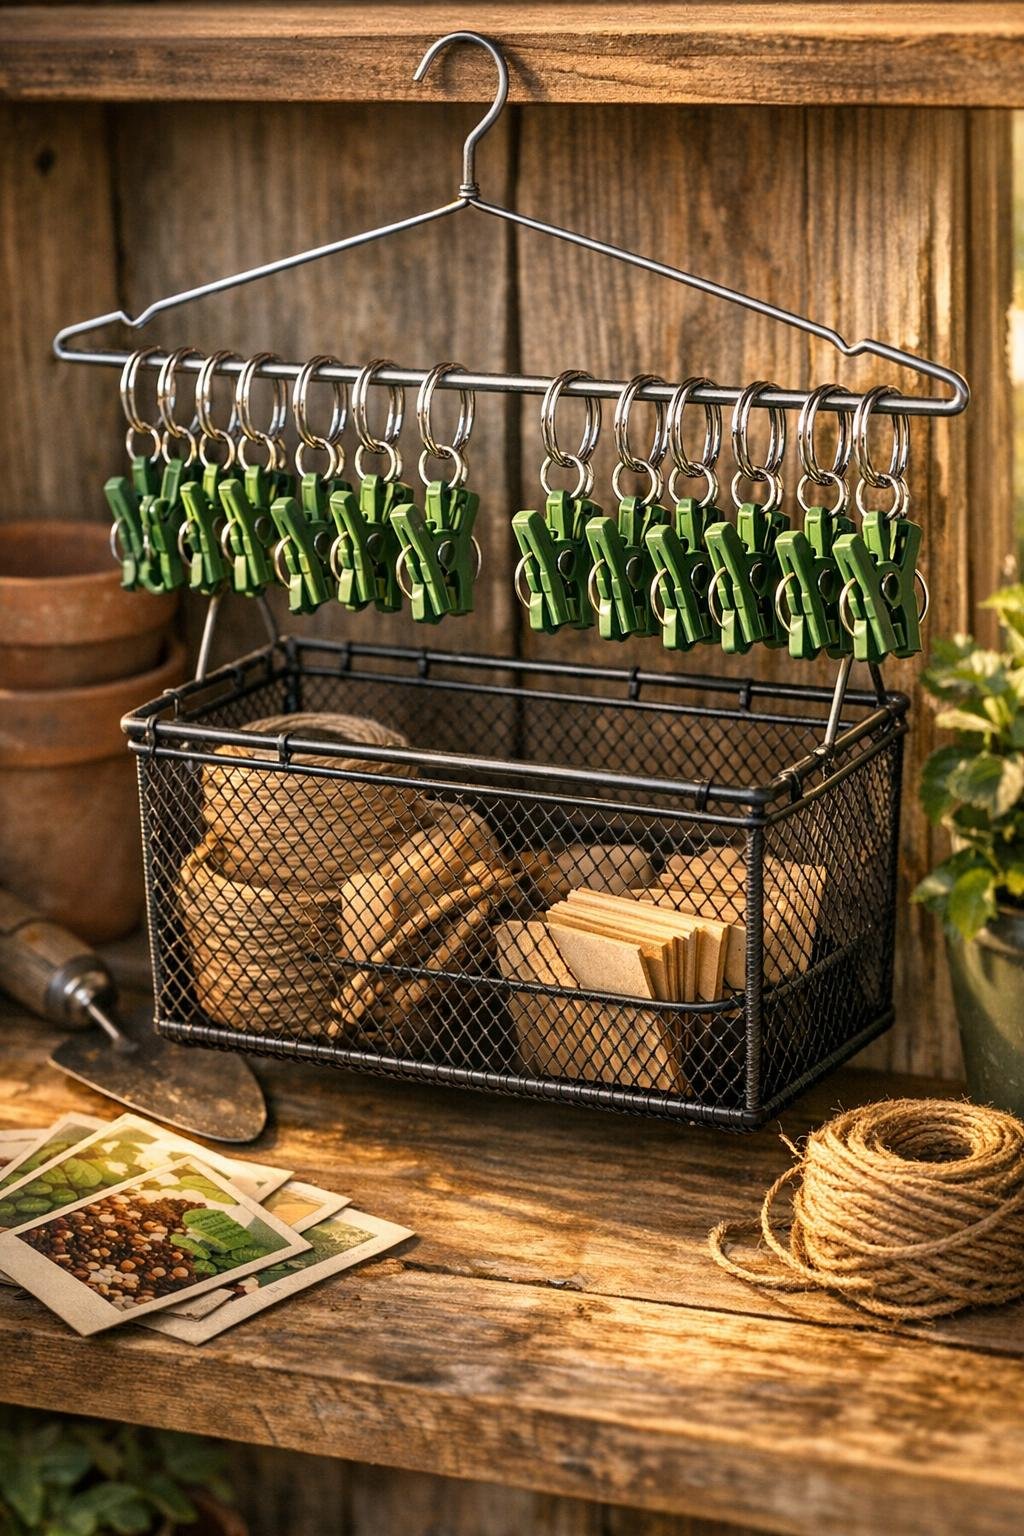
7. Clip 2 shower curtain rings onto each wire divider bar, spacing them evenly so each divider becomes a hanging lane for one type of plant clip.
8. Load your vine clips onto the rings by size or type, then use the basket below for extras like twine, plant labels, soft ties, or pruners.
9. If you want a more polished end-of-season organizer, remove the rings and clips, spray the wire bars and basket with matte black or dark green paint, let them dry fully, and seal with a clear topcoat.
10. Reassemble everything and hang the organizer in your potting shed, on a garage wall hook, or from sturdy shelving using one of the original coat hanger hooks bent into a hanging loop.
Variations & Tips
For bigger clip collections: Use a larger mesh basket and add 8 divider bars instead of 6 so you can sort tomato clips, orchid clips, cucumber clips, and soft ties separately.
If you want less metal shine: Dark green spray paint helps the organizer blend in beautifully with garden supplies, and it gives those humble coat hanger pieces a surprisingly tidy look.
For damp shed storage: A clear sealer is worth the extra few minutes, especially if your garden space gets humid in fall and winter.
To make it easier to grab clips: Don’t overfill the rings; I like to keep 6 to 10 medium clips per ring so they slide freely instead of bunching up.
For a no-paint version: Wrap the visible wire bars tightly with floral tape or electrical tape before attaching the rings, which softens the look and covers mismatched hanger finishes.
Best use tip: Sort by job, not just by size. In my own shed, one ring is for tomato trellis clips, one for delicate seedling clips, one for broken-but-still-usable pieces, and that saves me time come spring.