
If you’ve ever wanted a porch project that looks far fussier than it actually is, this one delivers in a big way. We’re taking inexpensive paper doilies, soaking them in a simple glue-and-water mixture, and using them to build a sturdy lace-like shell over a basic garden form. The technique is wonderfully forgiving, and once you understand how the layers overlap and harden, it feels a bit like papier-mâché wearing its Sunday best.
I love projects like this because they use humble materials but create real atmosphere. If you’re comfortable getting a little sticky at the kitchen counter and you want a statement piece for a covered entry, this is an easy weekend make that looks especially charming once the light starts fading in the evening.
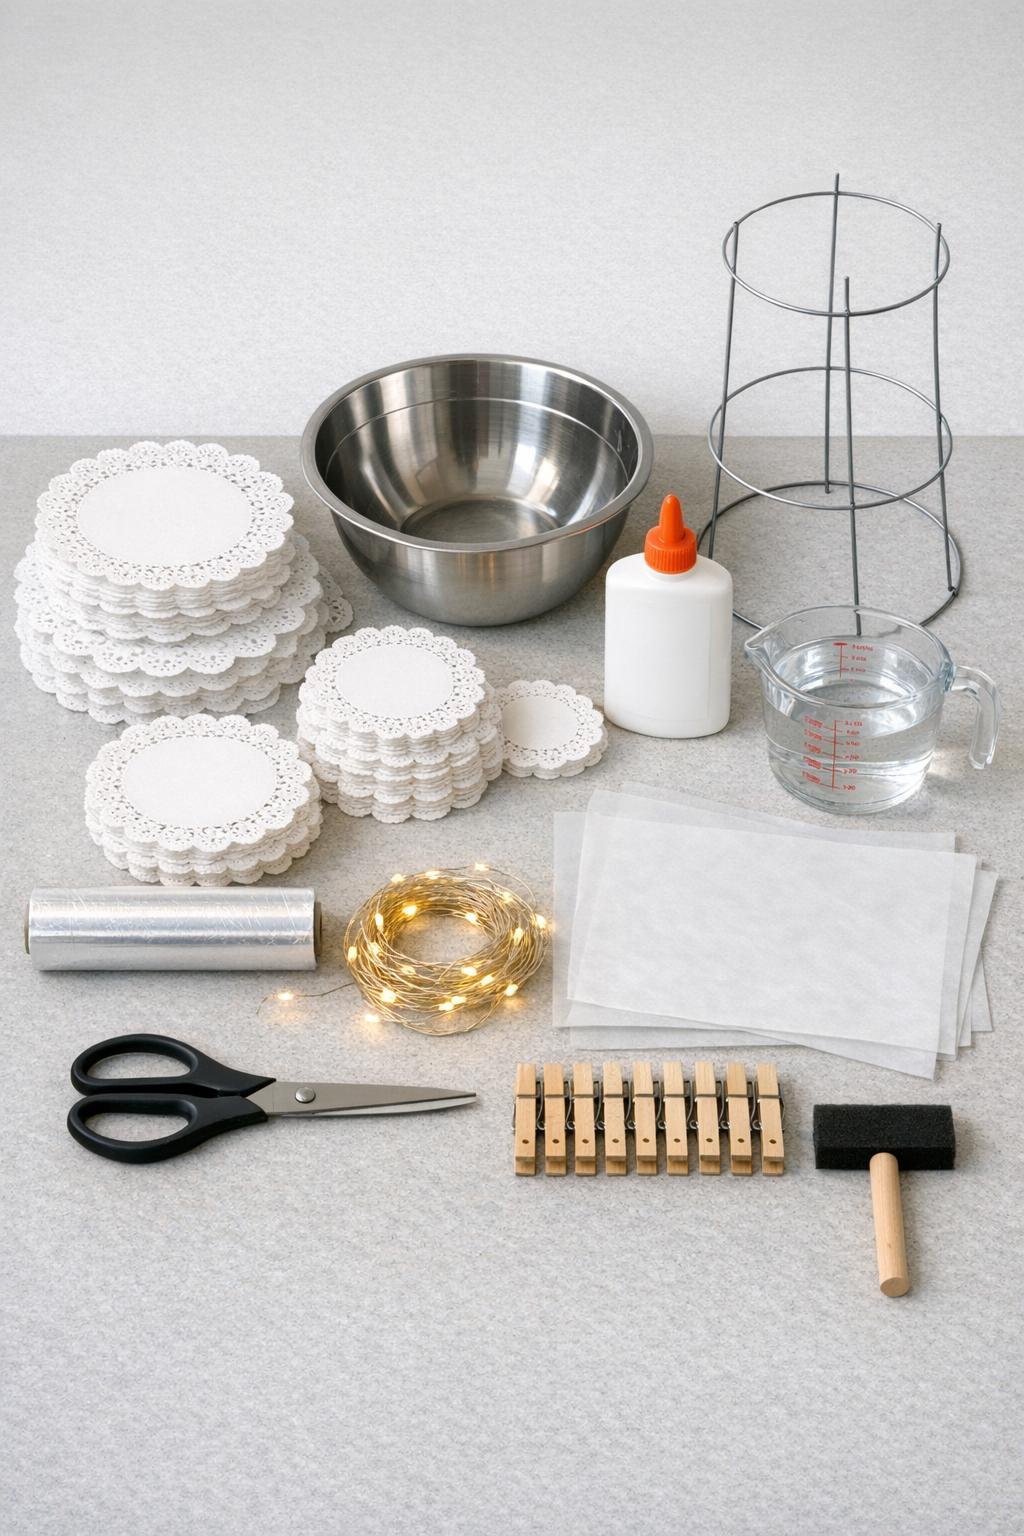
Materials
60 white paper doilies, assorted sizes from 6-inch to 10-inch diameter
Instructions
1. Turn the tomato cage upside down so the wide ring becomes the base, then bring the three wire legs together at the top and secure them tightly with a twist of plastic wrap and a clip while you shape your tree.
2. Wrap the entire tomato cage with plastic wrap from top to bottom, covering the wire rings and vertical supports so the hardened doilies will release easily later; add a small piece of clear tape only where the wrap wants to spring loose.
3. Stir the white school glue and water together in the bowl until the mixture is smooth and milky, with no thick glue streaks left at the bottom.
4. Dip 8 to 10 doilies at a time into the glue water, press them down so they soak through completely, then lift them out one by one and let the excess drip back into the bowl for a second or two.
5. Lay a few soaked doilies flat on wax paper for a moment so they open fully, then drape the first layer over the plastic-wrapped tomato cage, starting at the bottom and overlapping each piece by about 1 inch.
6. Continue covering the cage with wet doilies, alternating sizes and directions so the lace patterns interlock and the holes do not line up too much in one spot; press each doily gently around the rings to help it grab the shape.
7. Add a second full layer of doilies over the first, concentrating extra pieces around the base ring, the center ring, and the top third so the tree hardens with enough strength to stand on its own.
8. Use the foam brush to dab extra glue mixture onto any dry-looking edges or lifted spots, especially near the seam where two doilies overlap, then smooth them down with your fingertips.
9. Clip any stubborn flaps in place with clothespins and let the entire form dry completely for 18 to 24 hours, rotating it once halfway through if one side is drying more slowly.
10. When the doilies feel crisp and hard, remove the clips and carefully slide the lace shell off the tomato cage; peel away the plastic wrap from the inside and trim any ragged paper strands with scissors.
11. Place the string lights inside the doily form, starting at the top and spiraling downward so the bulbs distribute evenly, then let the plug or battery pack exit discreetly through an opening near the back of the base.
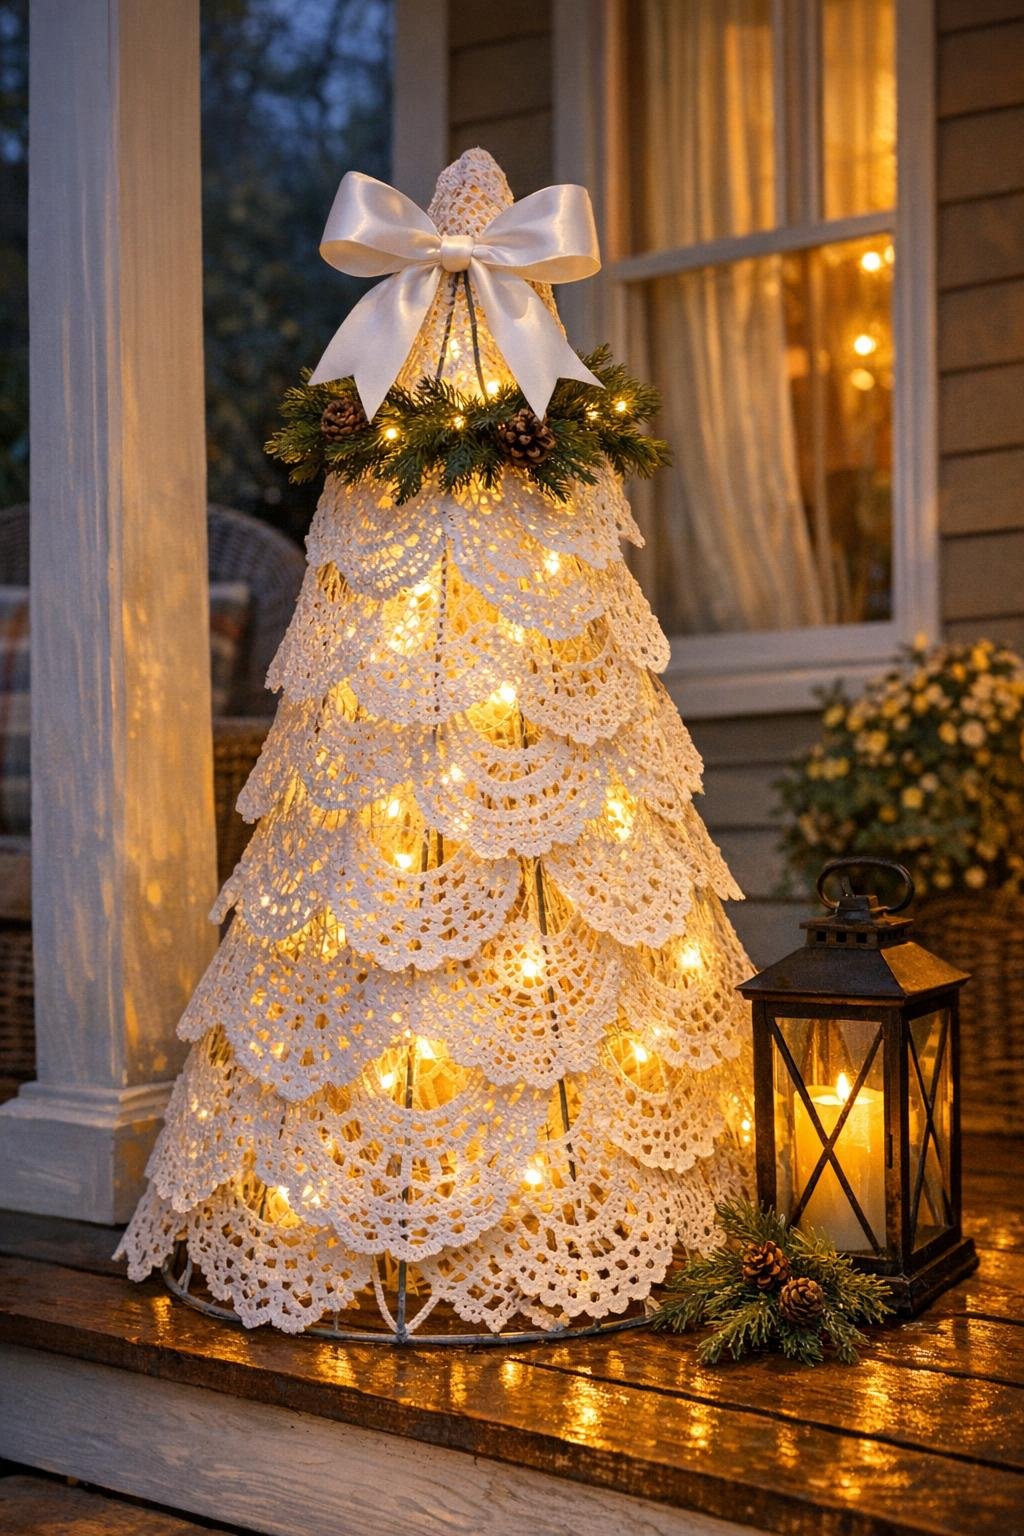
12. Set the finished piece on a covered porch or sheltered entry table, fluff the shape gently if needed, and tie a soft white ribbon bow near the top if you want one simple finishing touch.
Variations & Tips
Doily size mix: I like using a blend of small and large doilies because the smaller ones fill gaps while the larger ones create those sweeping lace panels that make the finished tree look fuller and more expensive.
Drying location: If your kitchen runs humid, move the form to a dry room with a fan nearby; good airflow matters more than heat, and it helps the doilies cure crisp instead of papery-soft.
For extra strength: Add 6 to 10 more doilies in a third partial layer around the lower half if you plan to move the piece often or use a taller tomato cage.
Light choice: Warm white lights give the prettiest glow through the lace cutouts, while cool white can read a little stark on paper; I’d also avoid hot incandescent bulbs and stick with LEDs.
Weather caution: This project is best for a covered porch or enclosed entry because paper and moisture are old enemies; if your space gets blowing rain, bring it inside between uses.
Color option: If you want a softer vintage look, mist the fully dry tree very lightly with ivory or champagne spray paint before adding the lights, but keep the coat thin so the lace detail stays crisp.
Easy storage: Remove the lights before packing the tree away, then store the shell upright in a large box with tissue tucked around the base so the cone shape stays round and uncrushed.