
I love a craft that turns the simplest kitchen-ish odds and ends into something unexpectedly charming, and this one absolutely does that. Using those little dollar store mini ice cube trays as molds, you can make a pile of clear faux “ice blocks” that look surprisingly convincing once they catch the light. The process is repetitive in the best way, easy to learn after the first few pieces, and it doesn’t require any special artistic skill.
This project is great for winter decorating, kid-safe mantel styling, or anyone who wants a cozy seasonal accent without a big budget. As someone who spends a lot of time layering texture in food presentation, I think the same principle works beautifully in crafts: a generous pile of small, similar pieces creates that polished, abundant look that makes the final reveal feel special.
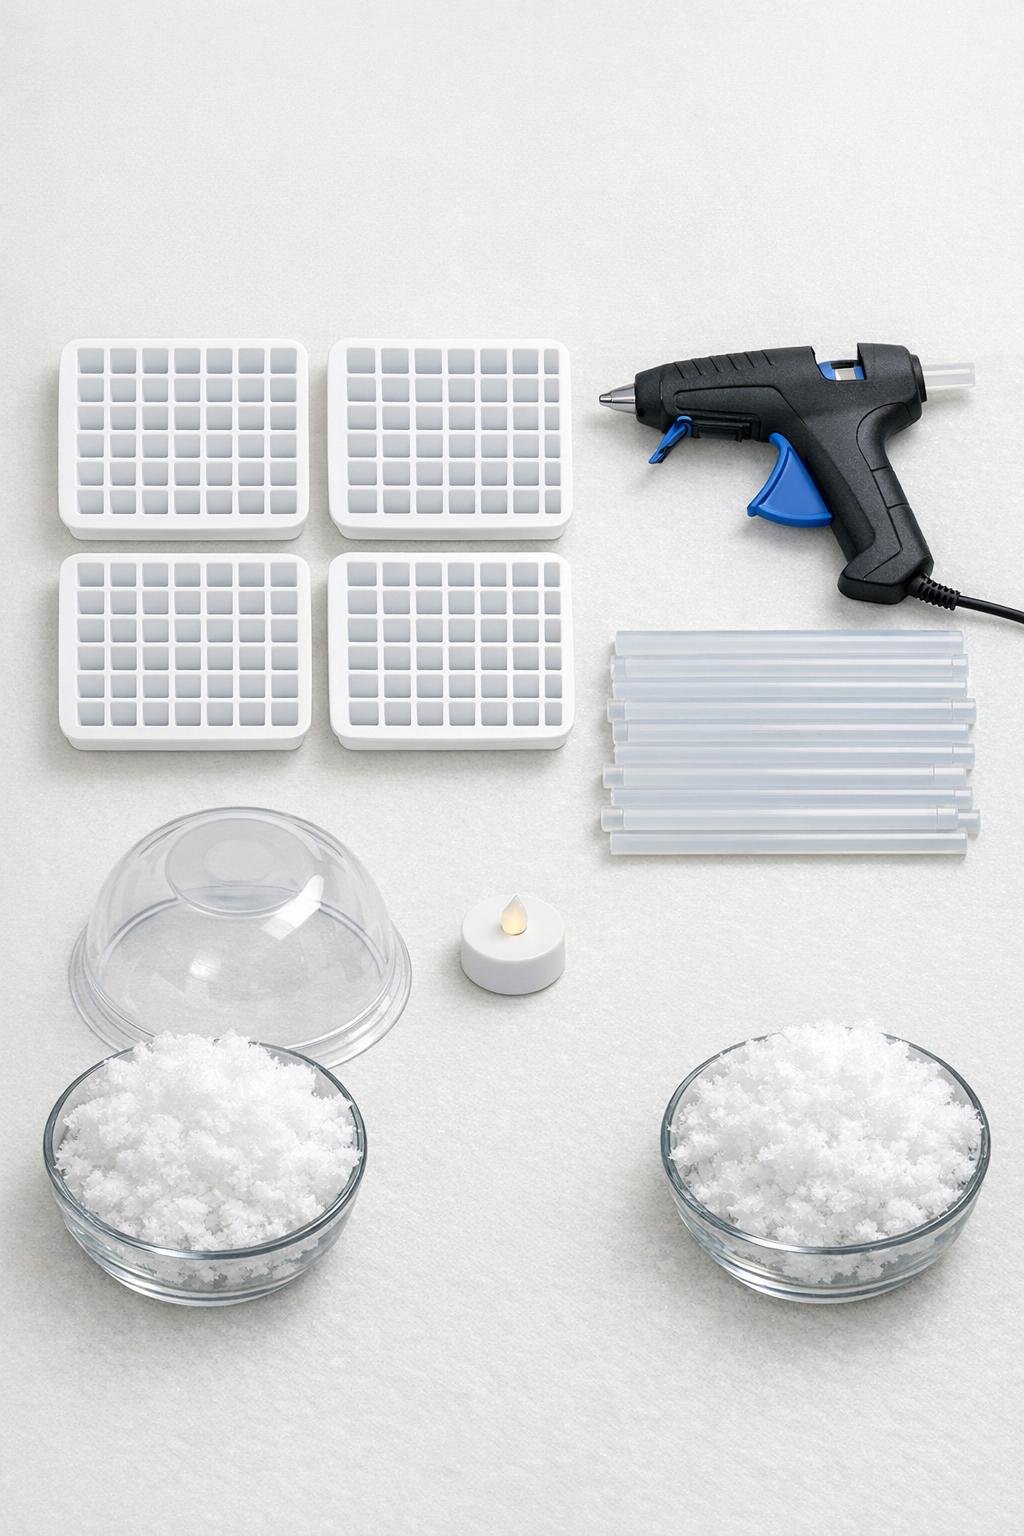
Materials
4 dollar store mini ice cube trays, each with small square wells
Instructions
1. Cover your work surface with a silicone mat or other heat-safe protection, then set the four mini ice cube trays side by side on a flat area so they stay level while you fill them.
2. Heat the glue gun fully, then fill each small square well in all 4 trays with clear hot glue, bringing the glue just to the top of each cavity for thick, sturdy “ice bricks.”
3. Let the glue cool completely for 8 to 10 minutes, then gently flex the trays and pop out all of the clear squares onto a sheet of parchment paper.
4. Turn the plastic bowl upside down on the parchment paper and place the tea light under the center edge briefly to judge the size opening you want to leave as the igloo entrance.
5. Start the first row by gluing the clear squares around the widest part of the upside-down bowl, overlapping edges slightly so the pieces touch snugly and form a strong ring.
6. Build upward row by row, staggering the seams like bricks and tilting the squares inward slightly as you go so the shape curves into a dome instead of a straight cylinder.
7. Leave a doorway opening about 2 inches wide and 2 inches high, then bridge the top of that opening with one square laid flat and one more above it to make the entrance look finished.
8. Continue gluing rows until only a small hole remains at the top, then cap it with 2 to 3 clear squares overlapped slightly to close the dome while still letting light bounce through.
9. Once the glue has set for a few minutes, carefully lift the dome and remove the plastic bowl form, then add a few extra dots of hot glue inside anywhere the seams look thin.
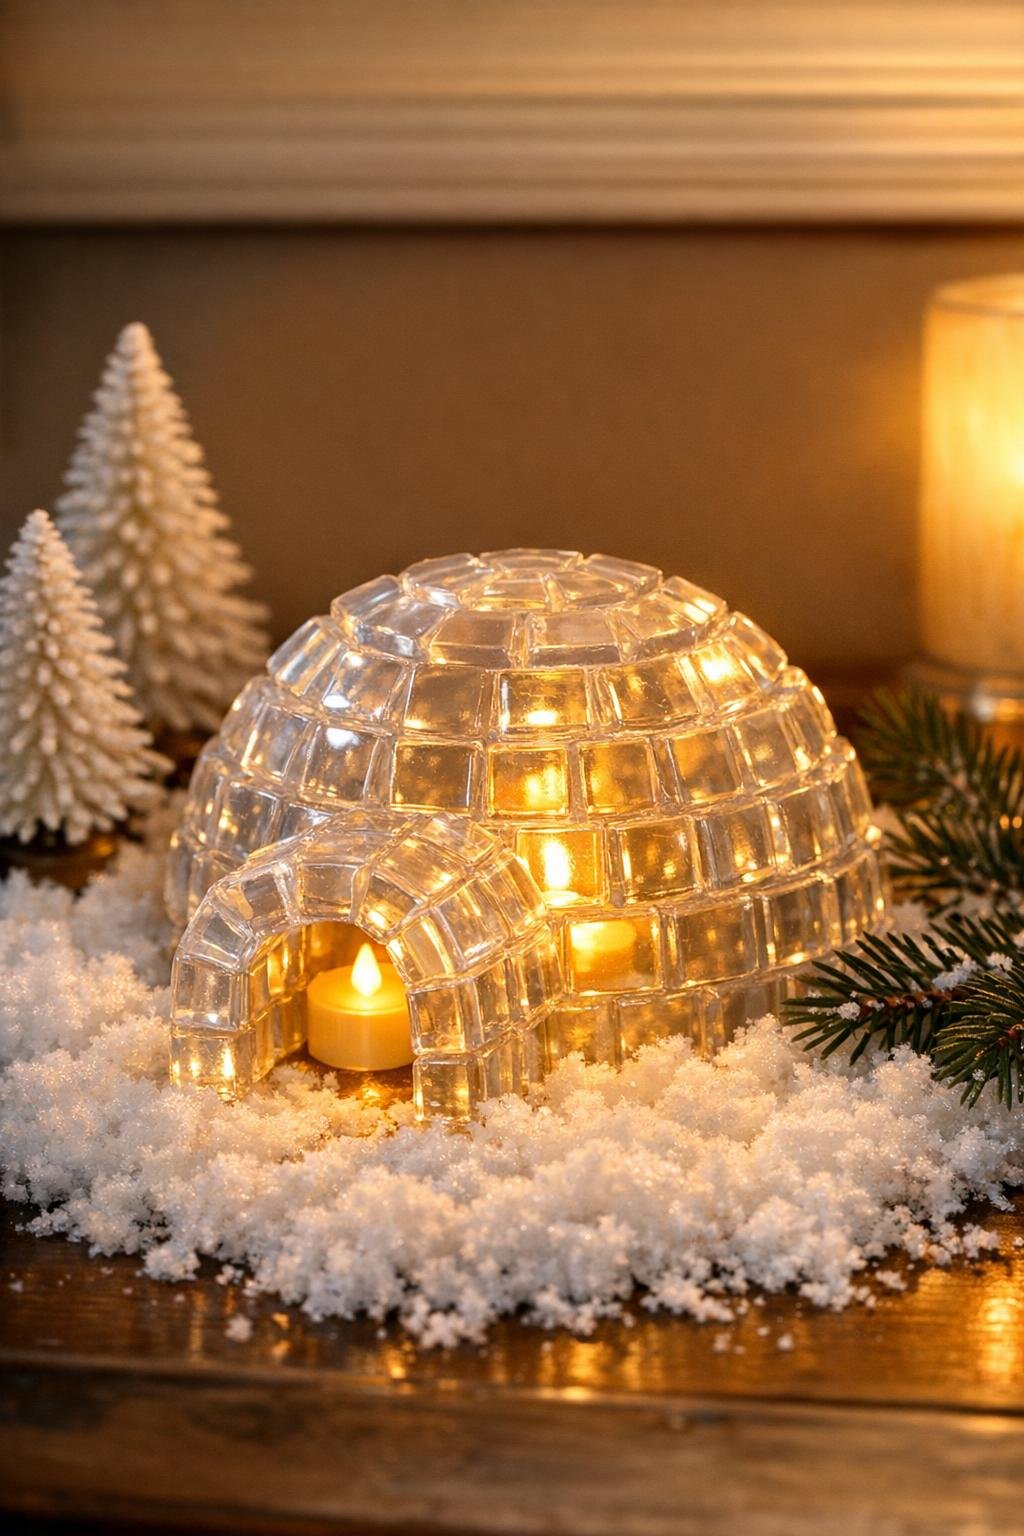
10. Place the battery tea light inside the igloo, set the whole piece onto a bed of fake snow, and tuck a little extra snow around the base and just inside the entrance for a soft winter finish.
Variations & Tips
For a frostier look: Add a very light dusting of iridescent glitter to the fake snow around the base, not on the glue blocks, so you keep the icy clarity while still getting more sparkle.
If your glue cools too fast: Work in short sections of 5 to 7 blocks at a time when assembling the dome. I find that trying to rush an entire row usually makes the seams bulkier than they need to be.
For a larger igloo: Use a slightly bigger plastic bowl and make additional glue blocks with 1 or 2 more trays. More pieces give you better coverage and a more dramatic finished dome.
To keep the shape clean: Pull away any glue strings after the structure cools instead of while the glue is still warm. That little bit of patience makes the whole project look much crisper.
Lighting tip: A warm white tea light gives this the coziest glow, but a cool white light makes the blocks read more icy and glass-like. Both work, so pick the mood you want in the room.
Display idea: Cluster the igloo with winter greenery, pinecones, or a few tiny trees on a tray. Much like plating a finished dish, a simple styled setting makes the handmade centerpiece feel intentional and complete.