
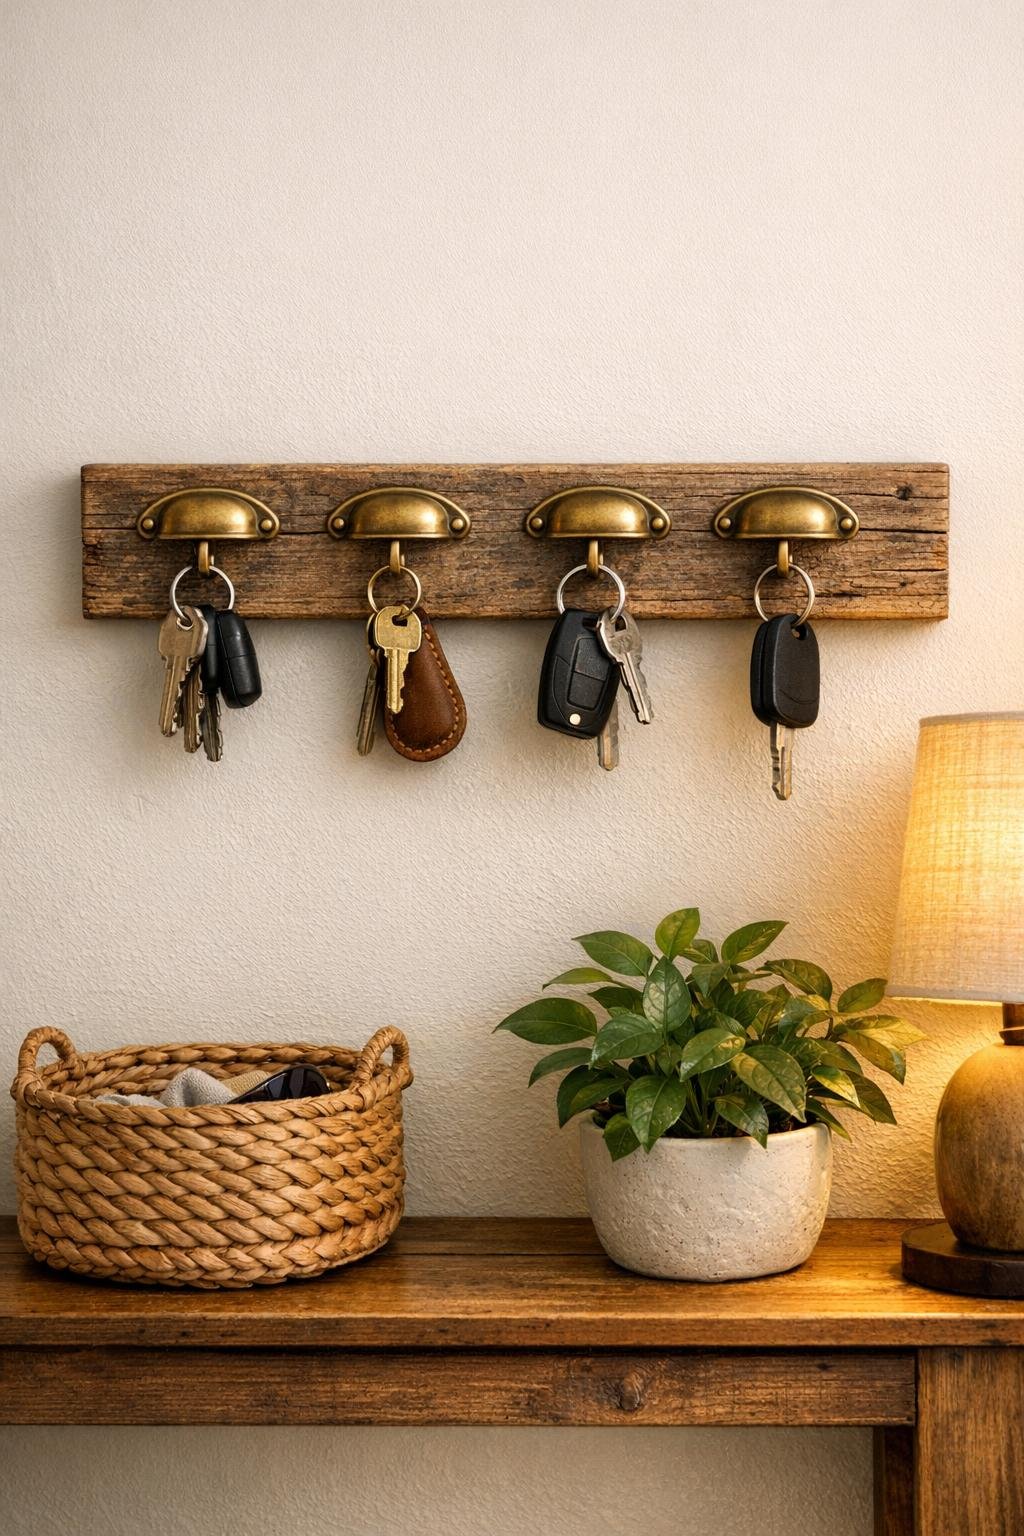
I love a project that solves a real everyday annoyance, and this little entryway key rack absolutely earns its spot by the door. It’s made by fastening vintage brass drawer pulls onto a narrow piece of reclaimed barn wood, so you get the warmth and character of old wood with the polished look of aged brass. The finished piece is practical, but it also feels decorative enough that it doesn’t scream “storage solution,” which is always my favorite kind of organizing.
If you’re constantly setting keys down in three different places like I used to, this is a very manageable weekend project. It’s especially great for beginners because the build is simple, the supplies are easy to find, and the reclaimed wood does a lot of the heavy lifting style-wise. I like projects like this when life is busy, because you can get a high-end looking result without needing a whole afternoon of complicated steps.
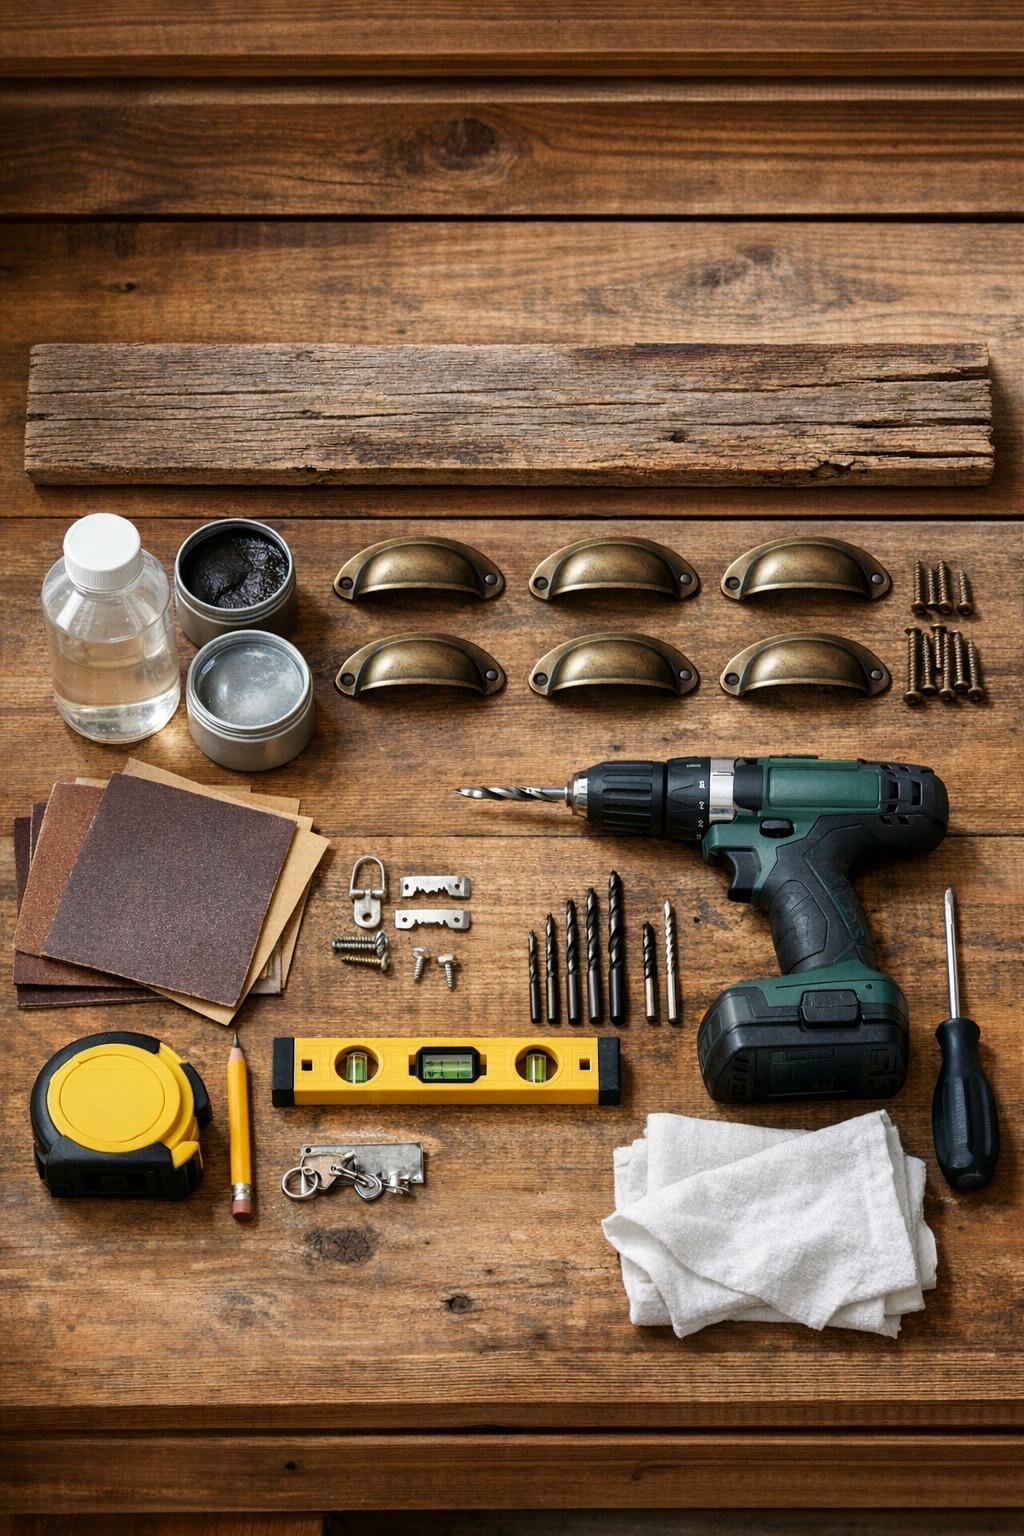
Materials
Instructions
1. Wipe the barn wood clean with a barely damp rag and your wood cleaner, then let it dry completely. I like to remove dust and grime without stripping away the weathered color that makes reclaimed wood look special.
2. Sand the front face and edges lightly with 120-grit sandpaper, then soften everything with 220-grit. Keep the texture and saw marks, but knock down any splinters so the piece feels finished in your hand.
3. Rub on a thin coat of clear matte wax or topcoat, working it into the wood with a clean rag. If you want a slightly deeper antique look, add a touch of dark wax into the grooves and wipe off the excess.
4. Measure and mark a straight horizontal line about 1 1/4 inches down from the top edge of the board. This keeps the pulls high enough for hanging keys while leaving enough wood below for balance.
5. Mark the positions for five drawer pulls evenly across the 24-inch board. I space the outer pulls about 2 inches in from each end, then divide the remaining space evenly so the rack looks full and intentional.
6. Hold each pull in place and mark the screw holes carefully with a pencil. Double-check that all the pulls sit level before you drill, because a tiny shift is surprisingly noticeable on a narrow board.
7. Drill the mounting holes for the drawer pulls straight through the board using a bit sized for your screws. Go slowly, especially with old wood, so you don’t blow out the back more than necessary.
8. Attach each brass drawer pull with its matching screws and tighten until snug. The pulls should feel secure, but don’t overtighten and risk cracking the wood or stripping older hardware.
9. Flip the board over and attach a D-ring hanger near each end, about 1 1/2 inches down from the top. Thread the hanging wire between them and twist the ends tightly so the rack hangs flat and secure.
10. Stick two rubber bumper pads onto the lower back corners of the board. This keeps the piece from scuffing the wall and helps it sit nicely without wobbling.
11. Hang the rack at a comfortable grab-and-go height near your entryway, using a stud or proper wall anchors if needed. Add your keys, a lightweight lanyard, or even a small dog leash to test that each pull holds well.
Variations & Tips
More Hook Space: If your household has a lot to hang, use a 30-inch board and six or seven pulls instead of five. Just keep the spacing even so it still looks polished rather than crowded.
Pull Style Tip: Drawer pulls with a little projection work best because keys slip over them easily. Bin pulls and low-profile cup pulls look pretty, but they’re not always as functional for everyday use.
Finish Option: If your brass pulls are very shiny, tone them down with a gentle brass-aging product or leave them as-is for more contrast. I usually prefer a softer patina because it fits reclaimed wood so naturally.
Wall-Mount Shortcut: Instead of D-rings and wire, you can use two keyhole hangers on the back for a more flush mount. That’s a nice option if your entryway is narrow and you don’t want the rack shifting at all.
Family-Friendly Upgrade: Assign one pull per person and keep the layout wide enough for bulky keychains. This is one of those tiny changes that makes rushed weekday mornings feel much less chaotic.
Styling Tip: Hang the rack above a small entry table or next to a basket for mail and sunglasses. The wood and brass already look charming on their own, but pairing them with a simple tray underneath makes the whole corner feel finished.