
I’m always looking for the sort of craft that gives a second life to something we already have on hand, especially after the holidays when stacks of beautiful cards are too pretty to bin. This project turns those old Christmas cards into a polished little décor piece with a lot of texture and color, and it does it with just a few basic supplies.
If you enjoy easy repetitive crafts like rolling, gluing, and building layers, this one is wonderfully satisfying. It’s approachable for beginners, but the finished result looks far more detailed than the process feels, which is exactly my favorite kind of payoff.
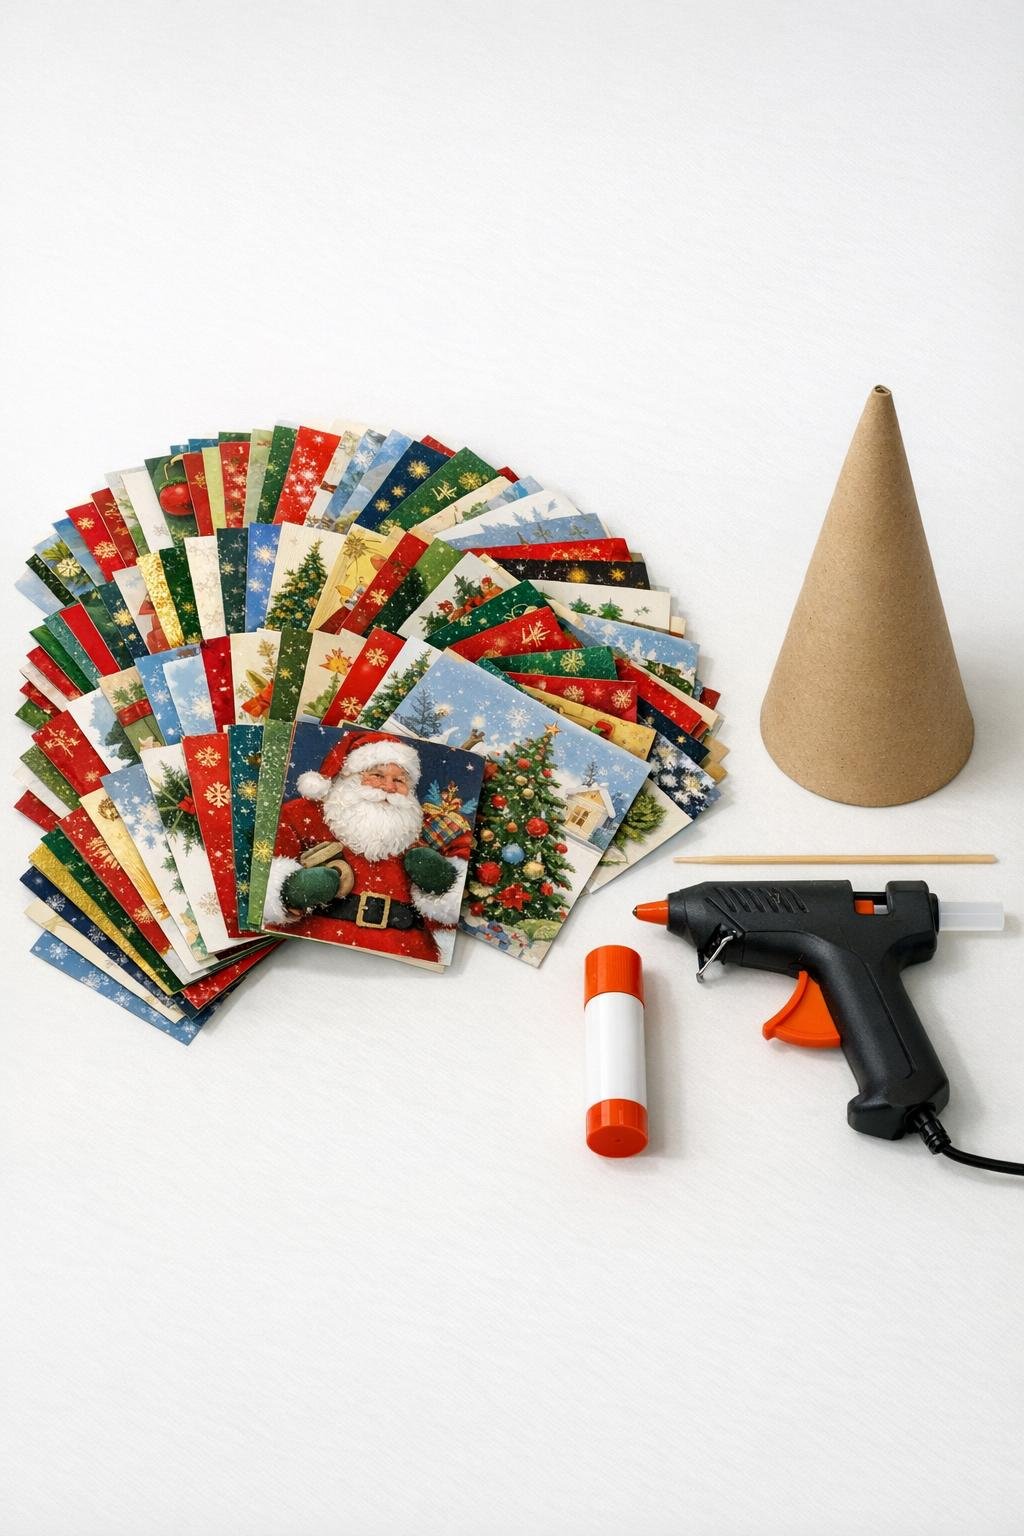
Materials
Instructions
1. Sort through the cards and choose about 60 with a mix of reds, greens, whites, golds, and patterned fronts so the finished piece has plenty of visual contrast.
2. Open each card flat and, working one at a time, place the wooden skewer diagonally across a corner on the printed side to start a tight angled roll.
3. Roll the card as tightly as you can into a long tube, then run the glue stick along the final 2 inches and press the edge down firmly so the tube stays closed.
4. Slide the skewer out and repeat until you have 60 tight card tubes; a few slightly shorter tubes are fine and actually help fill in upper sections later.
5. Place the cardboard cone upright and begin at the bottom edge, adding a thin bead of hot glue to a 2-inch section at a time so the adhesive stays workable.
6. Press the first row of rolled tubes vertically onto the cone with the wider ends at the bottom, packing them side by side with almost no gap until the entire base is covered.
7. Continue gluing tubes upward in tight vertical rows, staggering the seams and alternating colors and prints so the surface looks full and balanced from every angle.
8. As the cone narrows, trim nothing; instead, let the natural taper of the rolled tubes overlap slightly and nestle closer together so the tree shape stays lush and covered.
9. Fill the top section with your narrowest and shortest tubes, gluing them snugly right up to the point of the cone so no cardboard shows through.
10. Step back and check for any thin spots, then glue extra tubes into small gaps anywhere the cone peeks through, especially around the base and near the top point.
11. Once all the glue has cooled, gently fluff and nudge any tubes that need straightening so the silhouette looks even, full, and cleanly tapered.
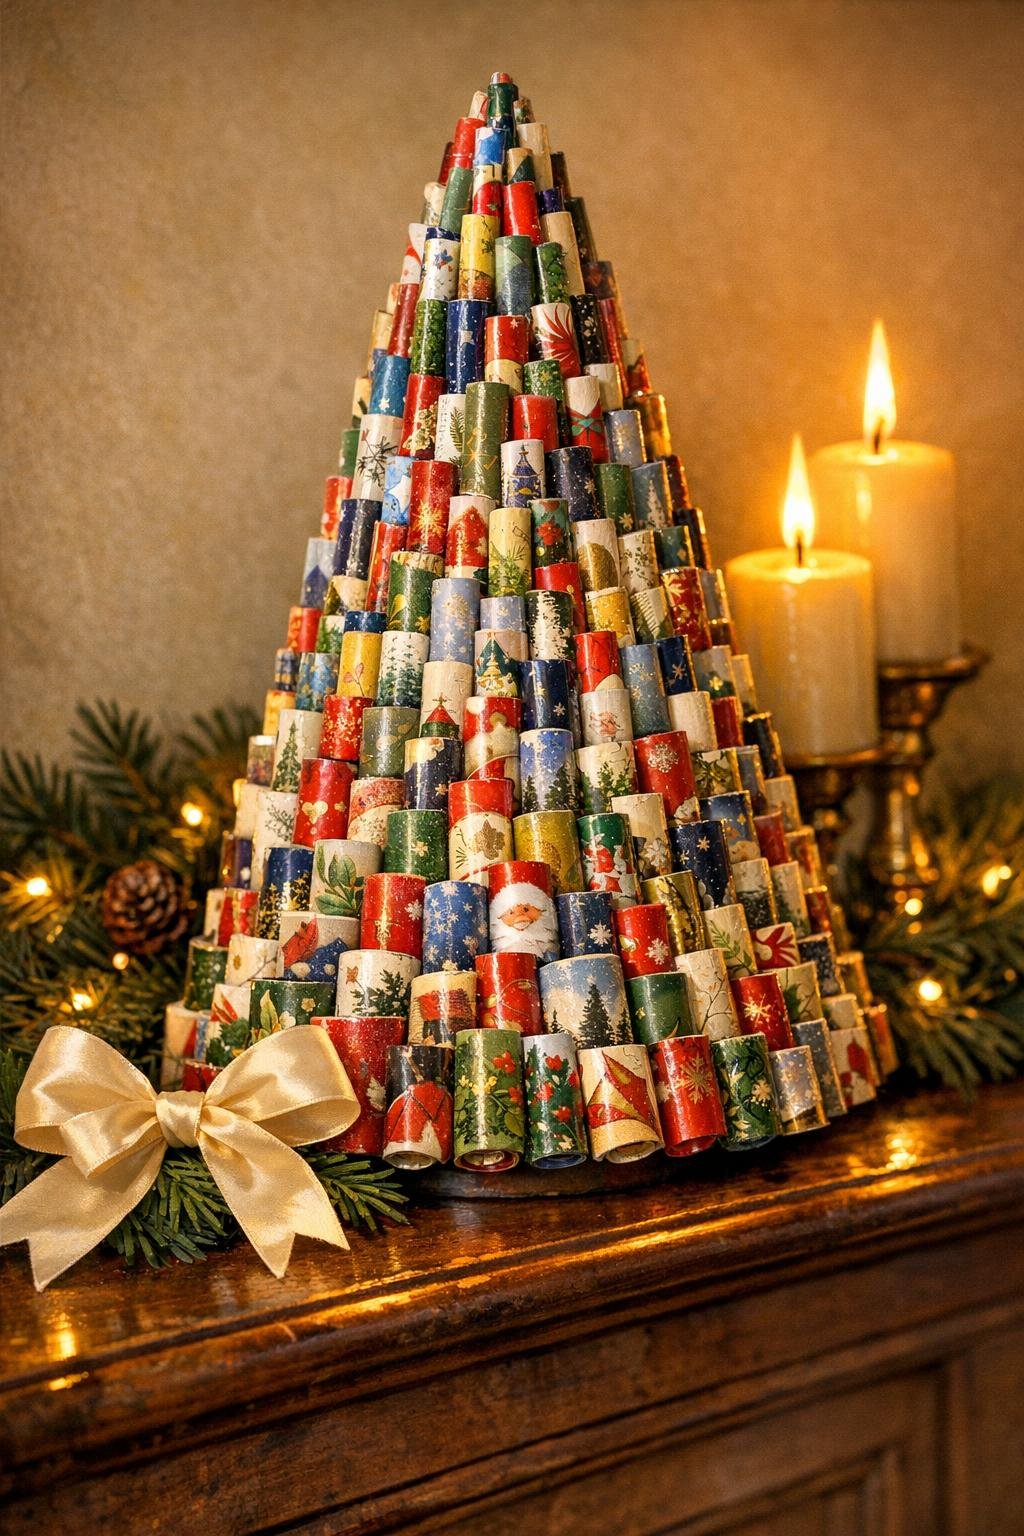
12. Display it on a tabletop, mantel, or holiday sideboard where the mix of vintage card artwork can be appreciated up close from all sides.
Variations & Tips
Color story: If you want a more collected, designer look, sort the cards before rolling and build in bands of color like red at the base, green through the middle, and metallic or snowy whites toward the top.
Card thickness tip: Older cards with a sturdy finish roll beautifully and hold their shape best; if a card keeps springing open, rub a little more glue stick along the last flap and pinch it closed for a few extra seconds.
Fuller coverage: For a particularly rich result, make 8 to 12 extra tubes and keep them beside you as fillers. I find that having a few spares is what takes a project from homemade to intentionally finished.
Height option: A shorter 8-inch cone makes a quick centerpiece, while a 12-inch cone gives you the dramatic layered look people notice across the room.
Display idea: Group two or three in different heights for a more striking holiday arrangement. It reminds me a bit of setting out dishes for a festive table—the repetition is what makes it feel abundant.
Storage tip: Wrap the finished piece loosely in tissue and store it upright in a box so the rolled tubes do not get crushed before next season.