
I have a real weakness for odd thrift-store finds that look completely impractical until I get them home and start turning them over in my hands. A vintage industrial wire spooling cage is exactly that kind of piece—great bones, tons of character, and usually cheap because most people have no idea what to do with it. In this project, I use that wire frame as the structure for a soft but sturdy crochet storage basket by stitching chunky sage yarn right through the openings.
This is a fantastic project if you love handmade storage but do not love fussy shaping, complicated counting, or trying to make a basket stand up on its own. The wire does all the heavy lifting, and the crochet adds warmth, color, and that finished cozy look. I especially like this one for busy people like me, because it gives you a dramatic result without needing a weekend of trial and error.
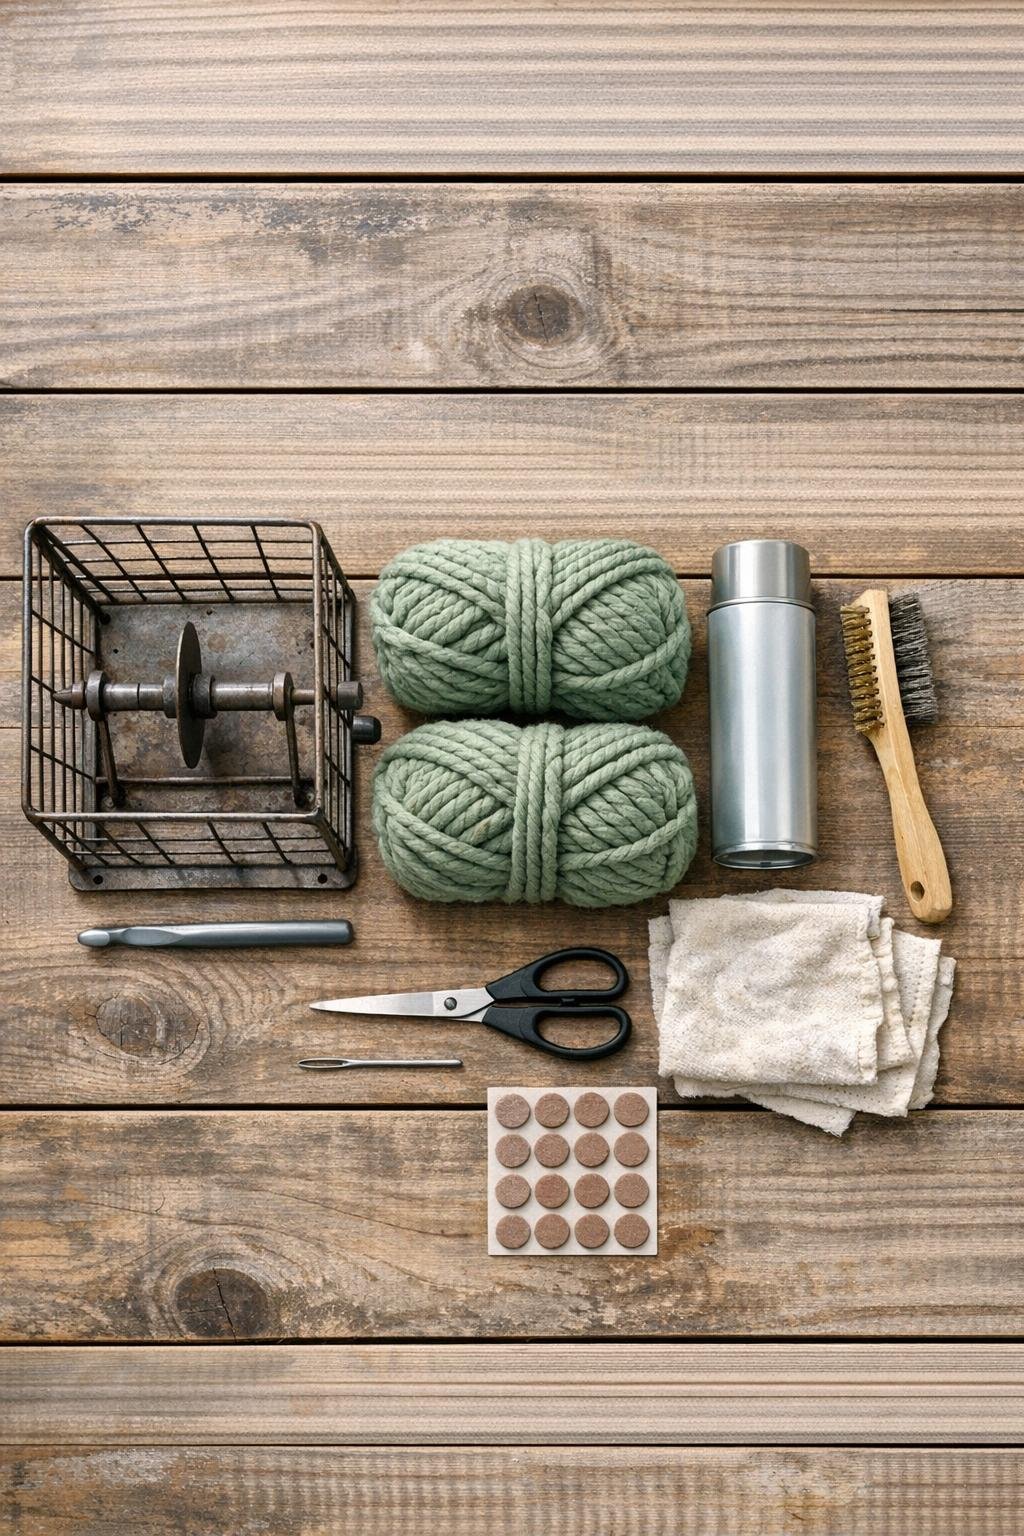
Materials
1 vintage industrial wire spooling cage, approximately 12 to 14 inches tall and 10 to 12 inches wide, with an open wire grid
Instructions
1. Brush the wire spooling cage all over to remove loose rust, dust, and grit, then wipe it down with a damp cloth and let it dry fully.
2. Spray the cage with a light coat of clear matte rust-inhibiting sealer and let it cure according to the can directions so the finish stays rustic without shedding onto the yarn.
3. Check the cage for any sharp wire points, and bend them inward with your fingers or the hook handle so the yarn will glide through the frame without snagging.
4. Tie the yarn securely around a bottom wire near the back of the cage, leaving a 4-inch tail, and make a slip knot on your hook.
5. Work single crochet stitches directly through each wire opening around the bottom ring area, wrapping the yarn over the wire frame so you create a padded first round that anchors the basket visually and physically.
6. Continue upward, working one single crochet through each open grid space and pulling the stitch snug so the yarn hugs the wire instead of sagging between the bars.
7. When you reach the next row, offset your stitches slightly if the cage openings are wide, adding an extra stitch around every third or fourth vertical wire to build fuller coverage and reduce gaps.
8. Keep crocheting around the entire cage in spiraling rows until the sides are mostly covered, leaving small peeks of the original wire visible for that industrial-meets-cozy look.
9. At the top edge, work a final dense round of single crochet and slip stitch around the rim wires to create a neat finished border that feels comfortable in your hands.
10. Cut the yarn with an 8-inch tail, thread it onto the tapestry needle, and weave the end back through several thick stitches and around a wire joint to lock it in place.
11. If you want a softer base for delicate items, crochet a quick flat circle about 8 inches across with the remaining yarn and set it into the bottom as a removable liner pad.
12. Press adhesive felt pads onto the underside contact points of the wire base so the basket slides smoothly on shelves, consoles, or a kitchen counter without scratching.
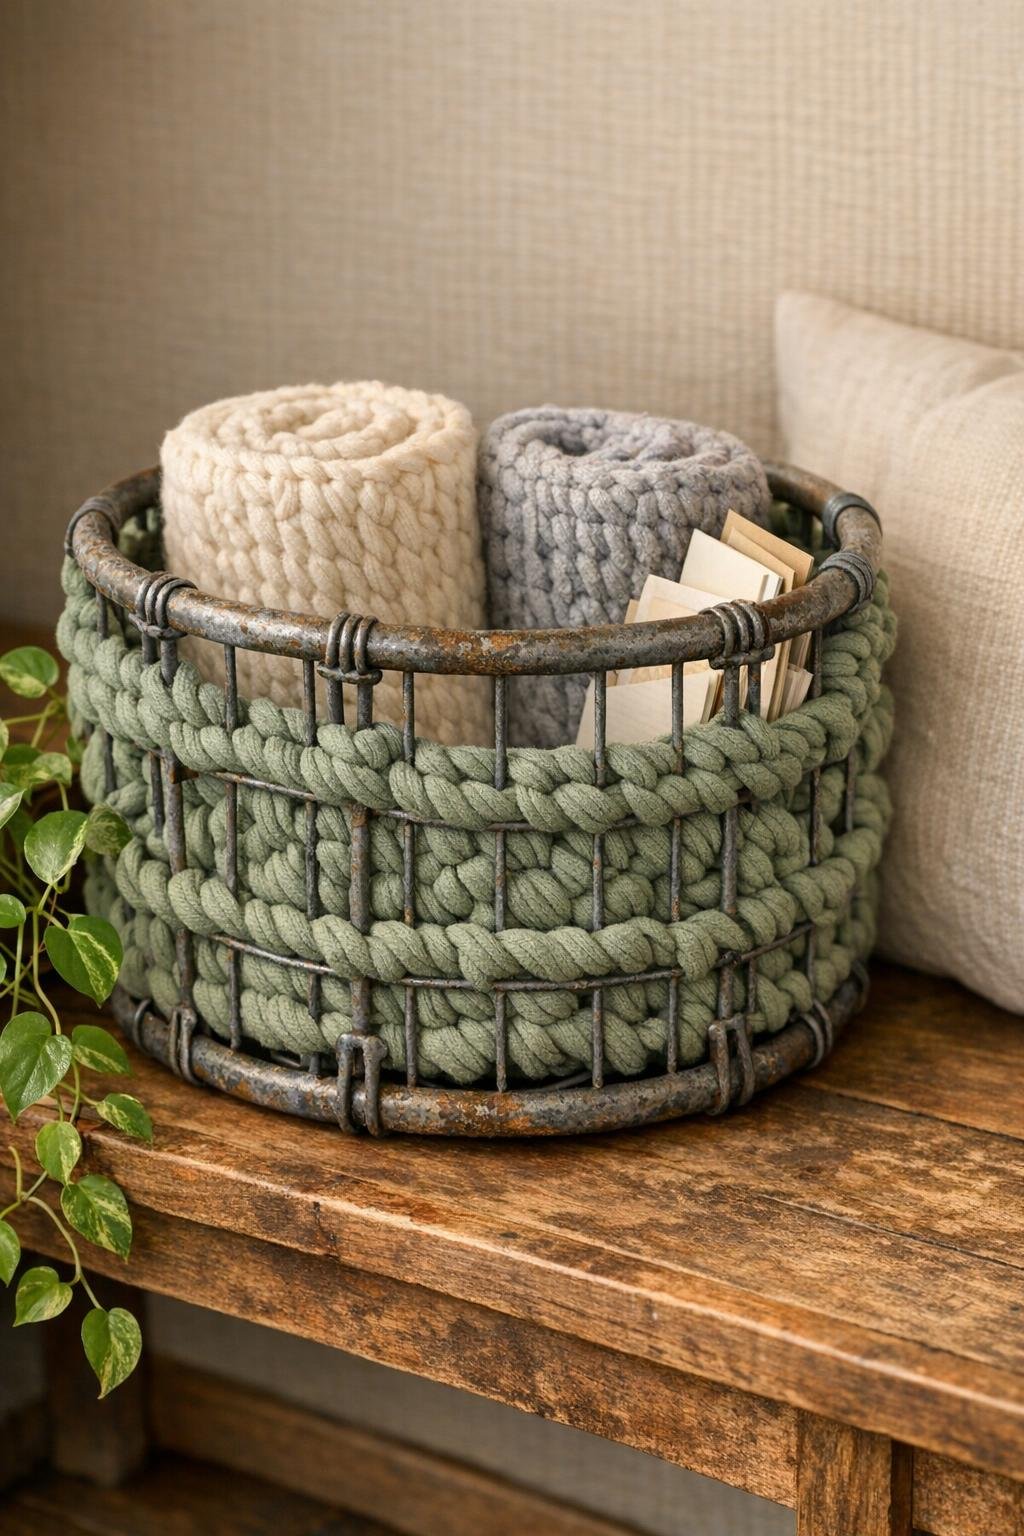
Variations & Tips
For tighter coverage: If your wire openings are large, work two single crochet stitches in each opening instead of one on the widest sections. That gives the basket a fuller, more expensive look without changing the method.
For a cleaner finish: I like to keep all knots and woven ends on the back side of the basket or near the bottom edge. It is a tiny detail, but it makes the finished piece look much more polished on open shelving.
For bathroom storage: Use the basket for rolled hand towels, extra toilet paper, or washcloths, but keep it away from frequent splashes. The sealed wire helps, but chunky yarn stays nicest when it is kept mostly dry.
For a softer style: Add a simple fabric liner in cream or oatmeal and tack it in with a few hand stitches around the top rim. I love this if the basket is going to hold snacks, sewing supplies, or smaller items that could poke through the wire gaps.
For color changes: Sage is beautiful with old metal, but mustard, oatmeal, charcoal, or dusty blue also work really well with vintage industrial pieces. Just stay with super bulky yarn so the crochet looks substantial against the scale of the cage.
Thrift-store tip: Pick a cage with a solid overall shape and evenly spaced wire more than a perfect finish. Surface rust is manageable, but a bent frame is much harder to crochet evenly around.