
There are a few projects I love purely because they create a little kitchen magic, and this is one of them. You start with an everyday party supply, use a very simple heat-and-shape method, and end up with something that looks far more special than the ingredients would suggest. It’s inexpensive, quick, and satisfying in the way a good pantry meal is satisfying: humble components, surprisingly elegant finish.
This project is ideal if you want holiday ornaments that feel rich and jewel-toned without needing specialty craft tools. If you can line a baking sheet and keep an eye on the oven for a few minutes, you can make these successfully. I especially like this one for group crafting because the base shape is easy, but the finishing details let everyone put their own personality on the final pieces.
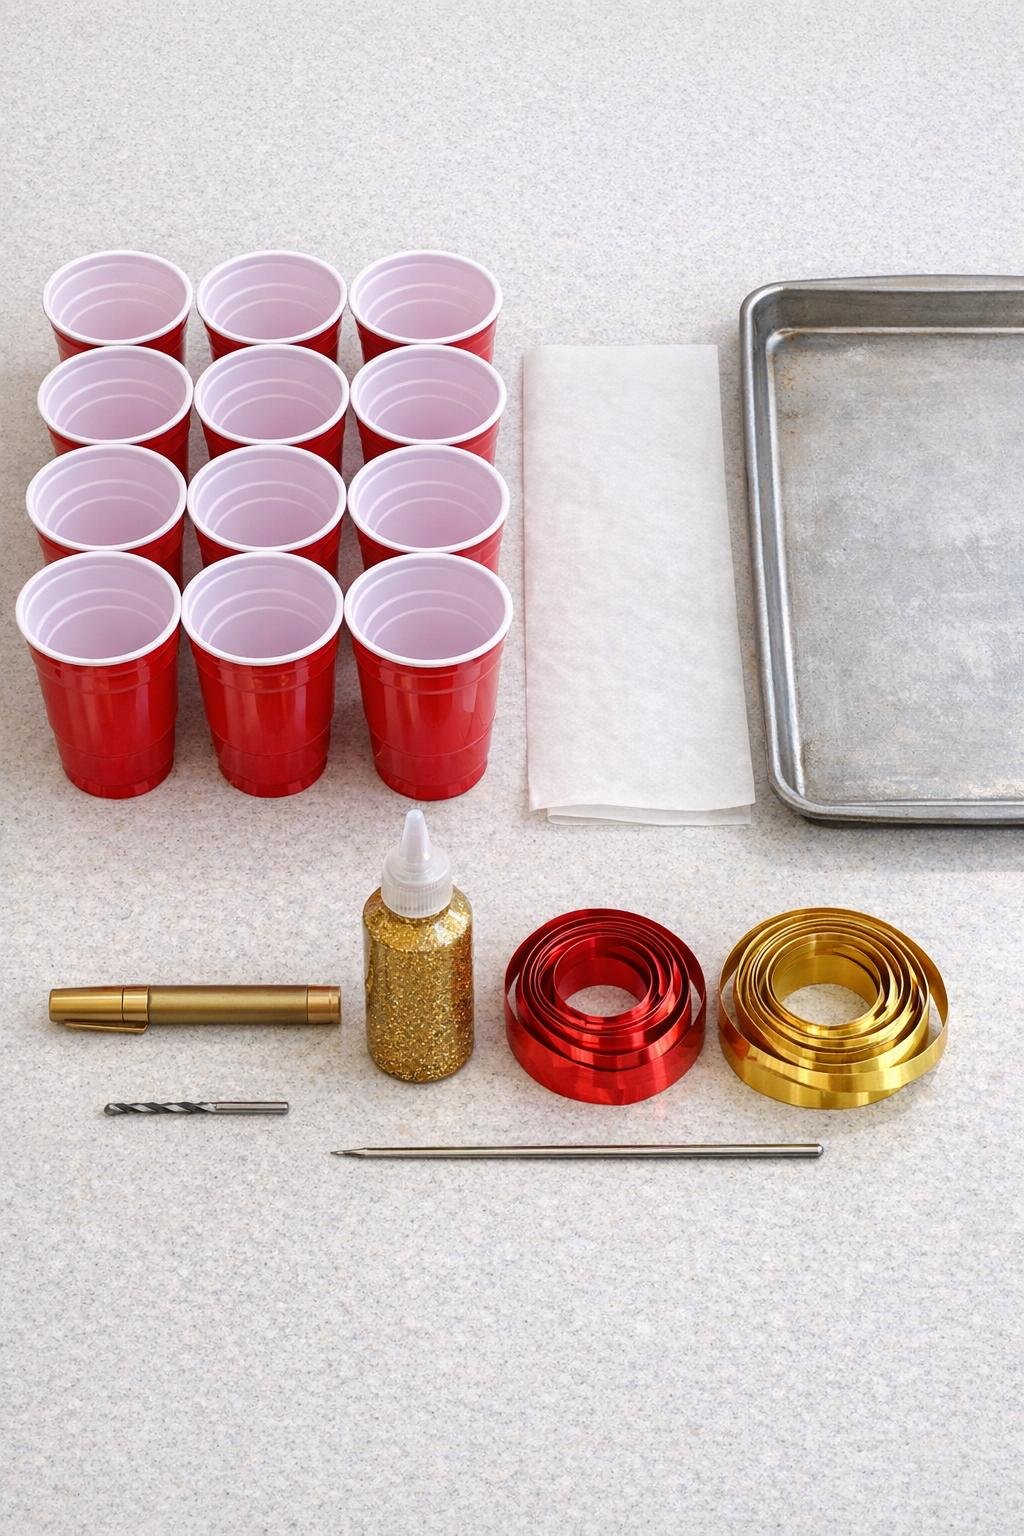
Materials
12 red plastic party cups, #6 plastic, 16-ounce size
Instructions
1. Preheat the oven to 300°F and line the metal baking sheet with parchment paper so the cups won’t stick as they soften.
2. Turn all 12 red plastic cups upside down and arrange them in neat rows on the prepared baking sheet, leaving about 1 inch between each cup for even melting.
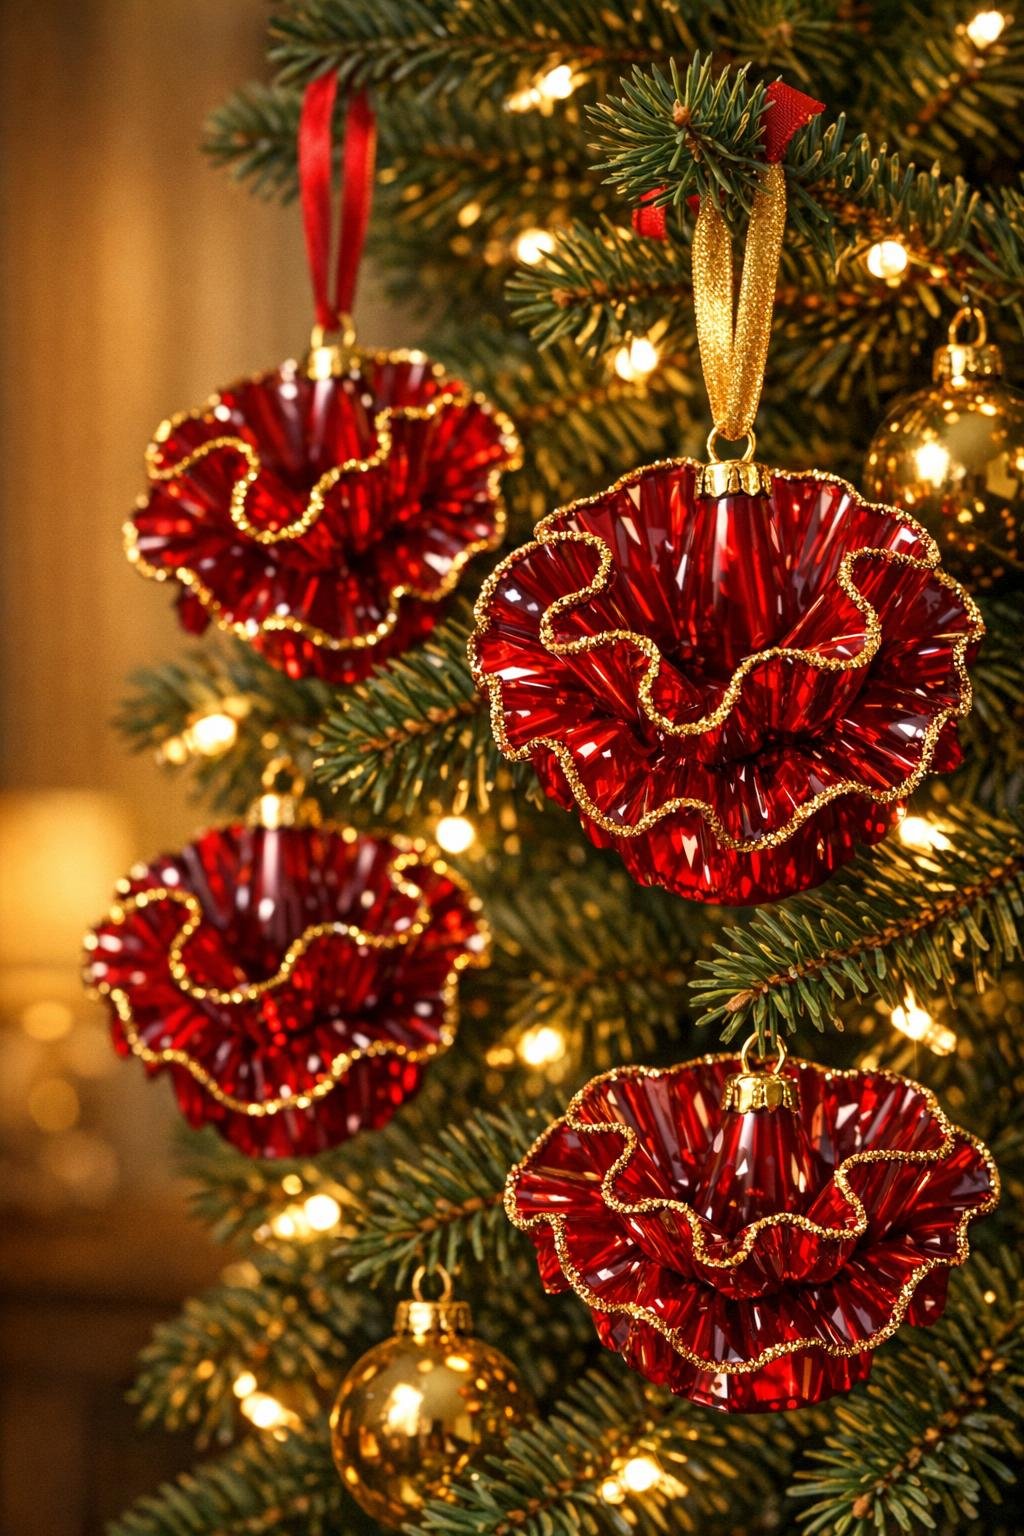
3. Bake the cups for 4 to 8 minutes, watching closely through the oven door, until each cup collapses into a ruffled, flattened flower-like shape with gently curled edges.
4. Remove the baking sheet with oven mitts and let the pieces cool completely on the pan for 10 to 15 minutes until firm.
5. Lift each cooled piece off the parchment and inspect the top edge area to choose the best spot for a hanging hole, usually near one outer ruffle where the plastic is thick enough to hold a ribbon.
6. Make one small hole in each ornament using a 1/8-inch drill bit or a heated metal skewer, keeping the hole about 1/4 inch from the edge.
7. Use the gold paint pen to trace the curled rims, add short vein-like strokes, scallops, dots, or starburst details, and let the gold accents dry for several minutes.
8. If you want extra sparkle, add a thin line or tiny dots of gold glitter glue over selected painted areas rather than covering the whole surface, then let it dry fully.
9. Thread one ribbon piece through each hole and tie a small knot or loop for hanging, trimming the ribbon ends neatly on a diagonal for a polished look.
10. Fluff the ribbons, wipe away any stray marker smudges, and group the finished pieces together so the rich red color and gold accents read as a coordinated set.
Variations & Tips
For the best melt: Not all plastic cups behave the same way, so make sure you are truly using #6 plastic cups. That resin softens in a way that gives you those lovely rippled edges instead of just slumping into a blob.
Watch the oven closely: This is very much like caramelizing onions or toasting spices in the sense that a minute matters. Stay nearby and pull the tray as soon as the cups have fully collapsed and opened into decorative shapes.
Use the cup ridges: The vertical cup lines become your built-in design. I like to trace those raised ridges with gold because it instantly gives the ornaments that cut-glass look without extra work.
Make the set feel fuller: If your tree is large, cluster two or three ornaments close together on neighboring branches. The repeated ruby color creates the dramatic effect people usually associate with vintage holiday glass.
Try a different finish balance: For a richer look, keep the gold mostly on the outer edges and high points. Too much glitter can hide the beautiful translucent red, and that red is really the star here.
Gift idea: Tie 4 ornaments together with a longer gold ribbon and tuck them into a bakery box or cookie tin with tissue paper. As someone who cooks a lot, I’m always charmed by handmade gifts that feel abundant, and a bundled set looks especially generous.