
There are a few holiday projects I come back to because they give you a lot of beauty for very little fuss, and this is exactly that kind of make. With nothing more complicated than paper lunch bags, coffee, glue, and a cereal box, you can create ornaments with the rich, worn look of old leather and the kind of texture that makes a tree feel layered and collected rather than straight out of a box.
I love projects like this in December because they’re inexpensive, forgiving, and easy to do in batches while something simmers on the stove. If you enjoy simple materials transformed into something that looks far more special than it ought to, this one is a real treat.
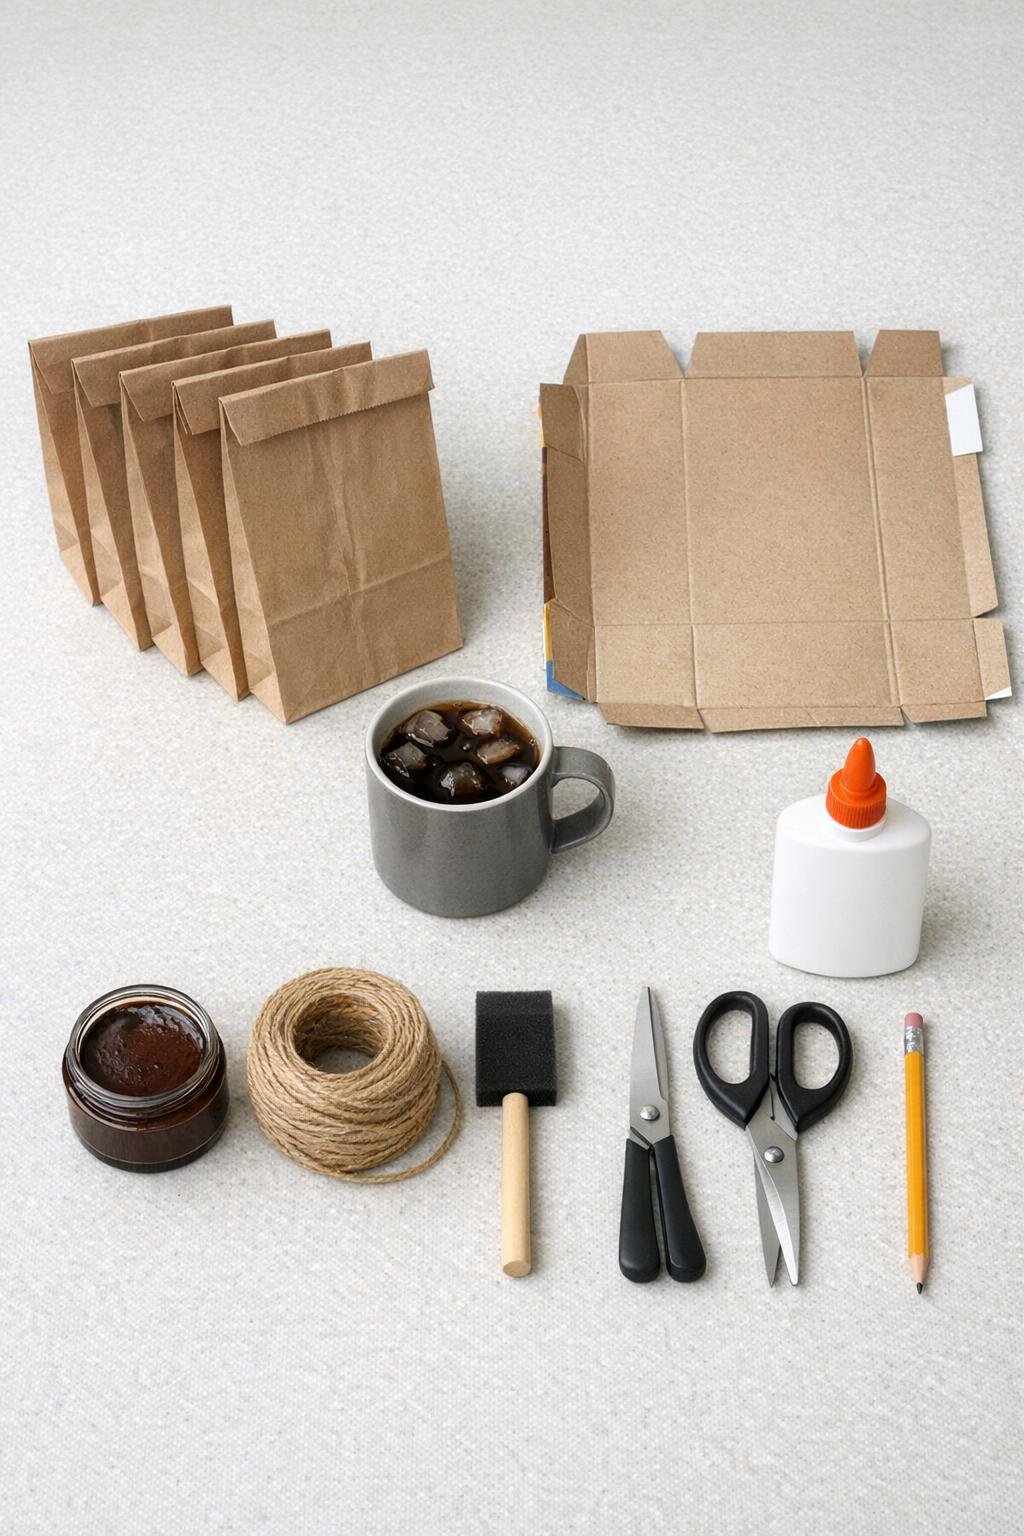
Materials
6 brown paper lunch bags, standard lunch size, about 5 x 10 inches each
Instructions
1. Crumple all 6 lunch bags tightly into balls, then open and flatten them back out with your hands so the surface is heavily wrinkled but still workable.
2. Brush strong cold coffee over both sides of each bag, making the color uneven in places so some areas go deeper brown and some stay lighter kraft for a more natural aged finish.
3. Lay the bags flat and let them dry completely; if you want even more texture, crumple each one again while slightly damp, then reopen and smooth it once more.
4. Cut open the seams of the bags so you have large flat sheets, then trim away any bottom folds that are too bulky.
5. On the cereal box, draw 6 stars in matching sizes, about 4 to 5 inches across, then cut them out to make sturdy ornament backings.
6. Cut the stained paper into pieces a little larger than each star so you can wrap the front cleanly and still have enough excess to fold over the edges.
7. Brush glue or Mod Podge onto the front of one cardboard star, press a paper piece over it, and smooth it gently with your fingers without flattening out all the wrinkles.
8. Snip the overhanging paper at each inner corner and point, then fold and glue it around to the back of the star so the shape stays crisp and the front remains nicely textured.
9. Cut a second, slightly smaller star from stained paper for the back if you want a cleaner finish, or simply glue another full piece over the back and trim it neatly once dry.
10. Repeat with the remaining stars, mixing lighter and darker areas of the coffee-stained paper so the set looks collected rather than identical.
11. If you want more of a faux leather effect, rub a very small amount of brown wax or shoe polish over the raised wrinkles and around the edges, then buff lightly with a soft cloth or paper towel.
12. Punch or snip a tiny hole near the top point of each star, thread through an 8 to 10 inch piece of jute twine, and knot it into a hanging loop.
13. Let everything dry thoroughly before hanging so the stars stay flat, firm, and easy to handle.

Variations & Tips
For a deeper leather look: Brew the coffee extra strong or apply two coats, drying between each one. That layered staining gives the paper more depth, much like reducing a sauce to concentrate flavor.
For fuller tree impact: Make the stars in two sizes, around 3 inches and 5 inches across, and cluster several on one branch. A grouped arrangement always looks richer than scattering singles.
For cleaner points: Trim small V-shaped notches from the paper where it overlaps at the star tips. It helps the folds lie flat without bulky bunching.
If you do not have Mod Podge: Plain white glue works well; just spread it in a thin, even coat so the paper adheres without soaking through too heavily.
For a softer finish: Skip the wax or shoe polish and leave the coffee stain as is. The result is a little lighter and more rustic, which is lovely with dried orange slices or simple wood bead garlands.
To use them beyond the tree: These also look beautiful tied onto wrapped gifts, hung from a wreath, or strung into a garland across a mantel. Because they’re lightweight, they’re easy to tuck almost anywhere.