
I love a project that turns a little stack of “I can’t quite throw these away” keepsakes into something you’ll actually want to display, and this one does exactly that. If you have a bundle of old Christmas cards tucked in a drawer, a pair of scissors, and a free afternoon at the kitchen counter, you can make something wonderfully full and eye-catching from materials you already have on hand.
This is a great craft for anyone who enjoys easy, repetitive cutting and simple assembly without needing fancy tools or a big mess. I especially like projects like this during the holiday season because I can work on them while soup simmers or cookies bake, and the finished piece looks far more special than the effort would lead you to believe.
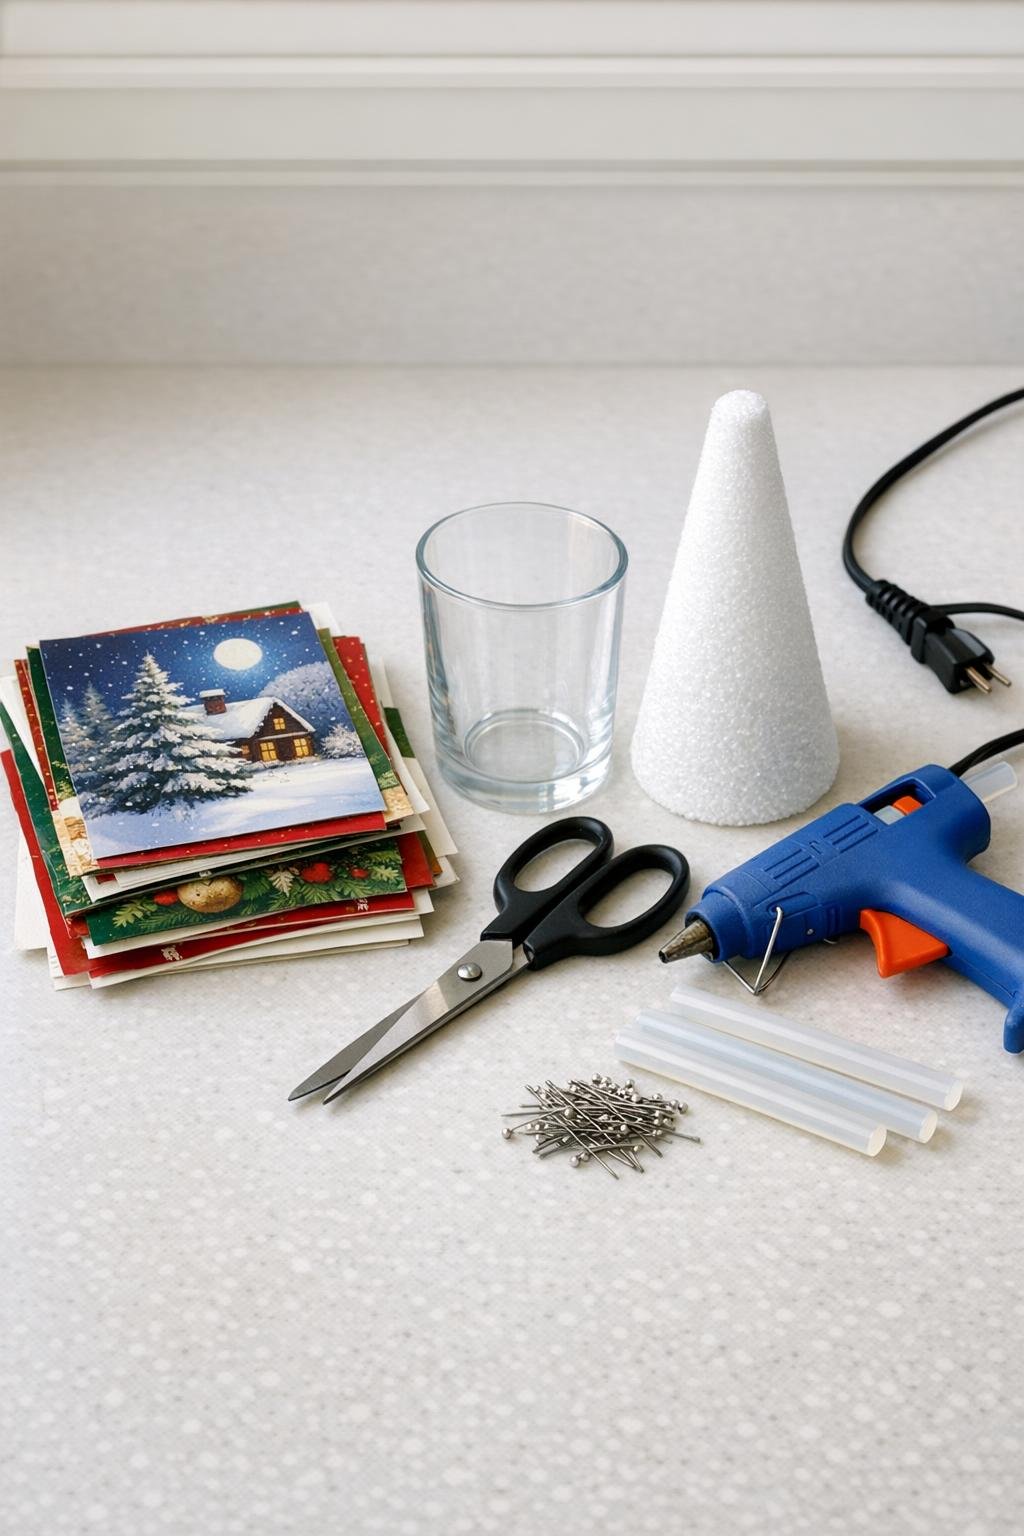
Materials
80 old Christmas card circles, each 2 1/2 inches wide
Instructions
1. Sort your old Christmas cards by color and pattern, and set aside the prettiest fronts with bold prints, metallic accents, and rich holiday colors. You want a good mix so the finished piece looks layered and lively instead of too matchy.
2. Use the drinking glass as a template and trace 80 circles onto the cards, placing the circles over the most colorful areas. Cut out all 80 circles as neatly as you can, because clean edges make the whole project look more polished.
3. Fold each circle in half with the printed side out, then fold it in half again to make a rounded wedge shape. Press each fold firmly with your fingers so the pieces hold their shape.
4. Starting at the bottom edge of the foam cone, add a pea-sized dot of hot glue to one folded piece and place it with the pointed end facing up and the rounded folds facing out. Push a straight pin through the center of the piece into the cone to hold it securely while the glue sets.
5. Continue around the base of the cone, slightly overlapping the folded pieces so no foam shows through. Fill the entire first row before moving upward.
6. Build the second row directly above the first, staggering the pieces so each new petal sits between two petals below it. Keep using one dot of hot glue and one pin per piece for a full, sturdy finish.
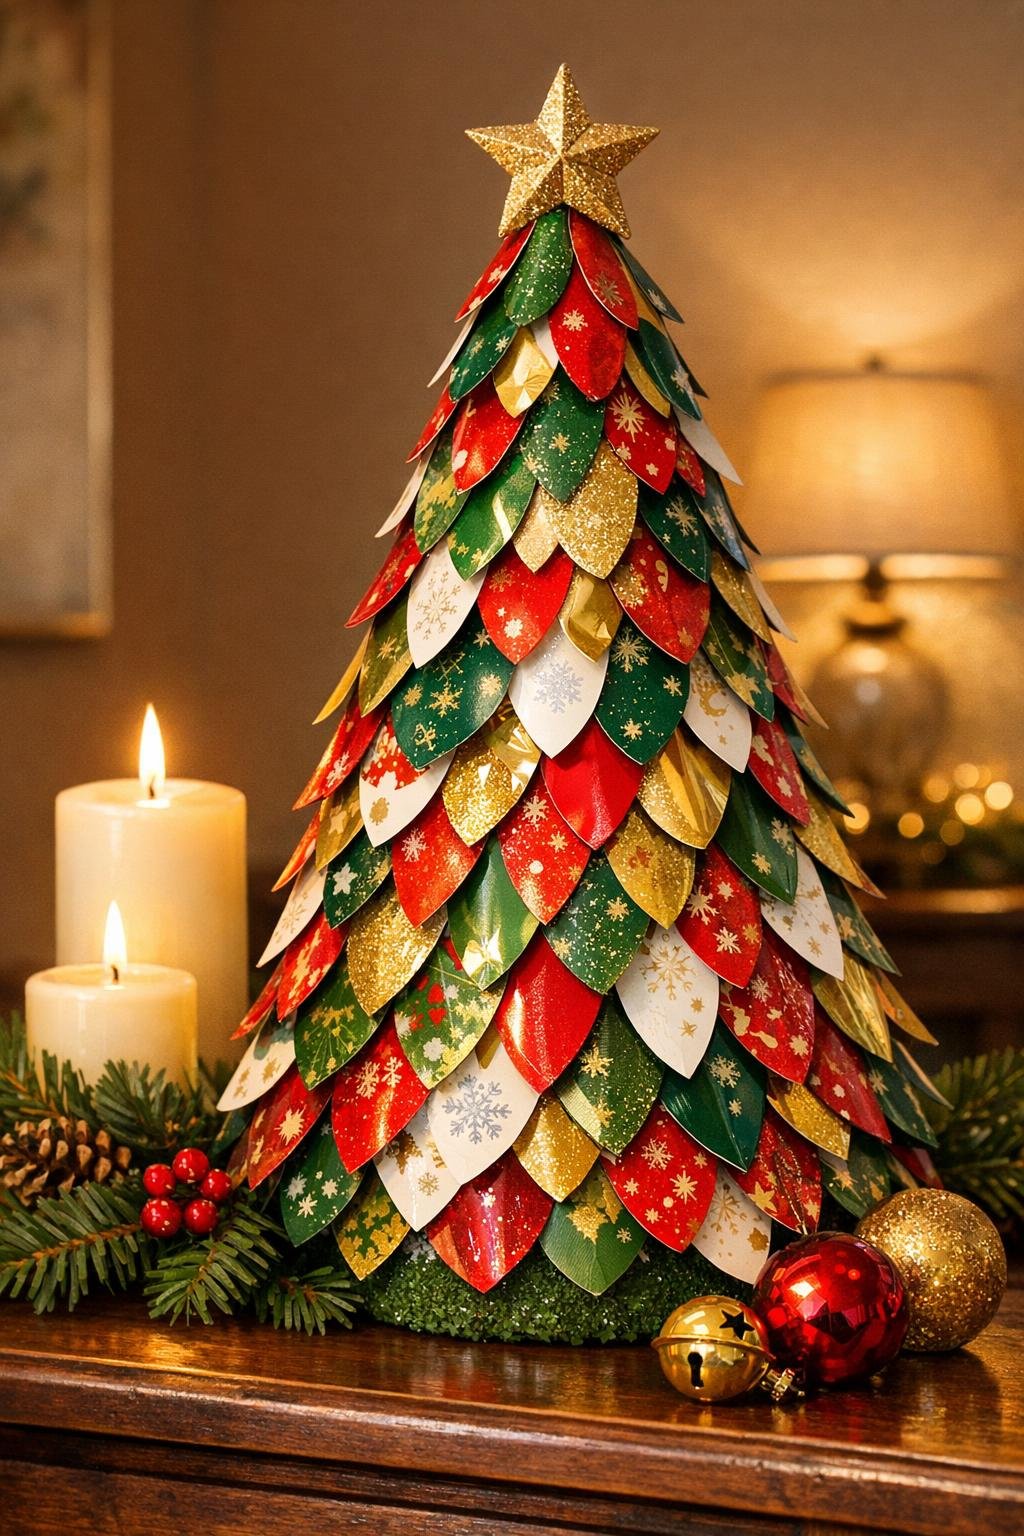
7. Repeat the rows all the way up the cone, rotating colors and patterns as you go so the surface looks balanced from every side. Tuck pieces close together and angle them slightly upward to create a lush, shingled effect.
8. As the cone narrows near the top, trim a few circles slightly smaller if needed so the petals fit neatly without buckling. Keep the overlap tight so the top stays full rather than pointy and sparse.
9. Finish the very top by gluing and pinning 3 to 4 folded pieces in a tight cluster, covering the foam tip completely. Fluff and adjust any petals with your fingertips so the layers open evenly around the cone.
Variations & Tips
For a fuller look: If your cards are thinner or your cone is wider, cut 10 to 20 extra circles. I always prefer having a few more petals than I think I’ll need, because a generously covered cone is what makes the final result feel magical.
Color planning: Try grouping similar shades in gentle bands, like deeper reds at the bottom and lighter prints near the top. It gives the project a more intentional, decorated look without adding any difficulty.
Kid-helpful version: If you’re crafting with older kids, let them trace and cut circles while you handle the hot glue. This turns into a nice family assembly-line project, especially on a cold afternoon with snacks nearby.
If your cards are very thick: Score the center fold lightly with the back of the scissors before folding. That helps the petals crease cleanly and sit closer to the cone.
Pattern tip: Cards with script, holly, plaid, ornaments, and snowy scenes give the prettiest mix because each petal shows just a little glimpse of the design. Even cards that seem plain on their own add beautiful texture once they’re layered in.
Display idea: This looks lovely on an entry table, mantel, or as a dining table accent with greenery around the base. I like setting it where a lamp or candlelight can catch the glossy card edges and make all those little layers stand out.