
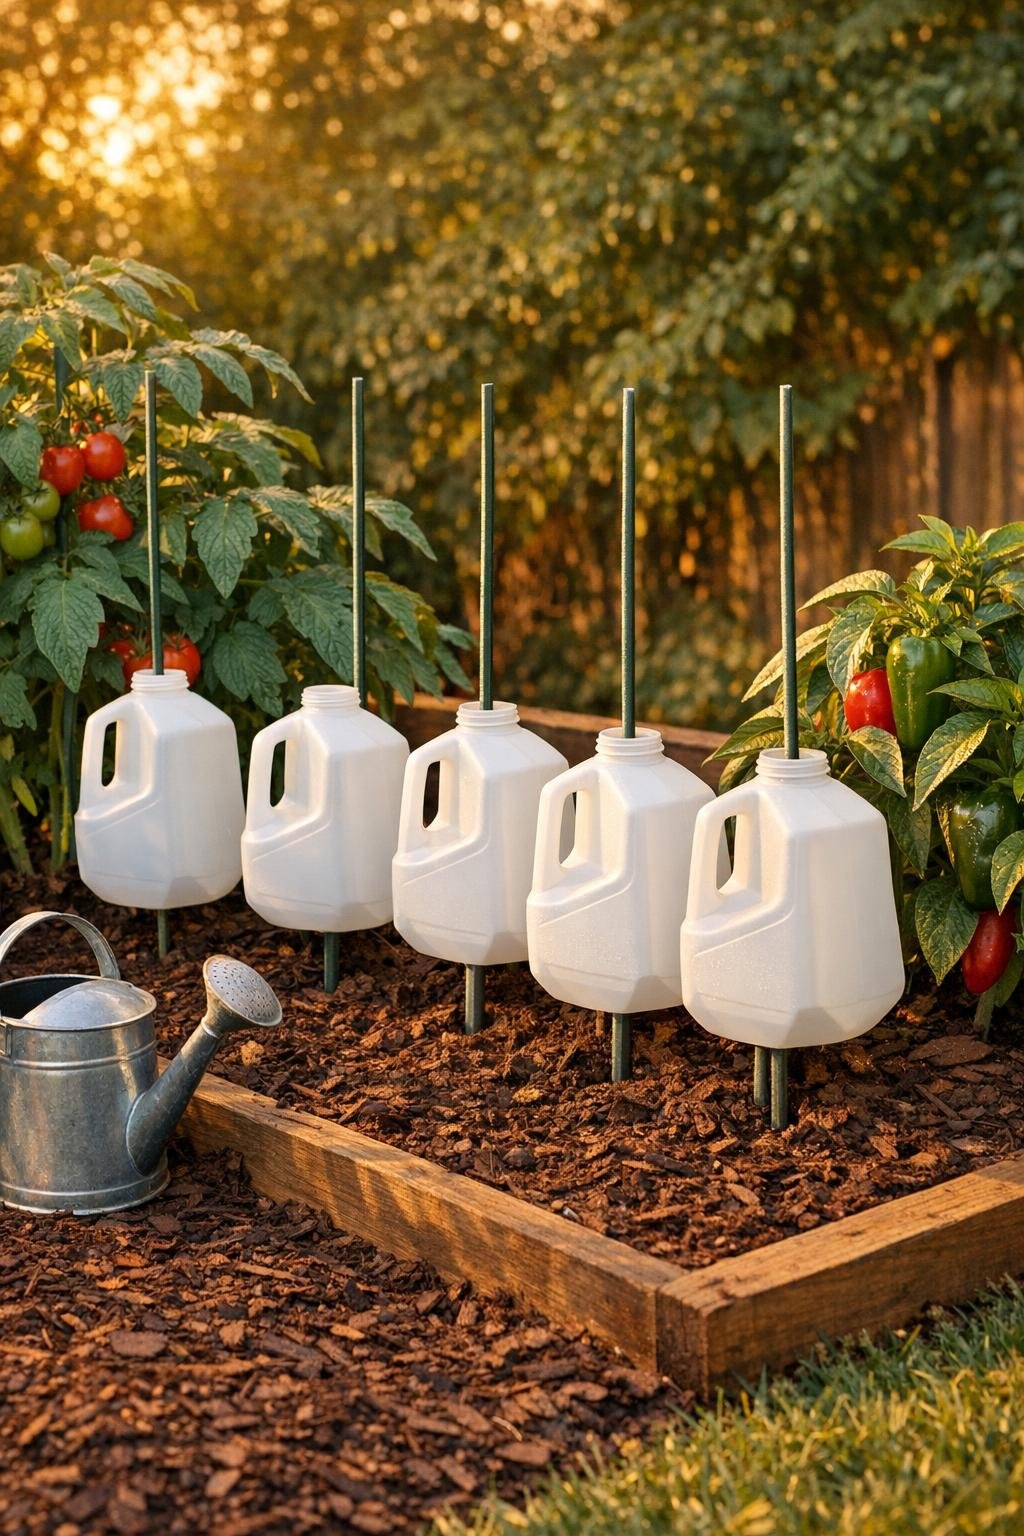
When I want my garden to make it through a dry stretch without me dragging the hose around twice a day, this is one of the simplest little tricks I come back to. These deep root watering spikes are made from cut plastic milk jugs and a basic yard item, and once they’re tucked into the soil, they do such a good job delivering water right where plants need it that they honestly look like something you’d buy at a garden center.
I especially love this project for tomato beds, peppers, cucumbers, squash, and thirsty flowering shrubs that need steady moisture down at the roots. It’s budget-friendly, fast to make in an afternoon, and practical in that satisfying, small-town way I really appreciate—using what you already have and turning it into something genuinely useful.
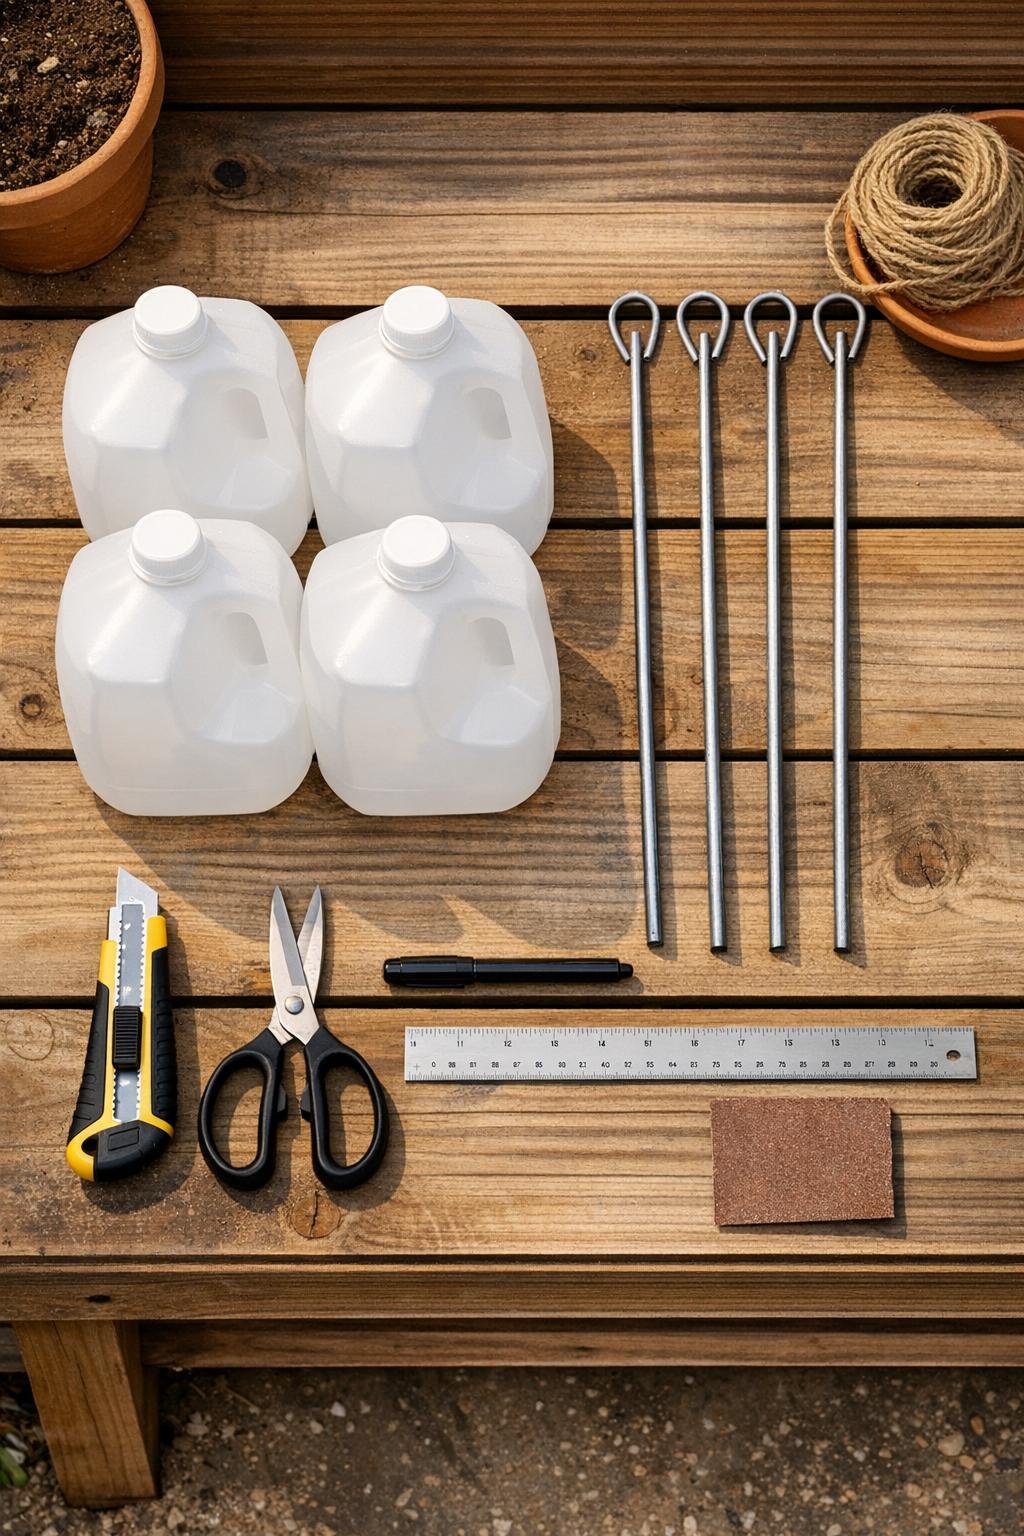
Materials
Instructions
1. Wash and dry the milk jugs, then remove the labels and caps so you can see your cutting lines clearly and keep the finish looking tidy.
2. Use the marker to draw a cutting line 2 inches up from the bottom of each milk jug, following the shape all the way around.
3. Carefully pierce the jug with the utility knife and cut along the marked line to remove the bottom, then trim any uneven spots with scissors.
4. Lightly sand the cut edge of each jug so it feels smooth and safe to handle, especially if children help refill these later.
5. Push one metal tomato stake down through the open bottom of each jug and up through the jug opening at the neck, so the jug sits upside down like a funnel on the stake.
6. Twist the cap back onto the jug neck, then use the utility knife to make one small slit or poke one tiny drainage hole in the cap so water releases slowly instead of all at once.
7. Carry the assembled spikes to the garden and place one beside each large plant, keeping it about 4 to 6 inches from the main stem so you water the root zone without crowding the plant base.
8. Push the stake 8 to 12 inches into the soil until the jug feels firm and upright, with the cap end buried low enough that the water can travel down deep.
9. Fill each jug from the open top with water and watch the first test run; if it drains too quickly, make the hole smaller with a fresh cap, and if it drains too slowly, widen the opening just a bit.
10. Refill as needed during hot or dry weather, and for a cleaner finished look, line all the jugs up at the same height throughout the bed so they look intentional instead of improvised.
Variations & Tips
For thirsty vegetables: I use these most often for tomatoes, peppers, eggplant, and squash because they really appreciate slow deep watering instead of a quick sprinkle on top of the soil.
For picky plant spacing: If your bed is crowded, use the spike on the outer edge of the root zone instead of right next to the stem so you do not disturb roots while installing it.
Cap control: The cap hole is what makes this work well, so start smaller than you think you need. It is much easier to enlarge a hole than to fix a jug that empties too fast.
Cleaner garden look: If you want them to blend in more, place them behind the front leaves of the plant and keep all the handles turned the same direction. That tiny detail makes the bed look surprisingly neat.
Extra-deep watering: In sandy soil, push the stake a little deeper and refill more often, since water moves through that kind of soil quickly.
Best seasonal use: I put these in before the hottest dry spells of summer, but they are also helpful when I know we’ll be gone for a weekend and I want the garden to have a steady drink while we’re away.
Family garden tip: If kids help with watering, assign one jug per plant and let them fill to the top. It turns garden care into an easy, visible job, and they can actually see which plant got watered.