
There is something deeply satisfying about turning three forgotten shed items into a hardworking little compost tumbler, especially in fall when the yard seems to produce a fresh pile of cleanup every single day. This project uses a metal coffee can as the tumbler body, then adds two simple support pieces so you can aerate kitchen scraps and chopped leaves with a quick spin instead of wrestling a heavy bin or turning a pile by hand.
I like projects like this because they solve a real problem without asking you to buy a single-purpose gadget. If you have a small garden, a few patio pots, or just want a tidy way to start composting your fall trimmings, this compact setup is easy to make, easy to hide near the shed, and surprisingly effective for producing small batches of rich compost starter.
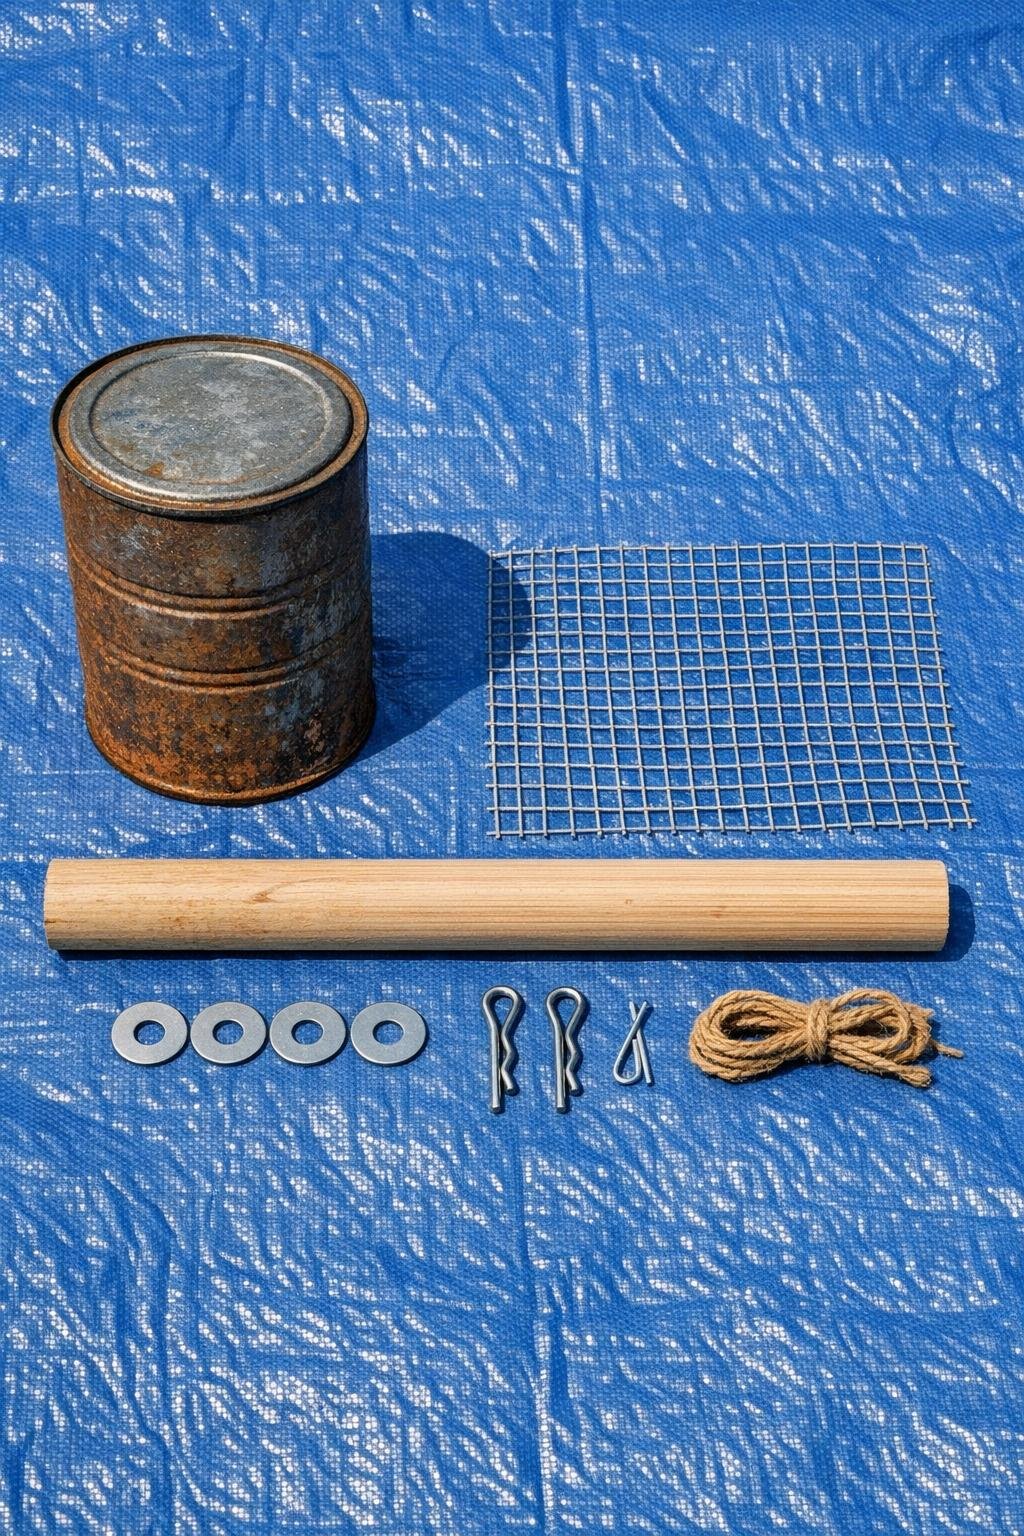
1. Wash out the metal coffee can, dry it well, and leave any light exterior rust in place; that weathered finish suits the shed-made look and still works fine for a tumbler.
2. Drill drainage and air holes all around the sides of the can, spacing 1/4-inch holes about 1 1/2 inches apart, then add 6 to 8 holes in the bottom and 4 holes in the lid.
3. Drill a centered 1-inch hole in the bottom of the can and another centered 1-inch hole in the lid so the dowel can pass straight through the middle.
4. Cut the galvanized wire mesh to fit the inside height of the can, then roll it into a loose cylinder and slide it inside so it lines the walls without blocking the center opening.
5. Slide the wooden dowel through the lid, down through the can, and out the bottom, leaving roughly equal overhang on both ends.
6. Add a washer near each end of the can and secure the dowel with cotter pins so the can stays centered but still spins freely on the rod.
7. Test the action by rotating the can a few times; if the lid feels loose, punch two tiny matching holes near the rim and tie it shut with scrap twine or wire.
8. Fill the tumbler about halfway with chopped dry leaves, green yard clippings, kitchen scraps, and a handful of finished compost or soil, then sprinkle in just enough water to make everything feel like a wrung-out sponge.
9. Set the dowel ends across two stable supports such as stacked bricks, sawhorses, or the open top edges of two sturdy buckets so the can hangs between them and turns like a spit.
10. Spin the can 10 to 15 turns every day or two, and keep the contents only half to two-thirds full so the material can tumble instead of packing tight.
11. Add more chopped fall debris in small batches as the contents shrink, always balancing roughly two parts browns to one part greens to keep odors down and decomposition moving.
12. When the mixture turns dark, crumbly, and earthy-smelling, empty it into a bucket or directly around shrubs and garden beds as a rich small-batch compost booster.
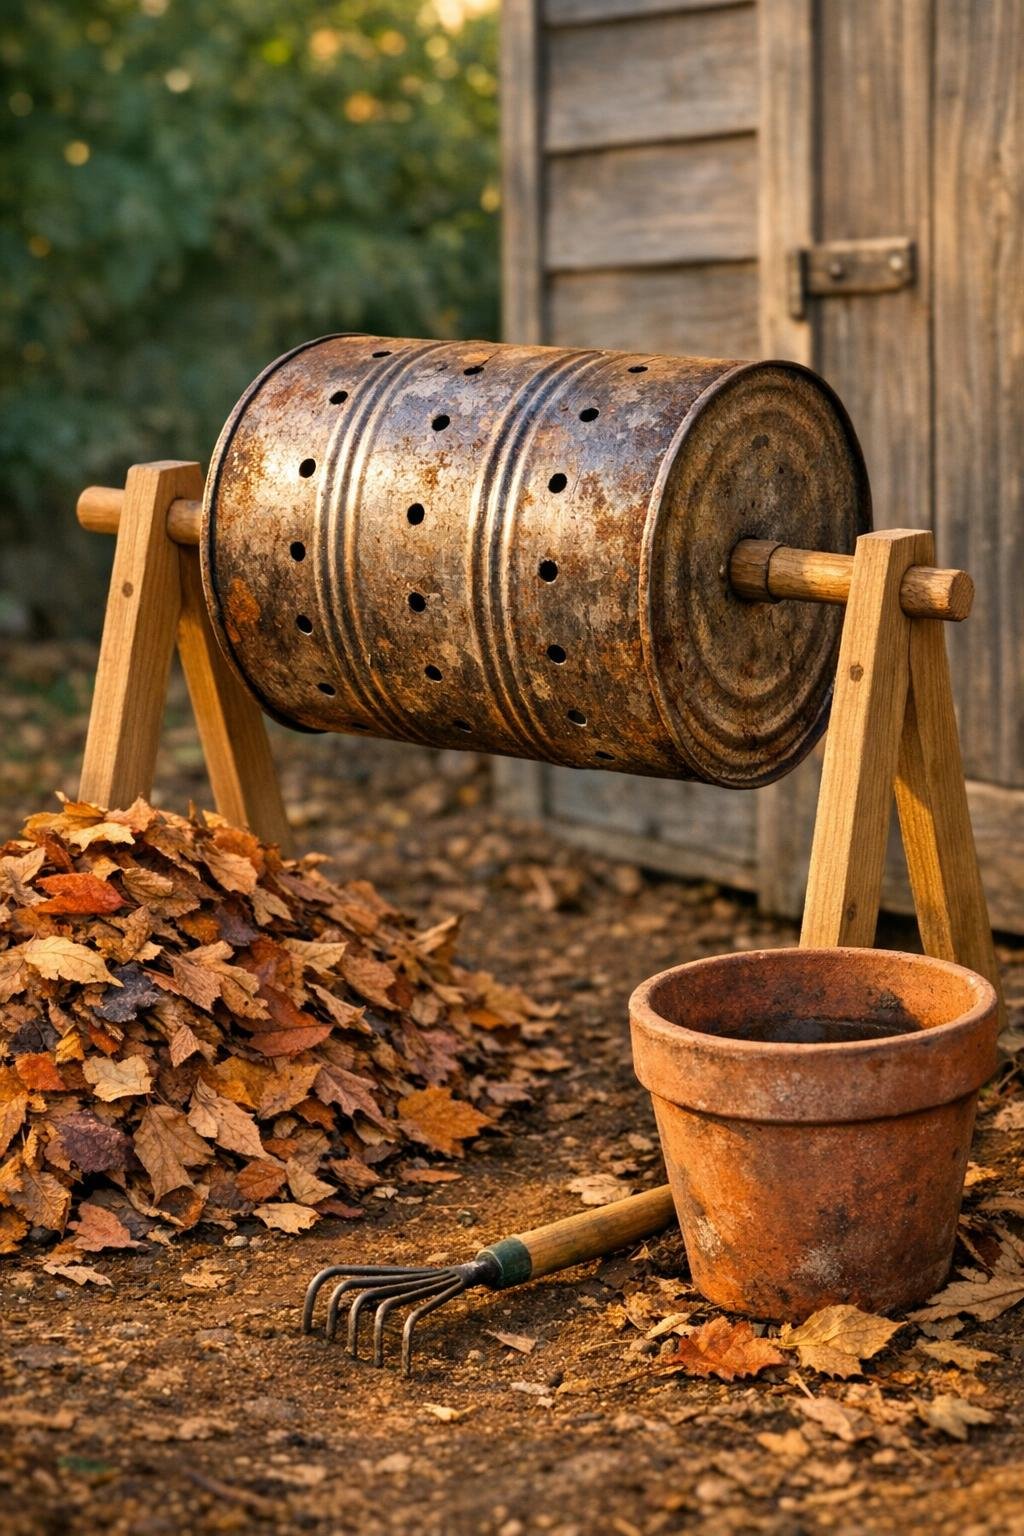
Use what your shed gives you: If you do not have wire mesh, a strip of old welded fencing works the same way inside the can and helps break up clumps as the tumbler turns.
Keep scraps small: As in cooking, smaller pieces mean faster results. I chop leaves and kitchen scraps more finely than I think I need to, and the compost always moves along better.
Control moisture: If the mixture smells sour, add more dry leaves; if it looks dusty and inactive, add a spoonful or two of water. You want damp, not wet.
Make it spin easier: A smooth hardwood dowel lasts longer than soft scrap wood, and a washer on each side of the can keeps the rotation cleaner and less wobbly.
Best for small spaces: This is not meant to replace a full compost bin. It is ideal for apartment gardeners, herb pots, balcony planters, or anyone who wants a tidy way to pre-compost fall cleanup before adding it to a larger pile.
Winter tip: In a Midwest fall, I keep mine in a sunny, sheltered spot near the garage or shed wall. It will slow down in real cold, but the airflow and easy turning still keep the material in good shape until temperatures rise again.