
There’s something awfully satisfying about turning the plainest supplies into something that looks like it came out of a winter shop window. This project starts with nothing more glamorous than wax paper and hot glue, but with a little patience and a few finishing touches, those drips become a sparkling cold-weather decoration with plenty of presence on the door.
I’m especially fond of projects like this because they feel a bit like the old-fashioned holiday making I grew up with—simple materials, kitchen-table assembly, and a final result that catches the light beautifully. If you want a winter wreath that feels magical without being fussy or expensive, this is a fine one to make on an afternoon.
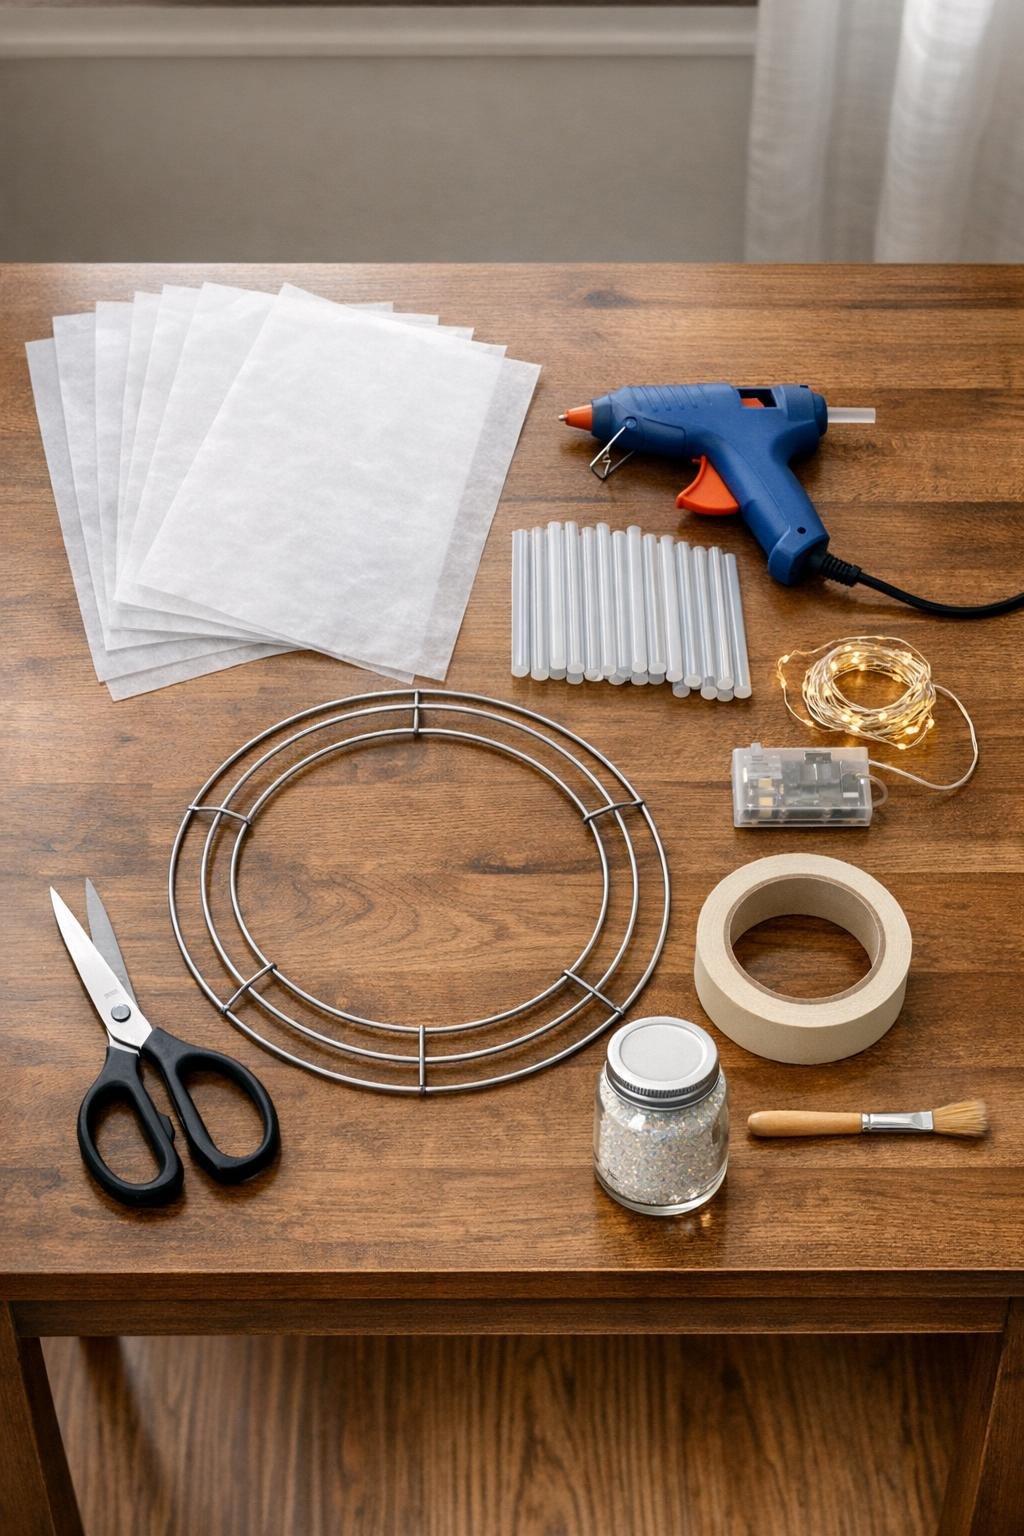
Materials
Instructions
1. Tape the 8 sheets of wax paper edge to edge across your counter so they stay flat and give you a long work surface for making lots of glue icicles at once.
2. Heat the glue gun fully, then pipe long tapered lines of clear hot glue down the wax paper, making each one 6 to 12 inches long and slightly uneven so they look like real icicles.
3. Add dimension by running a second thin line of glue along one side of many icicles and letting a few short side drips branch off, which gives them that frozen, natural look instead of making them too flat.
4. Make 45 to 60 icicles total, with plenty in the 8- to 10-inch range and a handful of extra-long ones for the bottom half of the wreath, then let them cool completely for 10 to 15 minutes.
5. Gently peel the cooled glue icicles off the wax paper and trim away any wispy glue strings with scissors so the edges look crisp and glassy.
6. Brush a very thin coat of clear craft glue onto about one-third of each icicle, mostly near the lower tips and along one edge, then sprinkle with iridescent glitter for an icy shimmer rather than full heavy coverage.
7. Set the glittered icicles aside for 15 minutes to dry while you prepare the wreath base.
8. Wrap the fairy lights around the wire wreath ring, spacing them evenly and tucking the battery pack at the back edge of the ring so it stays hidden once the wreath is hanging.
9. Tie the first layer of icicles onto the outer ring with short lengths of clear fishing line, overlapping the tops slightly and pointing them downward all the way around the form.
10. Add a second layer to the inner and middle rings, staggering the lengths and overlapping the first layer so the wreath looks full, frosty, and generously packed.
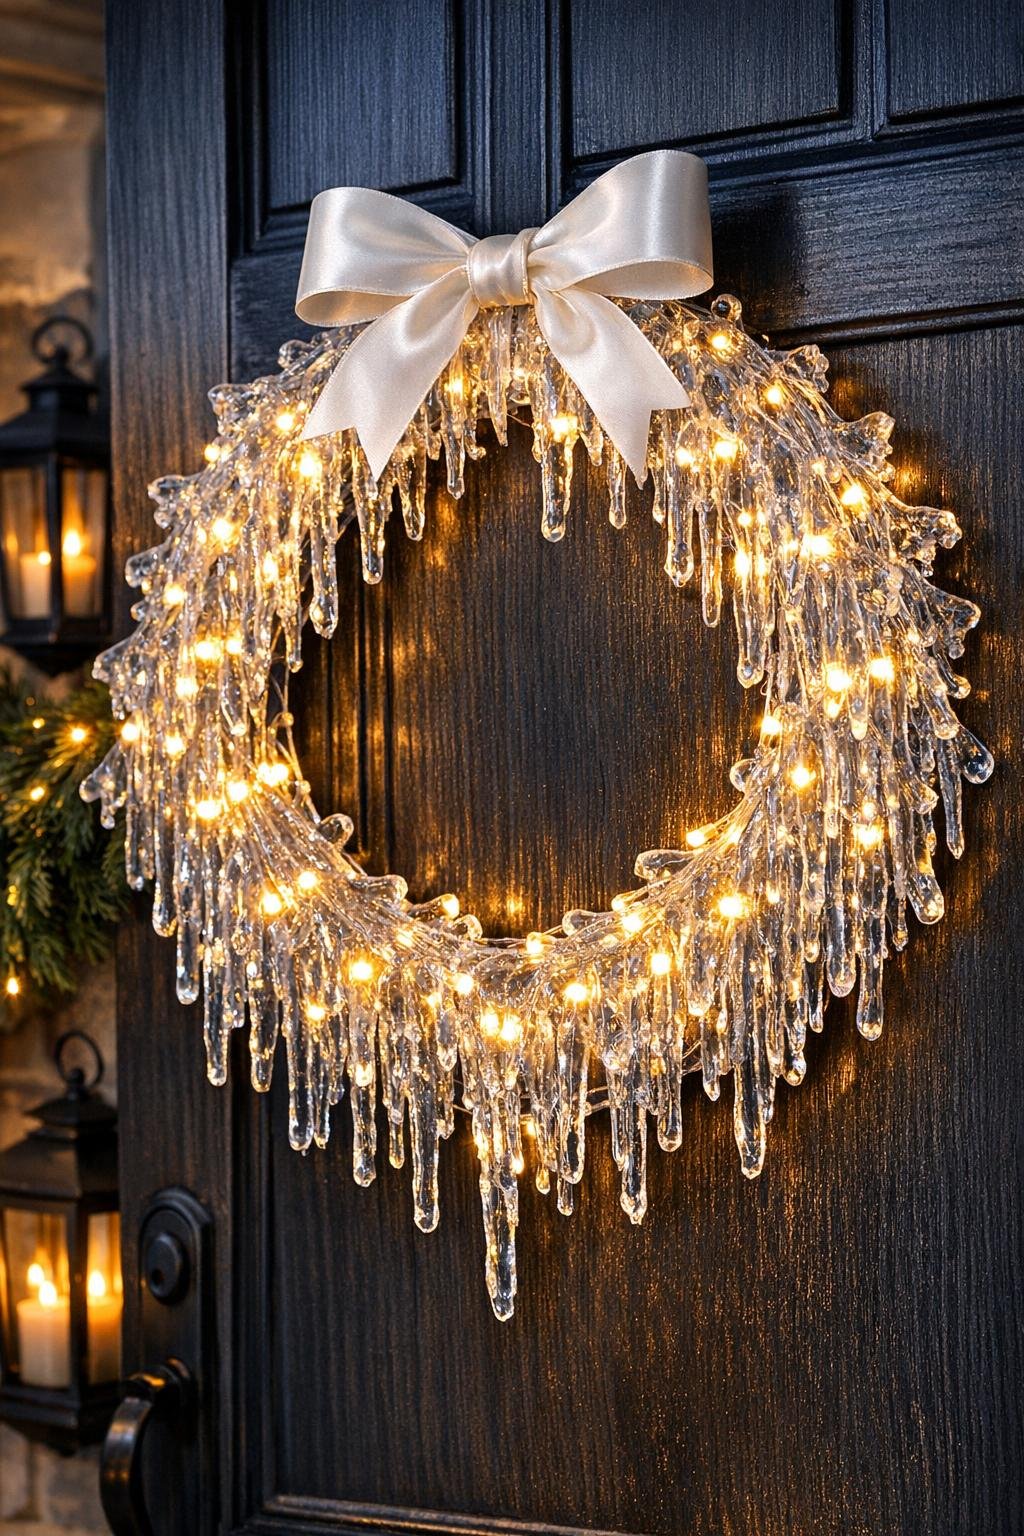
11. Concentrate the longest icicles along the lower curve and lower center of the wreath to create that dramatic frozen cascade that makes the whole piece feel finished.
12. Fill any bare gaps with the smallest icicles, then test the fairy lights and shift a few pieces as needed so the glow peeks through the clear glue.
13. Tie the ribbon into a simple bow and fasten it at the top of the wreath, keeping it modest so it adds polish without taking attention away from the icy texture.
14. Hang the wreath on a protected door or porch area, switch on the lights, and fluff the icicles lightly with your fingers so the layers separate and sparkle.
Variations & Tips
Cool-toned sparkle: If you prefer a frostier look, use cool white fairy lights and an icy blue ribbon instead of warm white and plain white.
Extra fullness: Don’t stop at a single layer of icicles; the magic in this wreath comes from overlap, mixed lengths, and generous coverage all the way around.
Safer hanging spot: This wreath does best on a covered front door, enclosed porch, or inside-facing storm door where wind, direct sun, and rain won’t soften or stress the glue.
Glitter control: I like to glitter only part of each icicle because it catches the light better and still lets the clear glue look like real ice.
Attachment option: If you don’t want to tie each piece, you can hot glue some icicles directly to the wire ring first, then reinforce a few key pieces with fishing line for security.
Storage: Lay the wreath flat in a shallow box with tissue paper around the edges so the long icicles don’t get bent or snapped between seasons.