
There is something deeply satisfying about taking a worn old paperback that has already told its story and giving it one more season to shine. I have always had a soft spot for simple handwork like this—the kind you can do at the kitchen table with a cup of coffee nearby, while the house is quiet and the light is fading early outside.
This project is especially lovely for anyone who wants a Christmas decoration that feels thoughtful, inexpensive, and a little bit magical without asking for fancy tools or artistic talent. All it takes is patience and a steady folding rhythm, and page by page, that humble old book turns into something charming enough to tuck onto a mantel, side table, or holiday shelf.
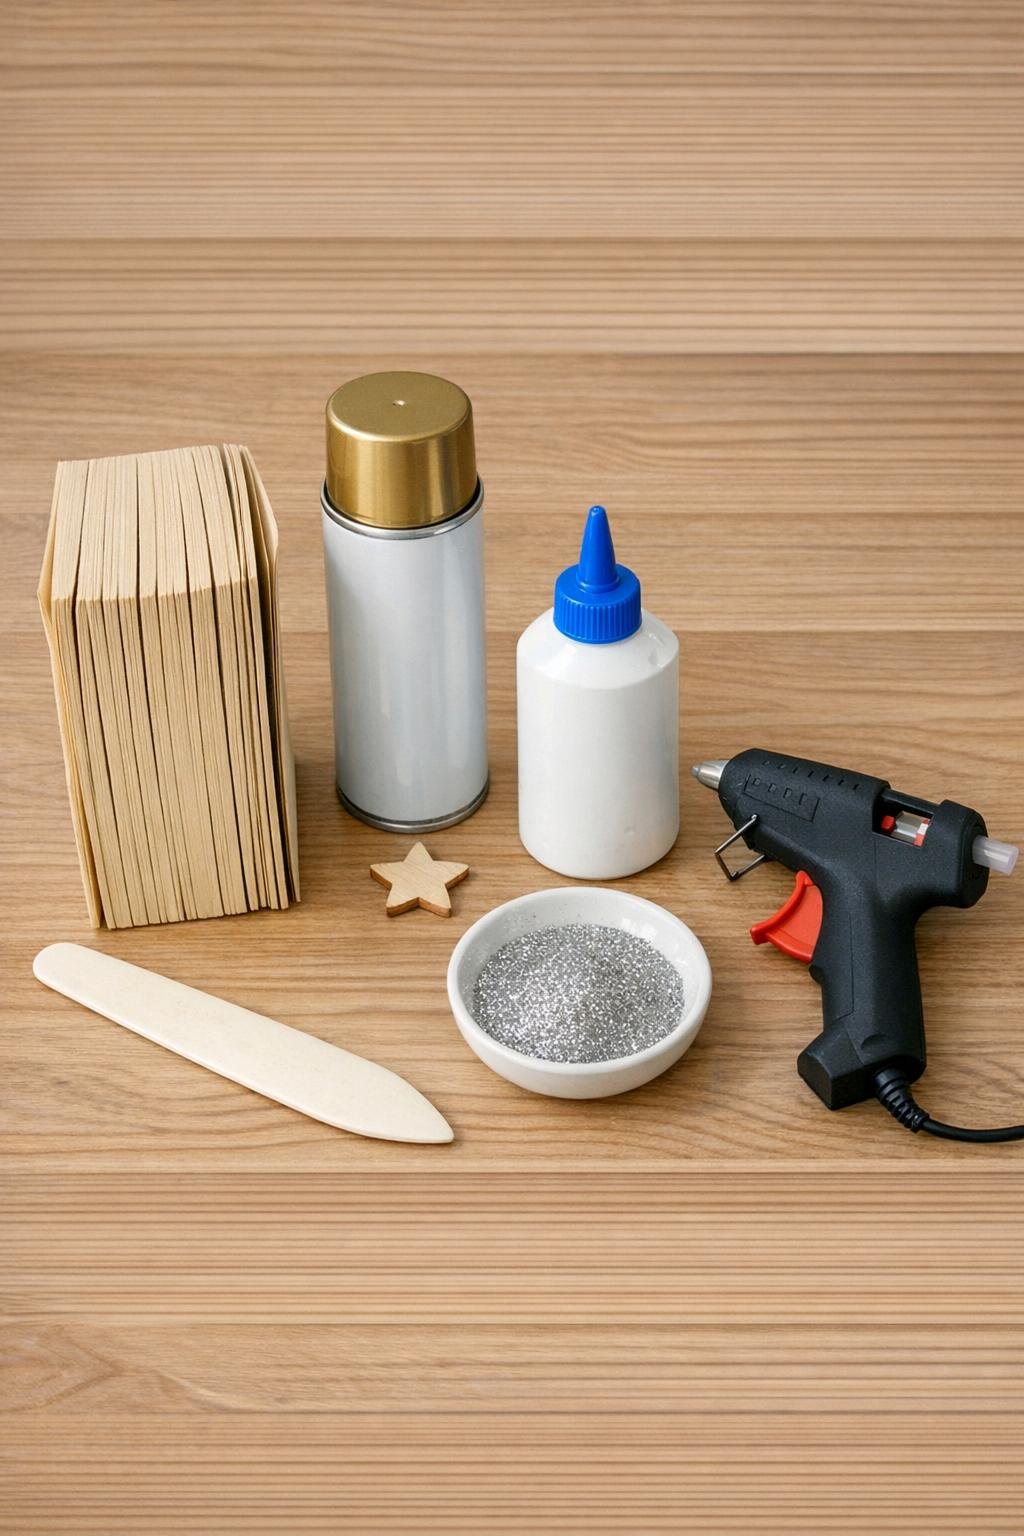
Materials
Instructions
1. Stand the paperback upright and gently bend back the cover so the book can lie open flat without fighting you. If the front or back cover feels loose, leave it attached for now so the book keeps its shape while you fold.
2. Start with the first page and fold the top outer corner diagonally inward so the top edge meets the spine. Run your bone folder or butter knife along the fold to make it crisp.
3. Take that same page and fold the new angled outer edge inward again so it meets the spine a second time. Crease it firmly; this second fold is what builds the full dimensional shape.
4. If a small triangle sticks out below the bottom edge of the book, fold that little point upward and tuck or crease it neatly against the bottom of the page. Don’t worry if the first few pages look awkward—once more pages are folded, the shape settles in beautifully.
5. Repeat those same folds on every page in the book, working steadily from front to back. Keep the top points lined up as evenly as you can, but don’t chase perfection; the fullness comes from consistency more than exactness.
6. Once all the pages are folded, stand the book upright and open the covers around until the folded pages fan into a full circular or near-circular form. Hot glue the front and back covers together, or glue the first and last folded pages together if you prefer a cleaner seam.
7. If you want a painted finish, take the book outdoors or to a well-ventilated area and spray it lightly with white or gold paint from about 10 to 12 inches away. Use one light coat for a soft dusted look or two light coats for fuller coverage, letting it dry between coats.
8. Brush a tiny bit of white glue onto the page tips or outer edges wherever you want sparkle, then dust on fine glitter and tap off the extra. I like to keep the glitter light so the folded pages still show through.
9. Hot glue the small wooden star or button to the top point of the book. Hold it in place for a few seconds so it sits straight and feels secure.
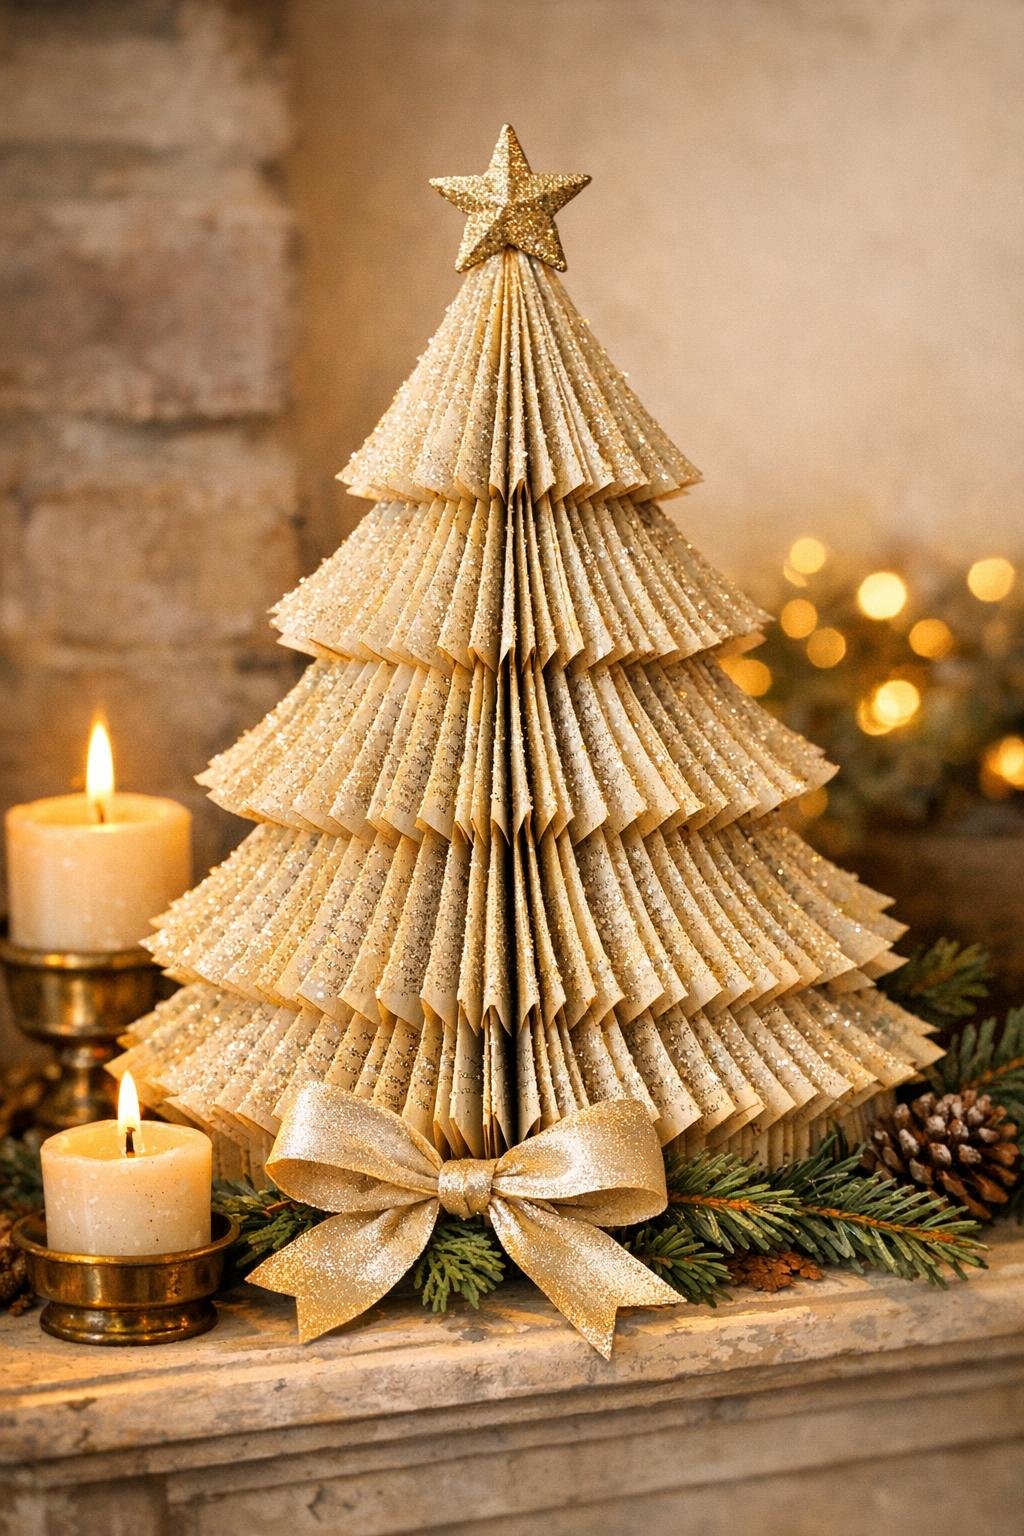
10. Fluff the pages gently with your fingers, spreading them evenly all the way around so the shape looks full and balanced. Set it on a mantel, shelf, or entry table and let those folded pages catch the light.
Variations & Tips
Leave it natural: If you love the look of old paper, skip the paint and glitter entirely. The aged pages have a warm, cozy beauty all by themselves, especially in a farmhouse or vintage holiday setting.
Choose the right book: A thicker paperback with at least 300 pages gives you a much fuller result. In my experience, slim books can still work, but they never have that generous, sculptural look that makes this project feel special.
Make the folds easier: If your fingers get tired, use the back of a butter knife to press each crease. That little trick saves your hands and keeps the folds sharp and tidy.
Try a snow-dusted finish: White spray paint applied lightly from the top down settles beautifully onto the page edges and makes the piece look as though it came in from a snowy porch. I think this finish is especially pretty with just a hint of glitter on the tips.
Add quiet color: A gold button, burgundy ribbon, or tiny pearl accent at the top can make the piece feel dressed for the season without overwhelming the paper texture. Keep embellishments small so the folded pages remain the star of the show.
Display in a group: If you make two or three in different heights, they look lovely together on a mantel or buffet. Around my house, clustered handmade decorations always feel more welcoming than one lone piece standing by itself.