
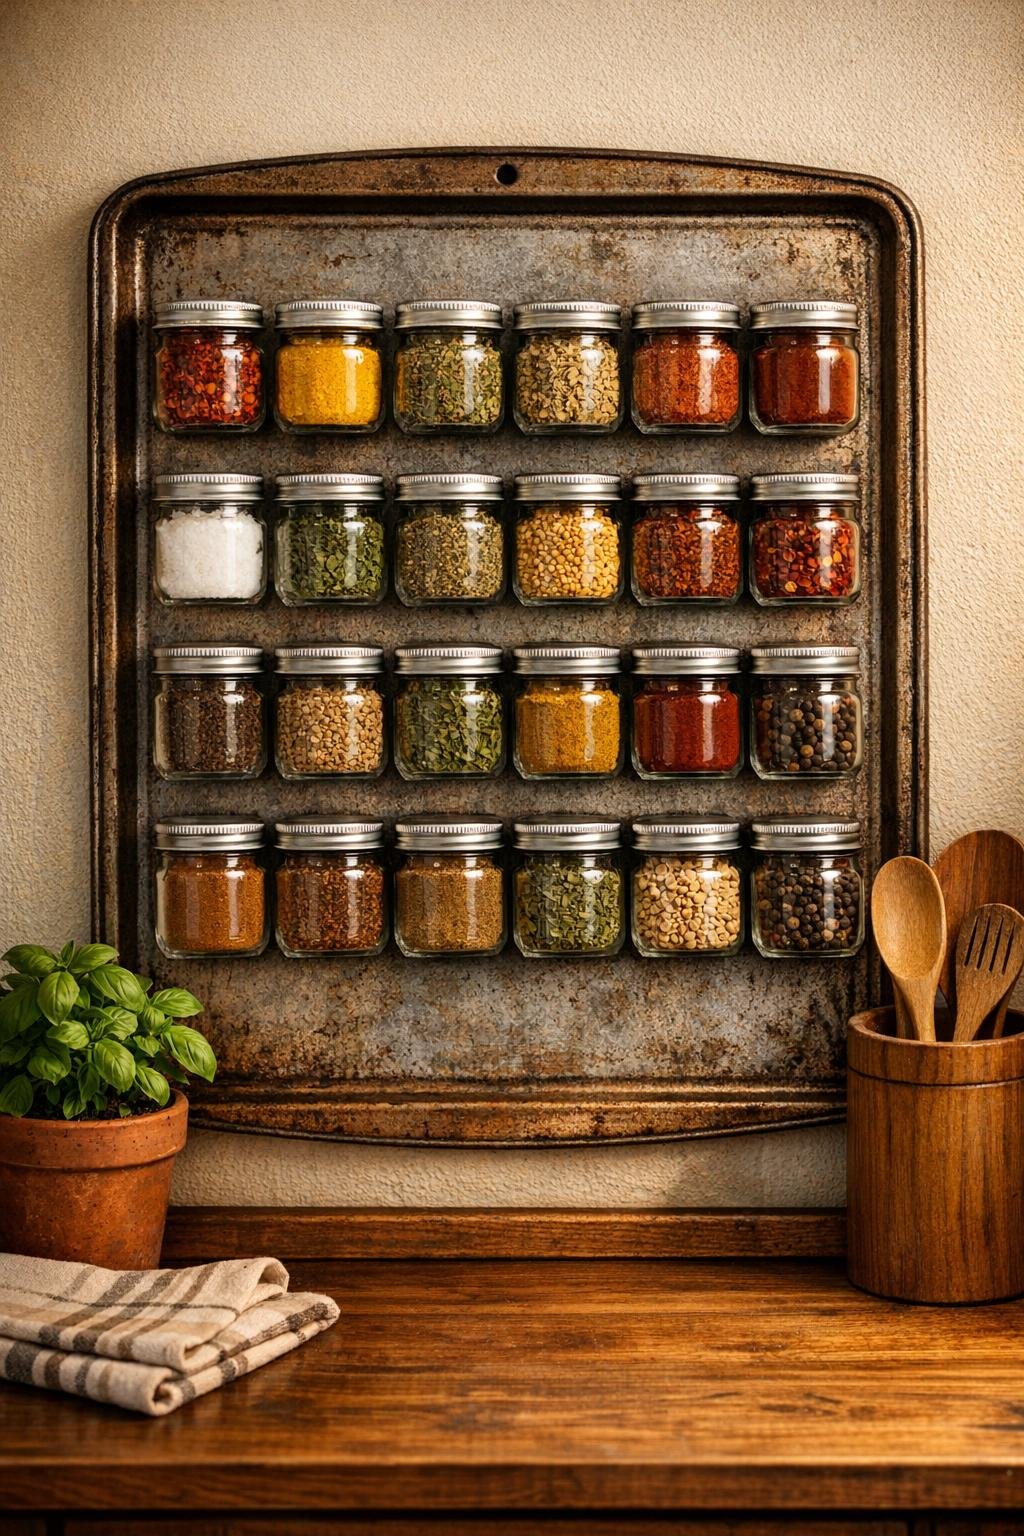
I love a kitchen project that solves a real problem and still ends up looking charming on the wall, and this magnetic spice rack does exactly that. By pairing small mason jars with strong magnets and a vintage-style baking sheet, you get a spice storage setup that keeps everyday seasonings easy to grab, easy to see, and off the counter where space always seems to disappear first.
This is the kind of DIY that works especially well for busy family kitchens because it’s simple to maintain and surprisingly roomy once it’s filled. I’m always looking for ways to make cooking feel smoother at dinnertime, and having cumin, garlic powder, paprika, oregano, and the rest right in front of me makes the whole kitchen feel more organized without needing a full remodel.
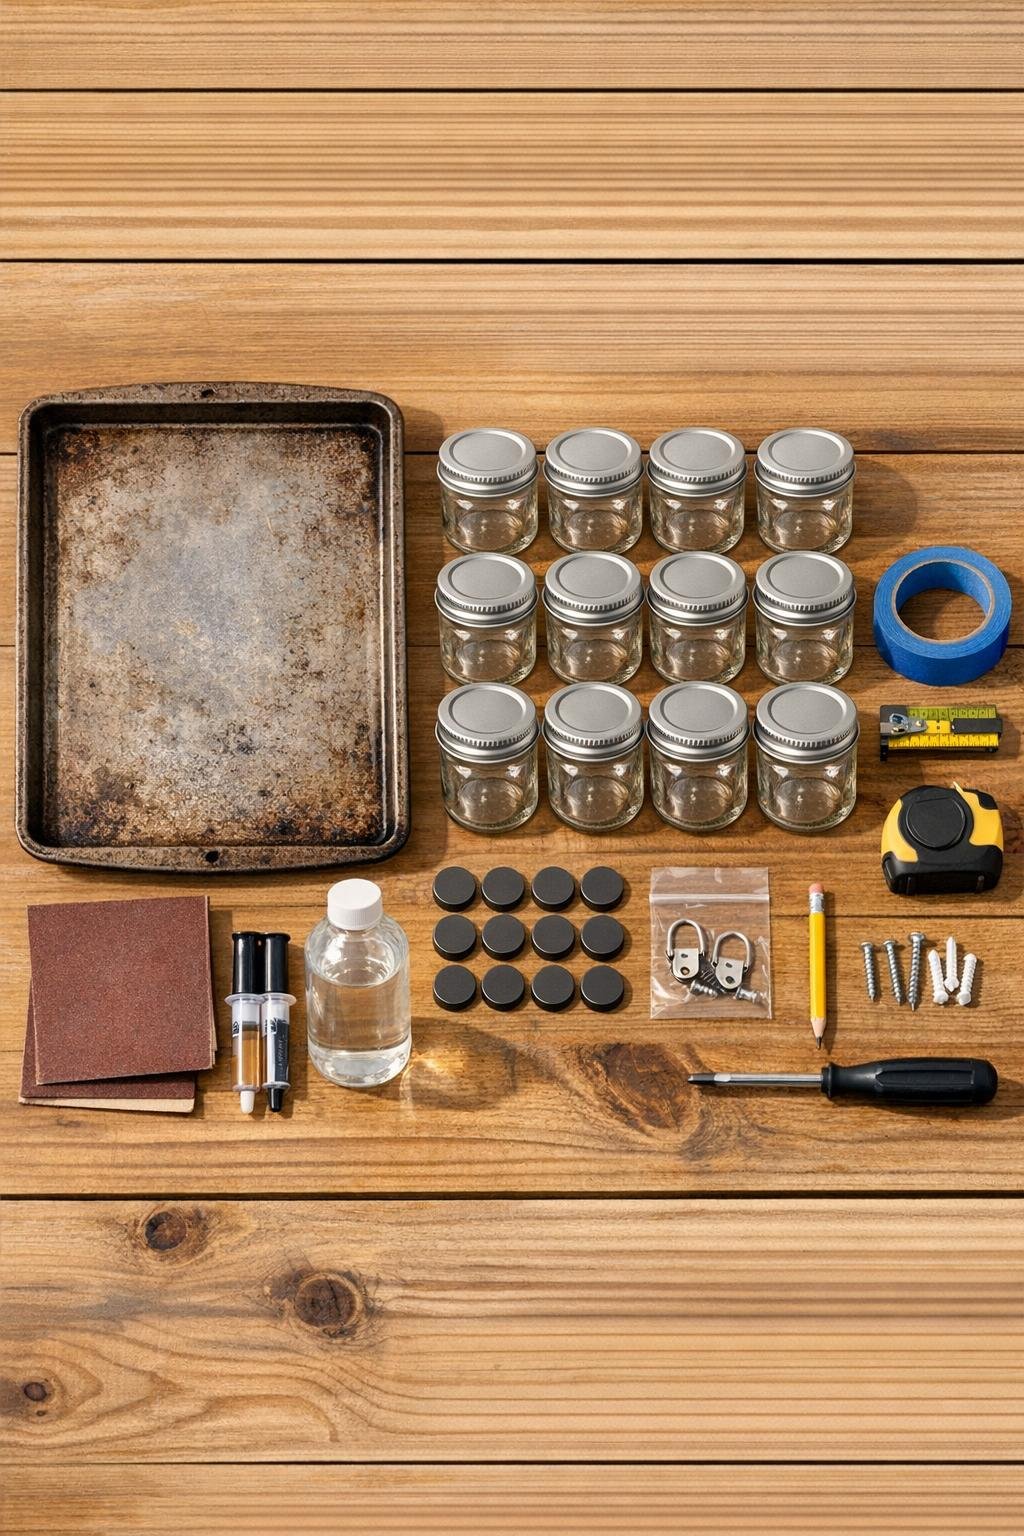
Materials
Instructions
1. Wash the baking sheet and mason jars with warm soapy water, then dry everything completely so the adhesive can bond well.
2. Lightly sand one flat side of each round magnet and the center area of each jar lid insert or lid top where the magnet will attach; wipe away dust with rubbing alcohol.
3. Mix the epoxy according to the package directions, then glue one magnet to the center of each mason jar lid, keeping the magnets flat and level so the jars will hang straight.
4. Let the glued lids cure fully for the full recommended time, and don’t rush this step because strong adhesion is what makes the whole rack safe and dependable.
5. If you want a more polished layout, measure the baking sheet and use painter’s tape to mark three or four even rows so you can place the jars in neat lines once everything is mounted.
6. Attach the hanging hardware to the back of the baking sheet near the top corners, or secure a centered sawtooth hanger if your sheet has a sturdy rim that can support it.
7. Hold the baking sheet against the wall, use a level to straighten it, mark the screw locations, then install the wall anchors and screws, leaving the screw heads out just enough to hang the sheet securely.
8. Fill each mason jar about three-quarters full with spices so they stay light enough for the magnets while still giving you plenty of seasoning on hand.
9. Screw the magnetized lids onto the filled jars tightly, then test one jar at a time on the baking sheet to check the hold before loading the full rack.
10. Arrange the jars in rows across the baking sheet, leaving a little finger space between them so you can twist each one off easily when you’re cooking.
11. Label the lid tops so you can identify each spice at a glance, especially the look-alike ones like chili powder, paprika, and cayenne.
12. Give the whole rack a final check by removing and replacing each jar once, tightening any loose lids and adjusting spacing until the layout feels easy to use during a busy meal.
Variations & Tips
For bigger spice collections: Use a larger 18 x 24 inch metal tray or roasting pan and increase to 16 or 20 jars so you can keep baking spices and savory spices together in one spot.
For picky eaters and family cooking: Keep your most-used mild seasonings like garlic powder, cinnamon, parsley, Italian seasoning, and taco seasoning in the easiest-to-reach middle rows so quick weeknight meals come together faster.
For a stronger hold: If your jars are heavier or your spices tend to clump, use two smaller magnets per lid instead of one large magnet, as long as both sit flat and centered enough to balance the jar.
For a cleaner look: Spray-paint the baking sheet before mounting it if you want a different finish, but let it cure completely before adding jars so the magnets don’t stick to tacky paint.
For easy refills: Decant spices with a small funnel and avoid filling all the way to the top; that little bit of extra room keeps powder from catching in the threads when you screw the lids back on.
For safer hanging: Always mount into studs when possible, and if you can’t, use anchors rated well above the total loaded weight of the tray plus all filled jars.
For quick organization: Group the jars by how you cook instead of alphabetically; I like to keep taco night spices together, baking spices together, and everyday dinner seasonings right at eye level.