
If you keep a fireplace going through the colder months, you know how quickly kindling can turn a room from cozy to cluttered. This project turns a plain tall metal waste basket into a handsome living room kindling holder by wrapping it with a burlap coffee sack, and it is one of those little upgrades that looks much more expensive than it is. I love projects like this because they use simple materials but still make the room feel warm and pulled together.
I’d recommend this for anyone who wants practical storage that still looks homey beside a hearth, wood stove, or even on a covered porch. The mesh basket gives the holder structure and airflow, while the burlap softens the look and adds that rustic coffee-sack charm. It’s a quick afternoon project, and the finished basket is generous enough to hold a real working stash of kindling instead of just a few decorative sticks.
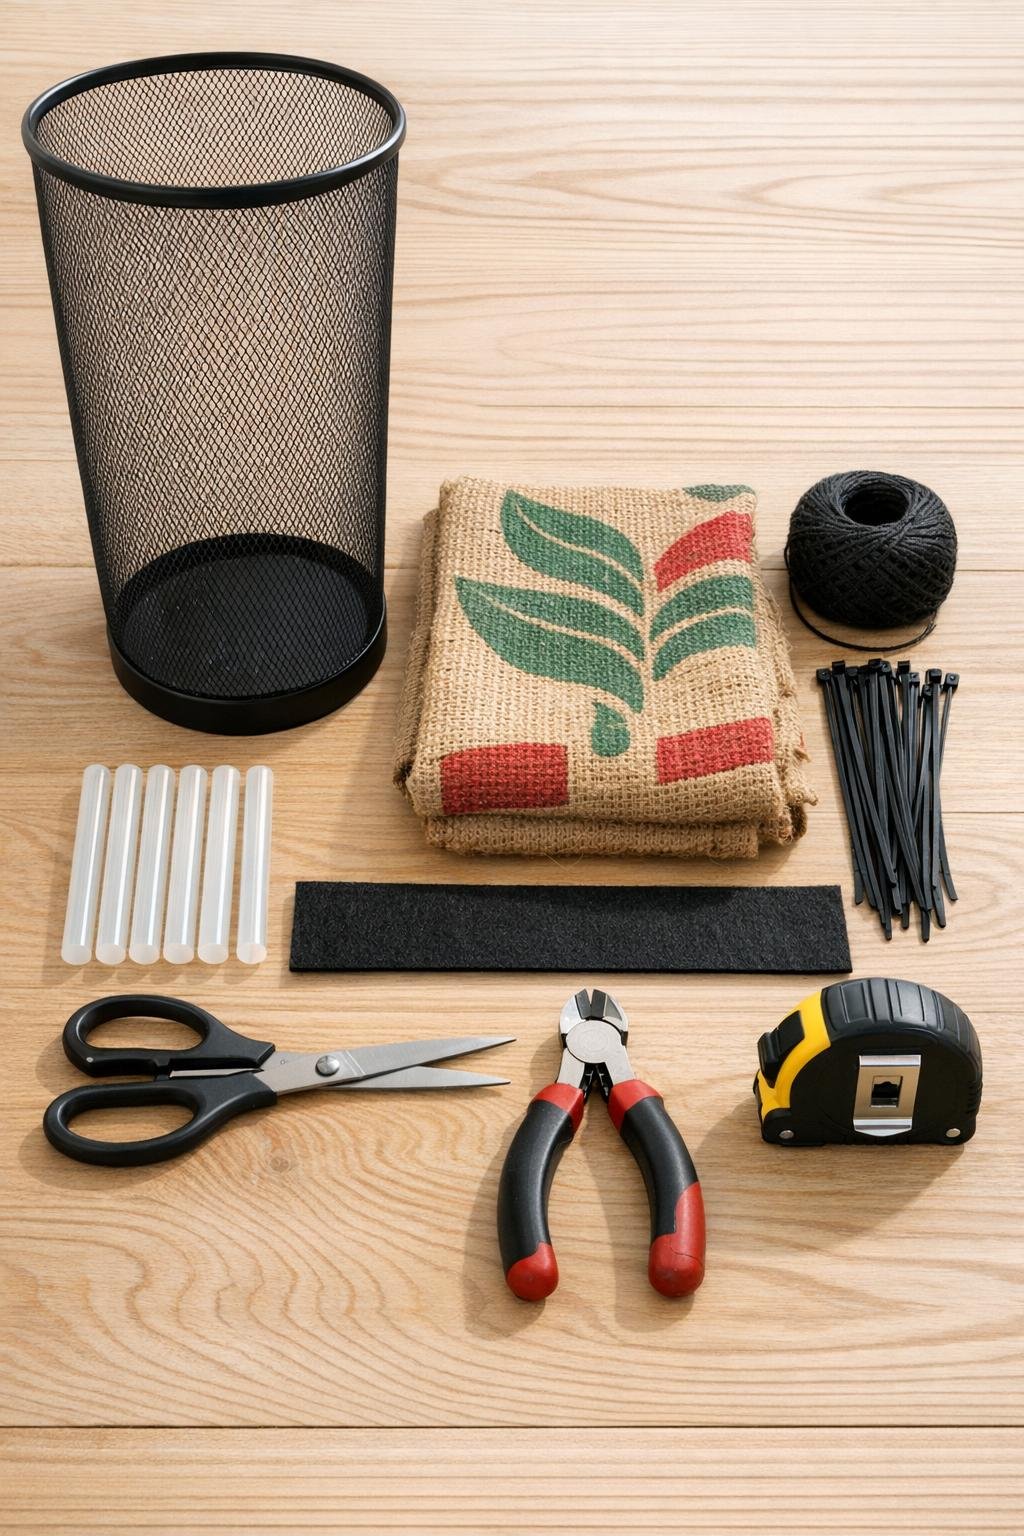
1. Clean the metal waste basket and make sure it is dry, then set it upright and decide which side you want facing front in the room.
2. Shake out the burlap coffee sack and cut along one side seam and across the bottom so you can open it into one flat panel.
3. Wrap the burlap around the outside of the basket with the printed side facing out, centering the design on the front and leaving 1 inch of extra fabric at the top and bottom.
4. Overlap the back seam by about 1 inch, trim away excess burlap, and secure that seam with a thin line of hot glue so the wrap stays snug around the basket.
5. Fold the extra 1 inch of burlap over the top rim to the inside of the basket, making small snips where needed so it lays flat, then glue it down in short sections.
6. Fold the extra burlap under the bottom edge and glue it neatly to the underside of the basket, keeping the base as flat and even as you can.
7. Cut the black felt into a band if needed and glue it around the inside upper wall of the basket to cover the folded burlap edge and keep the inside looking tidy.
8. Thread black zip ties through the mesh at the back seam area and one or two hidden spots on each side, fastening the burlap securely to the basket frame so it won’t shift when filled with wood.
9. Trim the zip tie tails flush with wire cutters, then wrap black jute twine around the top third of the basket two or three times and tie a firm knot at the back for a finished look.
10. Add a second twine wrap around the lower third of the basket, pull it snug, and knot it at the back so the holder has a balanced, tailored shape.
11. Stand the basket beside your fireplace and fill it with a full mix of split kindling, barky starter pieces, and a few slightly taller sticks so it looks abundant and ready to use.
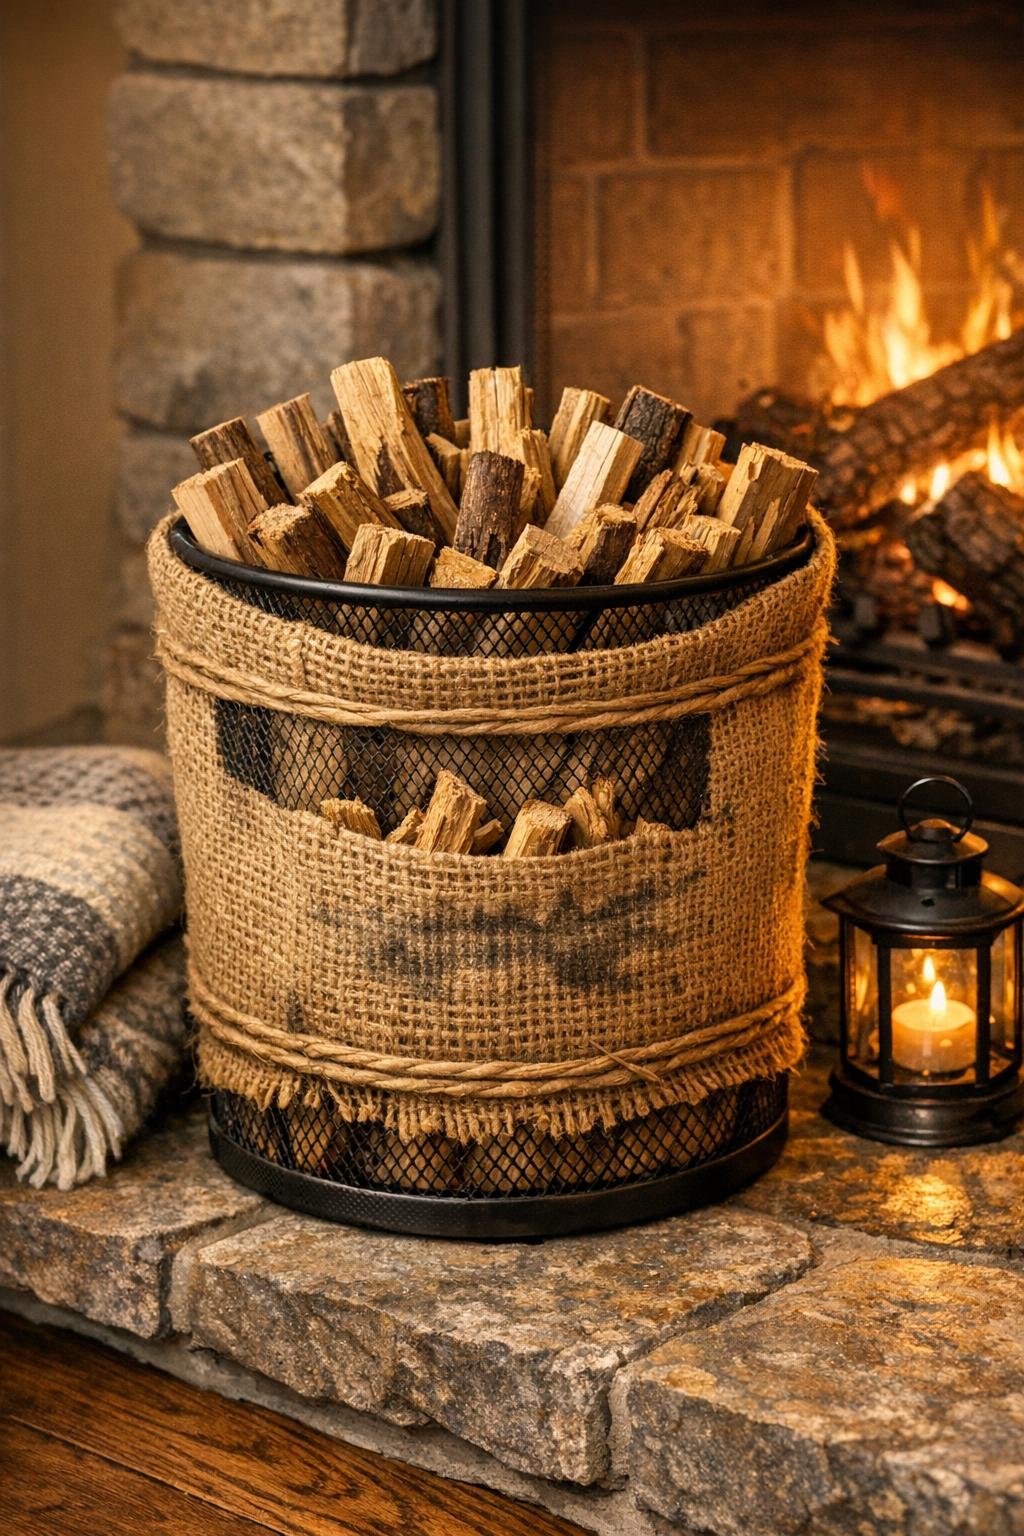
For a cleaner look: If your coffee sack has frayed edges, run a thin bead of hot glue along the cut sides before wrapping the basket. I do this anytime I’m using burlap because it keeps little fibers from shedding around the living room.
For extra strength: If your kindling is heavy or you plan to carry the basket often, add 2 more zip ties near the lower half of the basket. The glue makes it pretty, but the hidden ties do the real work.
If you want a softer rustic style: Tie a small looped bow from the same black jute twine and attach it near the upper front or side. It’s a simple finishing touch, but it makes the holder look intentional instead of improvised.
For picky décor styles: In my house, not everyone loves the same rustic look, so this is an easy one to tweak. Use plain burlap for a quieter farmhouse feel, or choose a coffee sack with bold black printing if you want more character.
To protect flooring: Glue a few small felt pads under the base if the basket will sit on hardwood. That little step helps it slide more easily when you’re sweeping around the hearth.
To keep it looking full: Start with thicker pieces in the center and lean the prettiest bark-covered sticks around the outside. It’s the same trick I use when serving food in a big bowl for family gatherings: build the base first, then arrange the visible top layer so everything looks generous and inviting.