
Broken light strands are one of those things I used to shove in a drawer and “deal with later,” and around here later usually meant never. But those big old-school bulbs are too charming to waste, especially when the colors are still bright and cheerful even if the strand itself has given up.
This project is easy, affordable, and perfect if you want something bold and happy for your front door without a lot of fussy crafting. If you can snip, glue, and tie a bow, you can make this, and the finished piece has that full, nostalgic look that always reminds me of the holidays when the kids were little and every light display felt magical.
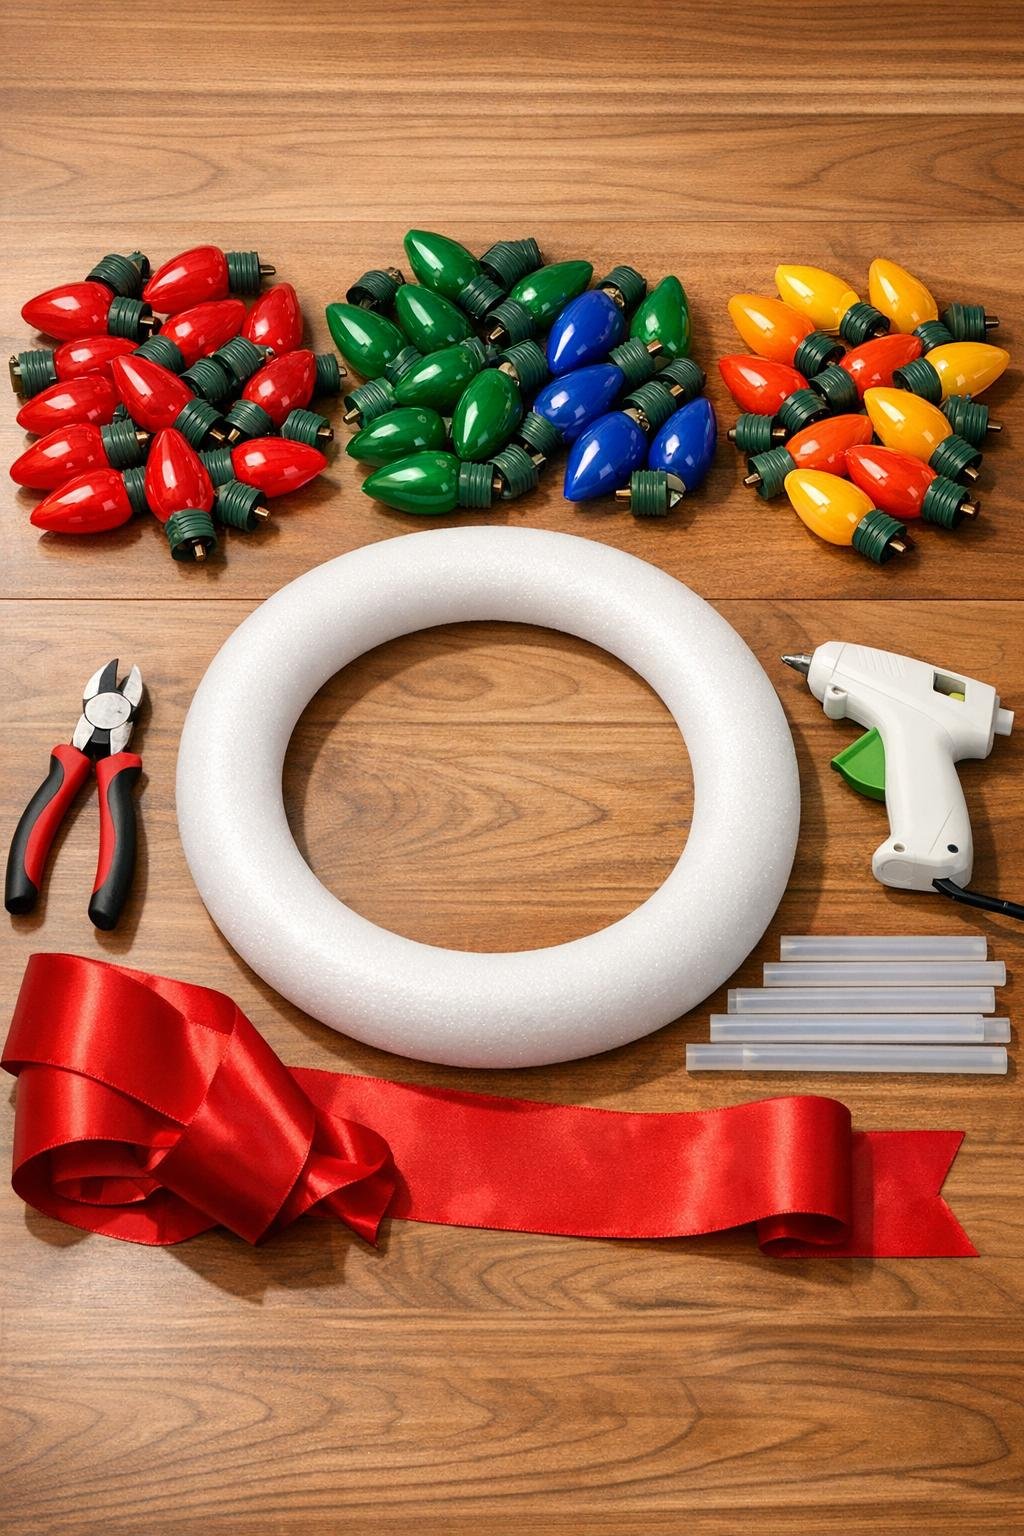
Materials
Instructions
1. Cut the bulbs off the broken strands, leaving the plastic bulb bases attached and trimming away any extra wire tails so each bulb sits flat enough to glue.
2. Sort the bulbs into color piles and wipe them clean with a dry cloth so dust or grime does not weaken the glue.
3. Set the foam wreath ring flat on your work surface and do a dry layout of the first layer, placing bulbs all the way around with the pointed ends angled in the same direction for a smooth, swirling look.
4. Glue the first layer in place one bulb at a time, adding hot glue to the side of each base and the foam ring, then pressing firmly for a few seconds so the bulbs hug the curve.
5. Fill the entire outside edge and inside edge of the ring with that first layer, keeping the bulbs close together with almost no foam showing through.
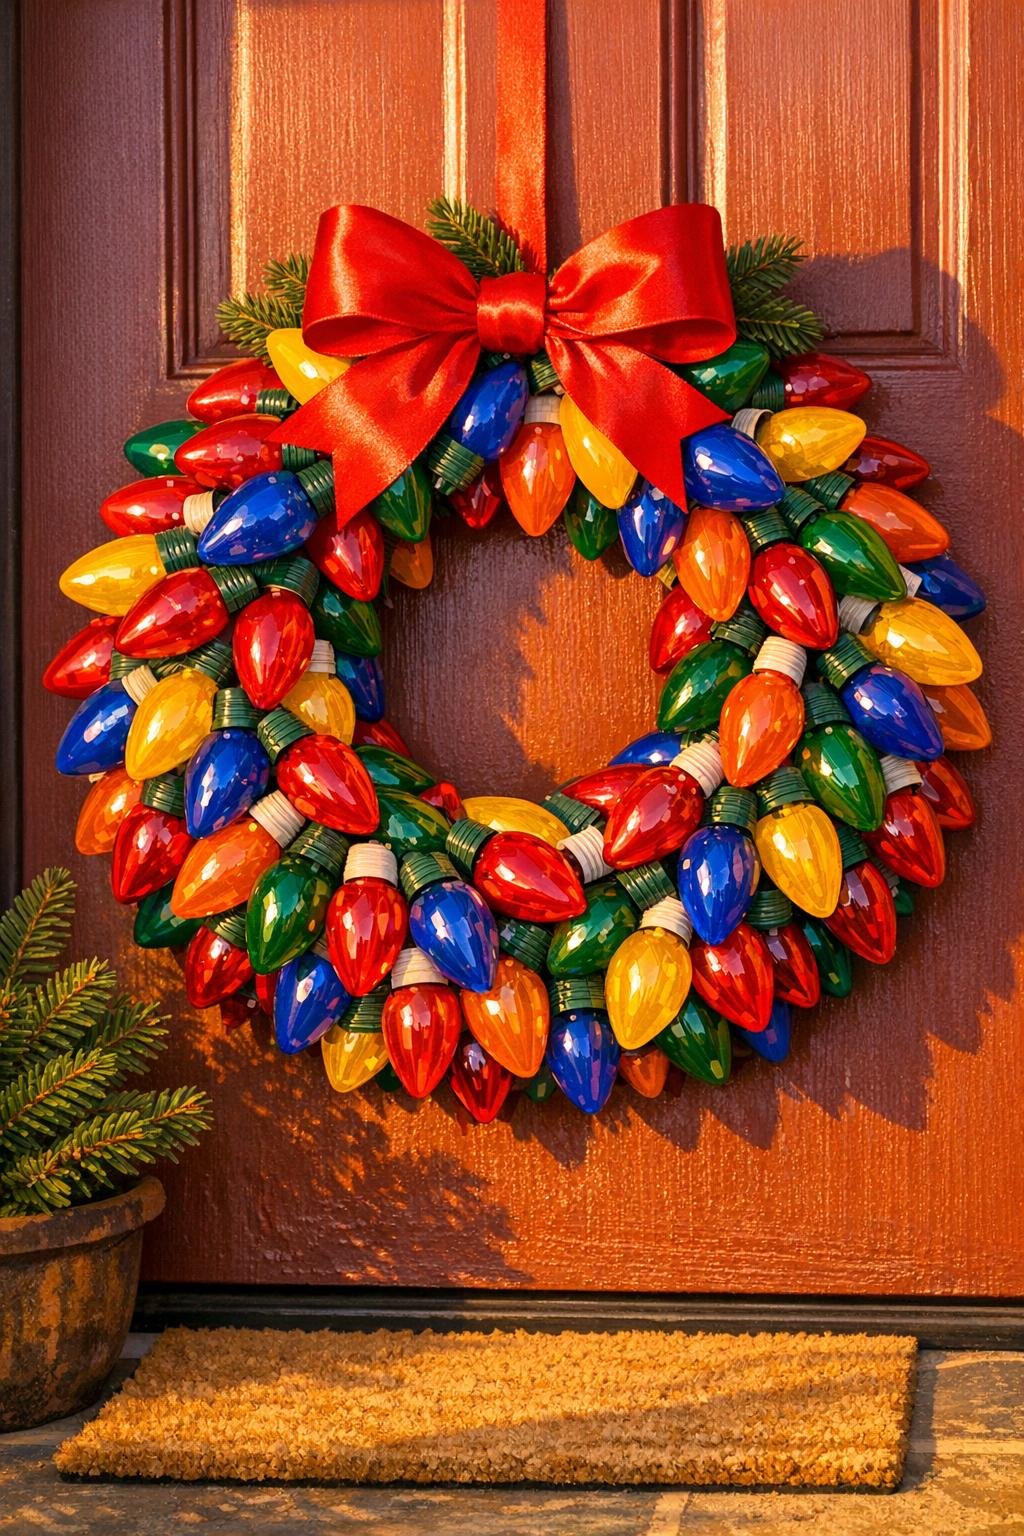
6. Start a second layer on top, tucking bulbs between the seams of the first layer and angling them slightly outward to create a fuller, more rounded wreath.
7. Keep adding bulbs until the front looks packed and balanced, using the smaller gaps for bulbs that naturally nestle into open spots.
8. Glue a few bulbs around the outer side edges anywhere the foam ring still peeks out from the front view, because that extra coverage is what makes the finished wreath look store-bought in the best way.
9. Let the glue cool completely, then lift the wreath and check for loose pieces; add a dot of glue anywhere a bulb wiggles.
10. Make a generous bow with your ribbon using two loops on each side and tails about 10 inches long, then secure it with floral wire or a tight knot.
11. Glue the bow to the top or upper side of the wreath, and if you want extra support, anchor it through the foam ring with the floral wire before fluffing the loops.
12. Add a ribbon loop to the back for hanging, then let everything set for another 15 to 20 minutes before placing it on the door.
Variations & Tips
Color Order: If you like a tidier look, arrange the bulbs in a repeating pattern instead of mixing them randomly. I love a balanced scatter, but a planned color sequence can look extra retro.
For Picky Decorators: If your family members all have opinions like mine do, make this in just two or three colors that work with your holiday decor. Red, green, and white is classic, while all multicolor feels wonderfully nostalgic.
Glue Smart: High-temp glue holds better on slick plastic than low-temp glue. I still like to work in small sections so nothing cools before I get the bulb pressed exactly where I want it.
Bulb Count: A 14-inch ring usually takes about 90 to 110 C9 bulbs for that lush, full look. If your bulbs are slightly smaller, plan on using a few more so the wreath does not look skimpy.
Hanging Tip: This wreath can be a little heavier than it looks, so use a sturdy over-the-door hook or a well-secured wreath hanger rather than a flimsy adhesive one.
Make It Last: This is best on a covered door or porch since the bulbs are decorative only and the hot glue can weaken with too much direct weather. If you display it outside, keeping it sheltered will help it stay pretty through the season.
Bow Options: Velvet ribbon, plaid ribbon, or even candy-striped ribbon all work beautifully here. A fuller bow gives the wreath that finished “special occasion” touch without any extra effort.