
I love a thrift-store project that looks a little questionable at first and then turns into something surprisingly useful. This one takes a vintage wire record storage rack—the kind a lot of people pass right by—and turns it into a sturdy crochet storage basket by working chunky cream yarn straight through the metal grid. It has that cozy, handmade look, but the wire frame does all the heavy lifting so you end up with a basket that actually holds its shape.
This is a great project if you know basic crochet stitches and want something fast, practical, and a little unexpected. I’m always trying to make my house work harder without spending a fortune, and this is exactly the kind of weekend DIY I can squeeze in between work, laundry, and figuring out dinner. The finished basket is generous enough for blankets, yarn, kids’ books, or extra pillows, and it still keeps the original rack recognizable in the best way.
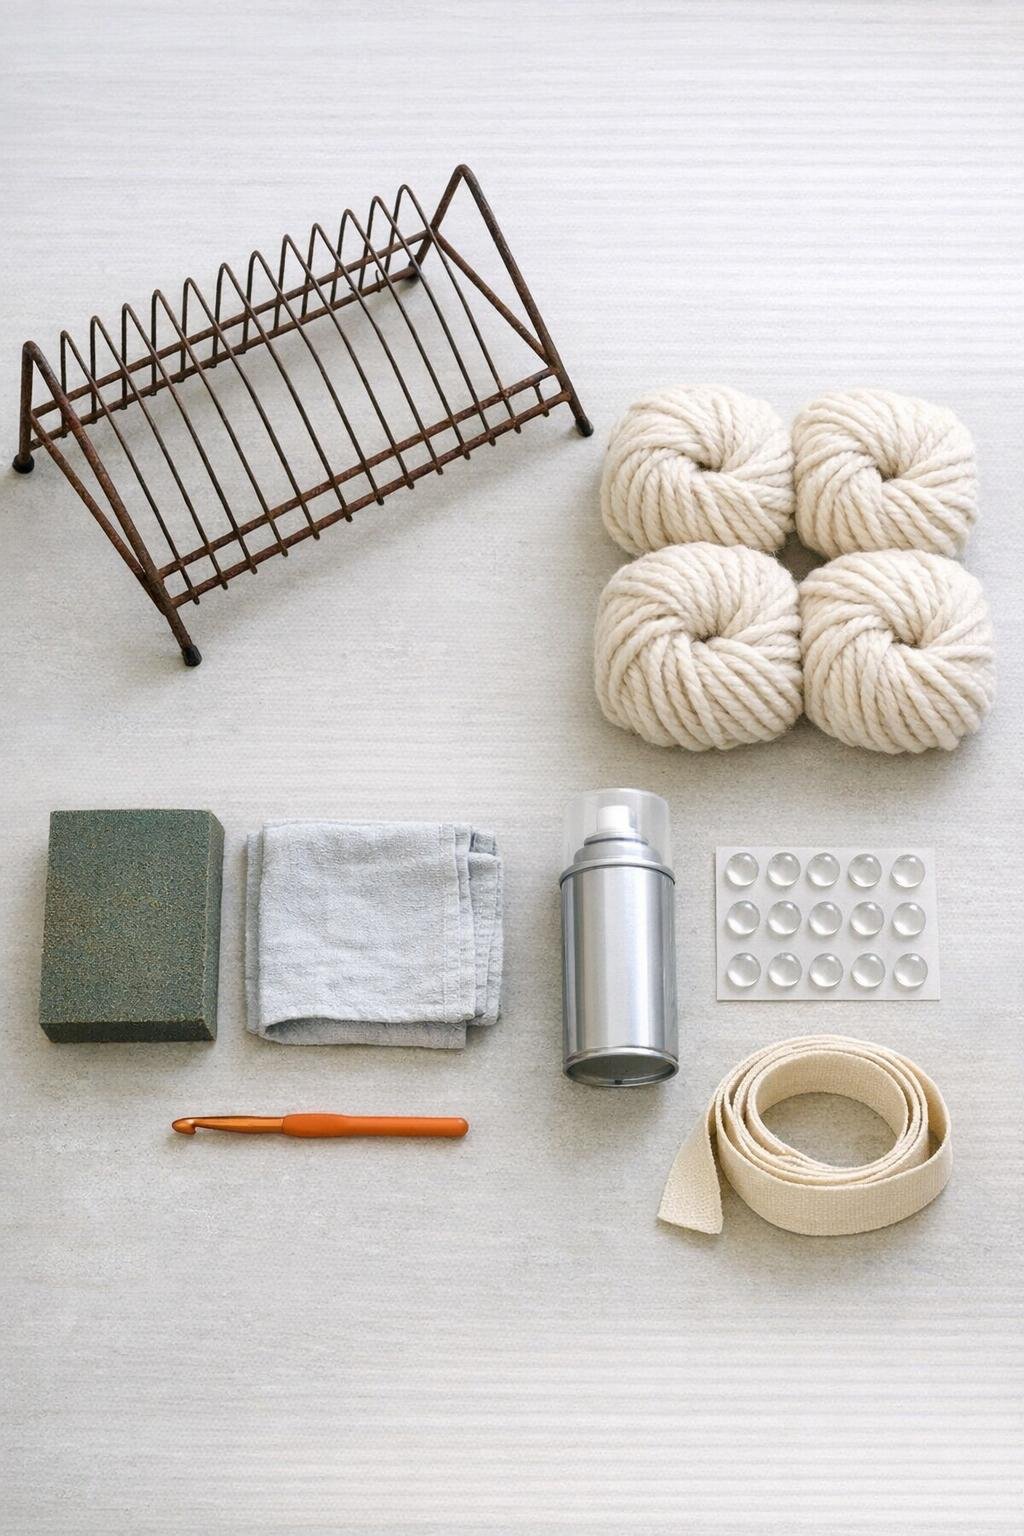
Materials
Instructions
1. Wipe down the vintage record rack with a damp cloth, then lightly sand any flaky rust or rough spots so the yarn will not snag as you work.
2. Spray the rack with a light coat of clear rust-inhibiting sealer, covering all sides, and let it dry fully according to the can directions.
3. Decide which open side of the rack will be the top of your basket, then turn the rack so the base sits flat and the grid openings run evenly around all four sides.
4. Tie the yarn securely around one bottom corner wire, leaving a 6-inch tail, and begin with single crochet stitches worked through each grid opening along the bottom edge to create the first anchored row.
5. Continue single crocheting through the wire grid opening by opening all the way around the basket, pulling each stitch snug against the metal so the yarn starts to cover the lower section densely.
6. For the next rows, work one single crochet into each opening and stack the rows upward, pushing completed stitches down with your fingers every few rows to keep the coverage full and even.
7. At each corner, add one extra single crochet in the corner opening every other row so the yarn wraps the shape smoothly without pulling the wire frame inward.
8. Join a new skein with a tight knot on the inside of the basket whenever needed, then weave the tails back through nearby stitches with a yarn needle to keep the outside neat.
9. Keep crocheting until the side walls are covered to about 1 inch below the top rim, leaving a slim line of the original metal visible at the top for a clean finished contrast.
10. Work a final round of slip stitches or very tight single crochet stitches around the top row of covered grid openings to firm up the edge and give the basket a polished look.
11. Weave in all remaining yarn tails on the inside, then trim them close so nothing peeks through the cream stitching.
12. Add clear rubber bumpers or felt pads to the bottom wire contact points so the basket slides easily and will not scratch floors or shelves.
13. Thread the ribbon through the upper wire grid on one side and tie a simple bow, or weave short lengths through two opposite sides as soft handles if you want a decorative finishing touch.
Variations & Tips
Make it more modern: If rusty vintage isn’t your style, spray the rack matte black or warm white before crocheting. Just be sure the paint cures completely so the yarn stays clean.
Use two strands for extra coverage: If your rack has larger grid openings, crochet with two strands of bulky yarn held together. It fills the gaps faster and gives the basket a plush, high-end look.
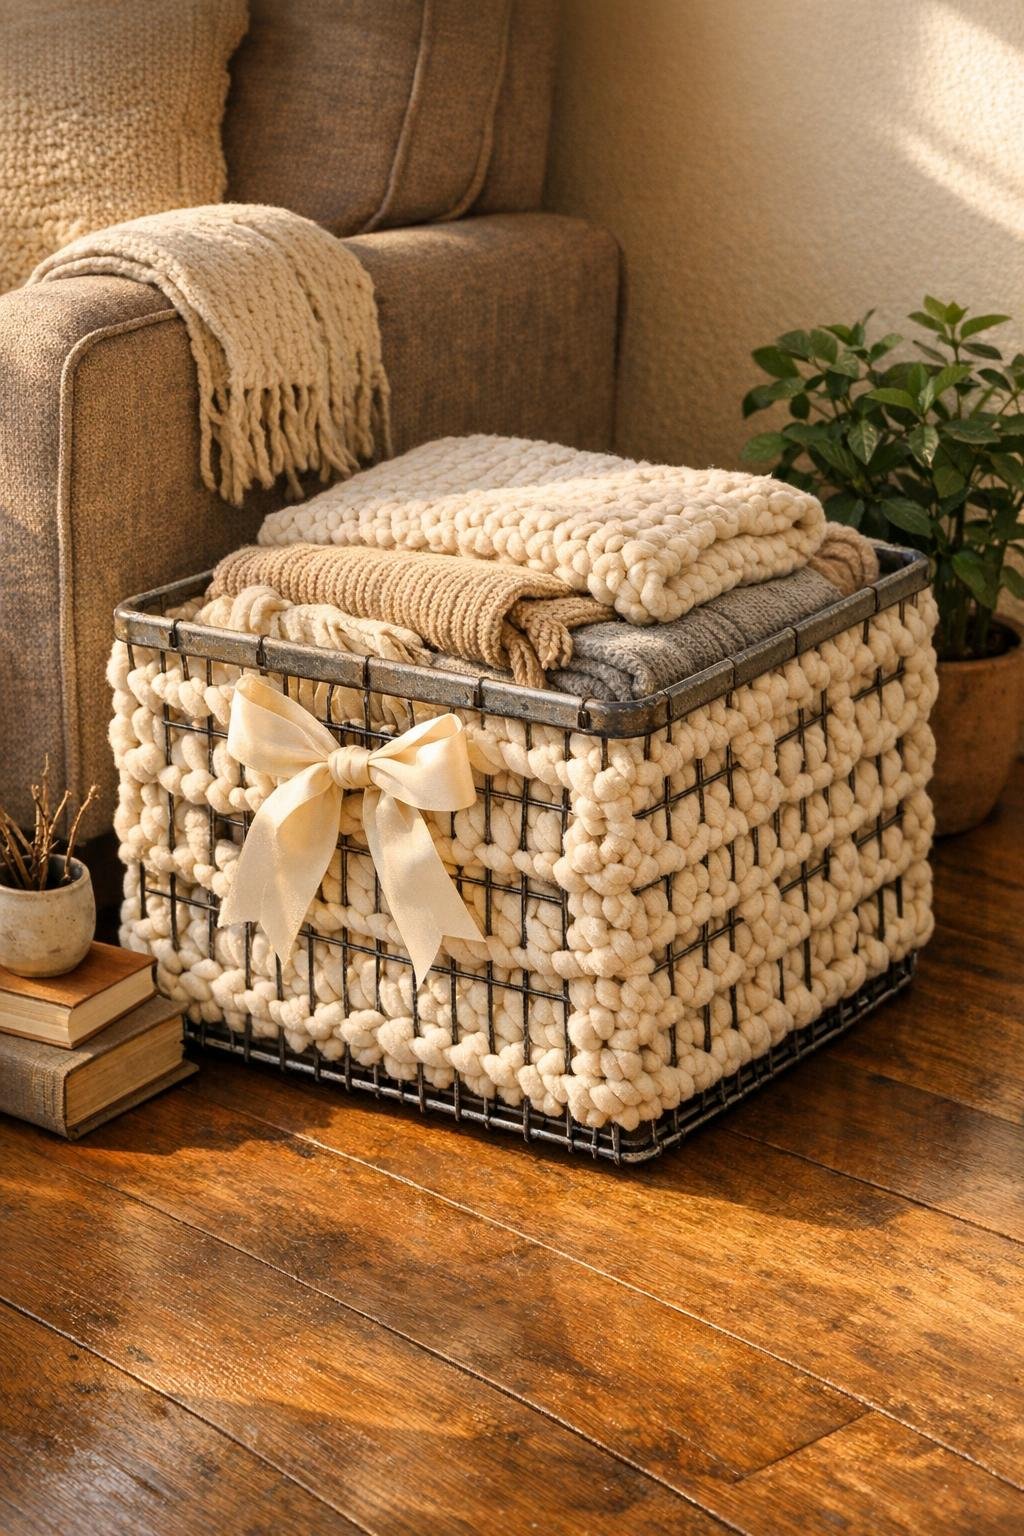
Turn it into blanket storage: For a larger record rack, keep the crochet dense and stop just below the top edge like I did here. That open top makes it easy to toss in throws at the end of the day, which is honestly my favorite kind of organizing.
Add real handles: If you want this basket to be more portable, stitch short leather straps or thick braided yarn loops onto two sides after the crochet is finished. Attach them through the exposed top wire for a secure hold.
Keep stitches snug: The project looks best when the yarn is pulled firmly around each wire opening. Loose stitches can sag, especially once the basket is filled.
Good uses for this basket: This works beautifully for yarn storage, sofa blankets, stuffed animals, extra towels, or even rolled guest linens. I would skip anything very small unless you plan to add a fabric liner.
Add a liner if needed: If you want to store little items, cut a simple fabric liner and tack it to the inside top edge by hand. A drop cloth, canvas, or muslin liner keeps the project easy but makes it even more functional.