
There’s something mighty satisfying about turning a pile of plain, practical odds and ends into something that looks special enough to stop folks on the porch steps. I’ve always had a soft spot for projects like that—simple materials, a little patience, and then all at once you’ve made something that feels far fancier than it ought to for the cost.
This one is especially nice if you enjoy easy assembly work and want a big seasonal piece with real presence. If you can pull apart clothespins, line things up, and glue in stages, you can make this. It’s the kind of afternoon project I’d set up on the kitchen table with wax paper, a cup of coffee nearby, and just enough time to let each layer dry properly so the finished piece looks crisp and polished.
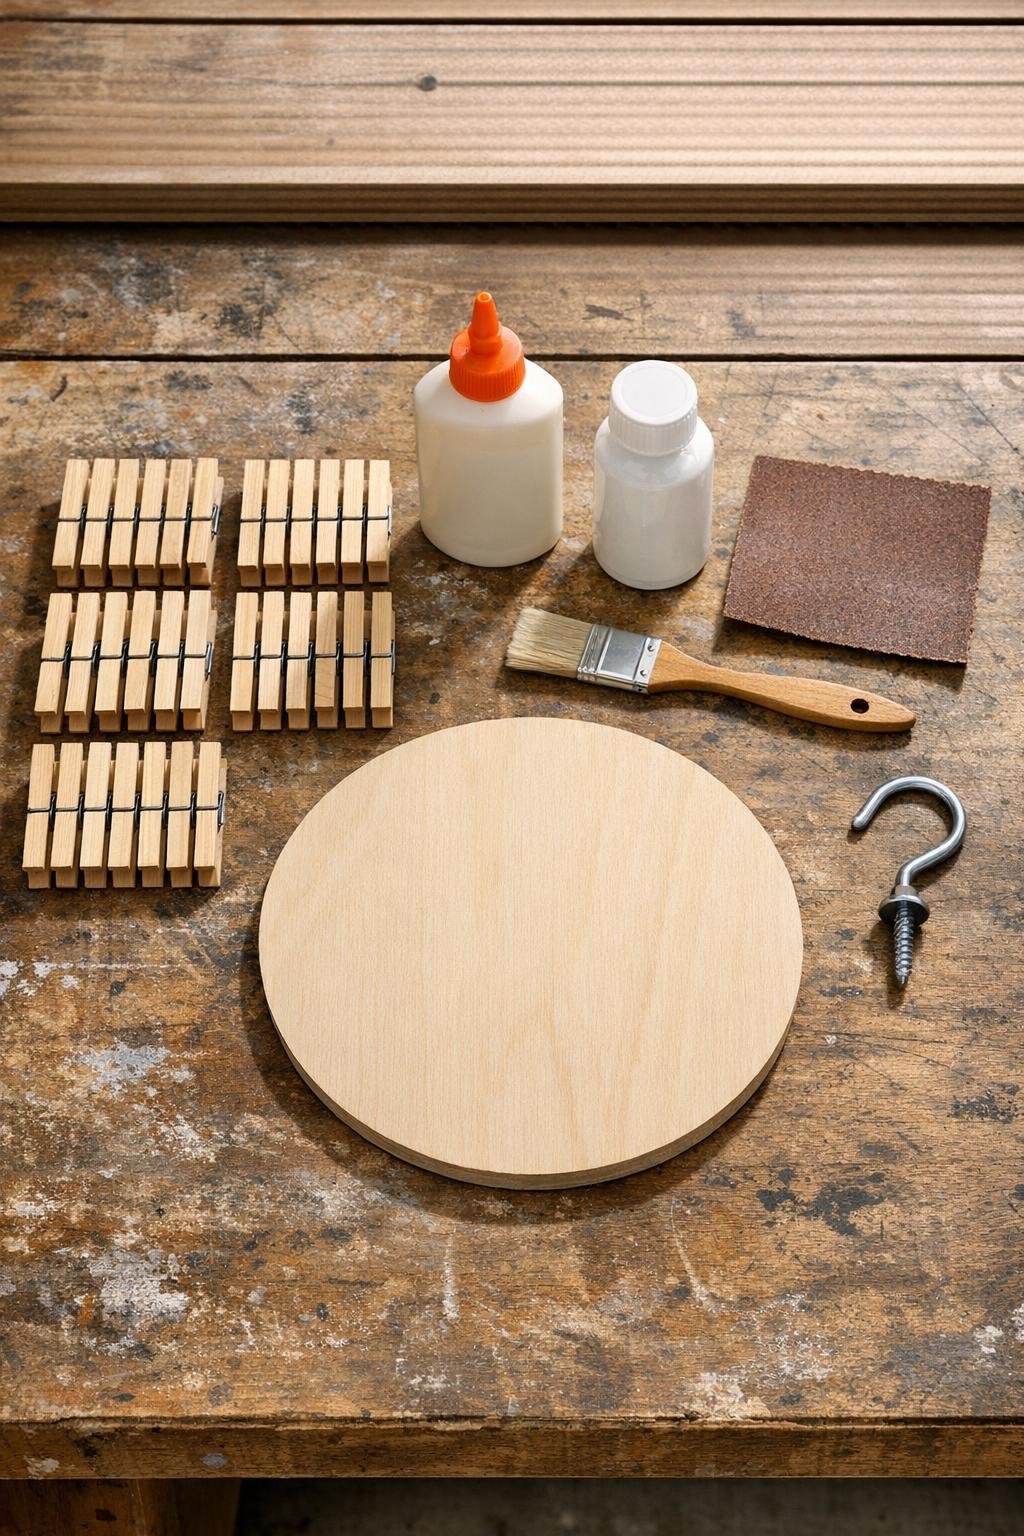
Materials
Instructions
1. Pull all 48 clothespins apart by removing the metal springs, then set aside 96 wooden halves and discard or save the springs for another project.
2. Lightly sand the clothespin halves and both sides of the plywood circle to smooth any rough edges and help the paint and glue grab better.
3. Paint the front, back, and edges of the plywood circle white, then paint all visible sides of the 96 clothespin halves white; let everything dry completely.
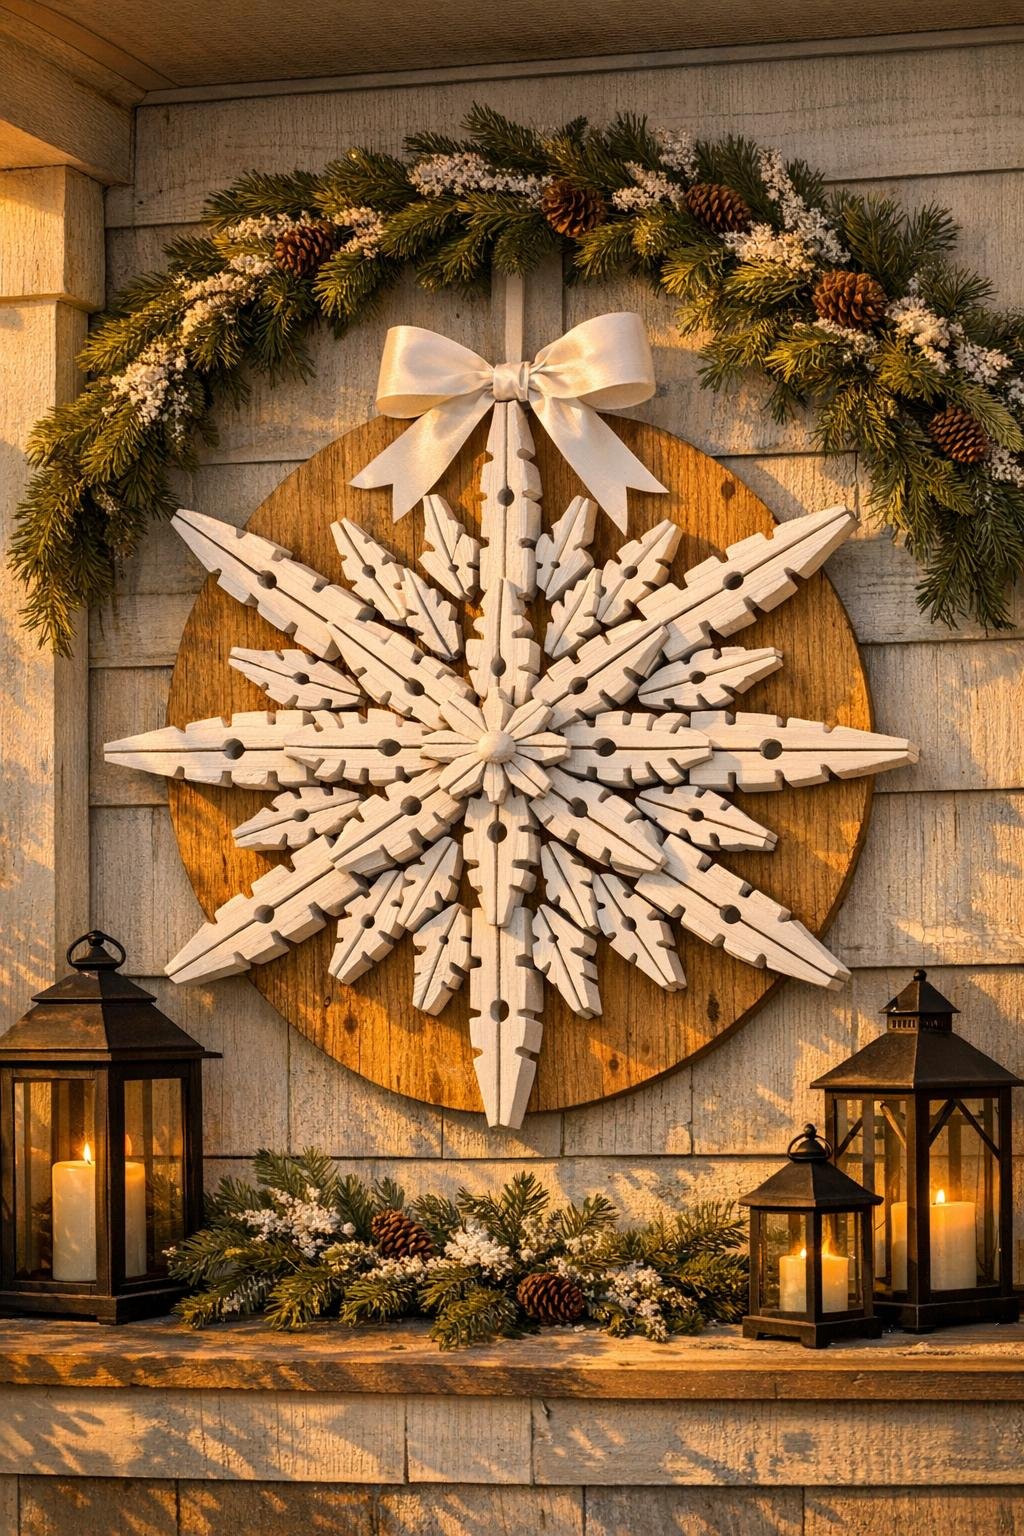
4. Arrange 8 clothespin halves on the plywood circle with the pointed ends facing out to form the main snowflake spokes, spacing them evenly like the points of a compass.
5. Glue those first 8 halves down flat, keeping their wider ends near the center and their outer tips extending toward the edge for a strong base layer; let the glue set for 10 to 15 minutes.
6. Between each pair of main spokes, glue 2 more clothespin halves in a shallow V shape with the pointed ends out, filling the gaps so the snowflake starts to look full and balanced.
7. Build out each of the 8 spokes by gluing 4 more clothespin halves on top of the base layer per spoke, angling them slightly outward so each arm looks fuller and more dimensional.
8. Add 3 extra clothespin halves in each section between the spokes, overlapping the lower layer just a bit to create a dense, lacy snowflake pattern rather than a sparse one.
9. Use the remaining 24 clothespin halves to create decorative inner detail around the center, gluing them in small radiating pairs and triangles until the plywood base is mostly covered but the round shape still supports the design.
10. Step back and check the spacing, then add a dab of hot glue anywhere a tip lifts or a layered piece needs extra hold while the wood glue cures fully.
11. Touch up any bare glue spots or chipped edges with white paint, using the detail brush to keep the finish clean and even.
12. Brush or spray on a clear matte outdoor sealer over the entire front and edges, let it dry, then seal the back as well for better porch durability.
13. Attach the outdoor hook or sawtooth hanger securely to the back of the plywood circle at the top point so the piece hangs straight.
14. Let the project cure flat for several hours or overnight before hanging it outdoors, so all the layers stay firmly in place.
Variations & Tips
Add sparkle: If you like a little shimmer, dry-brush the tips with silver or pearl paint after the white base coat dries. I’d keep it light so the wood shapes still show clearly.
Make it farmhouse-style: Instead of bright white, use warm ivory or chalky cream paint and finish with a light distressing on the edges. That gives it an older, weathered look that reminds me of vintage holiday pieces.
Work in sections: I find it easiest to divide the circle mentally into 8 slices and repeat the same arrangement in each one. That keeps the snowflake looking even without a lot of fuss.
Use a template first: Draw 8 evenly spaced guide lines across the circle before gluing. A quick pencil layout saves a world of bother later, especially on a symmetrical design like this.
Protect it from weather: This will do best on a covered porch rather than in direct rain or snow. Even sealed wood lasts longer when it isn’t getting soaked through.
Store it safely: Wrap the finished piece in tissue paper or an old pillowcase and store it flat after the season. That way the pointed ends won’t get chipped or bent under heavier decorations.