
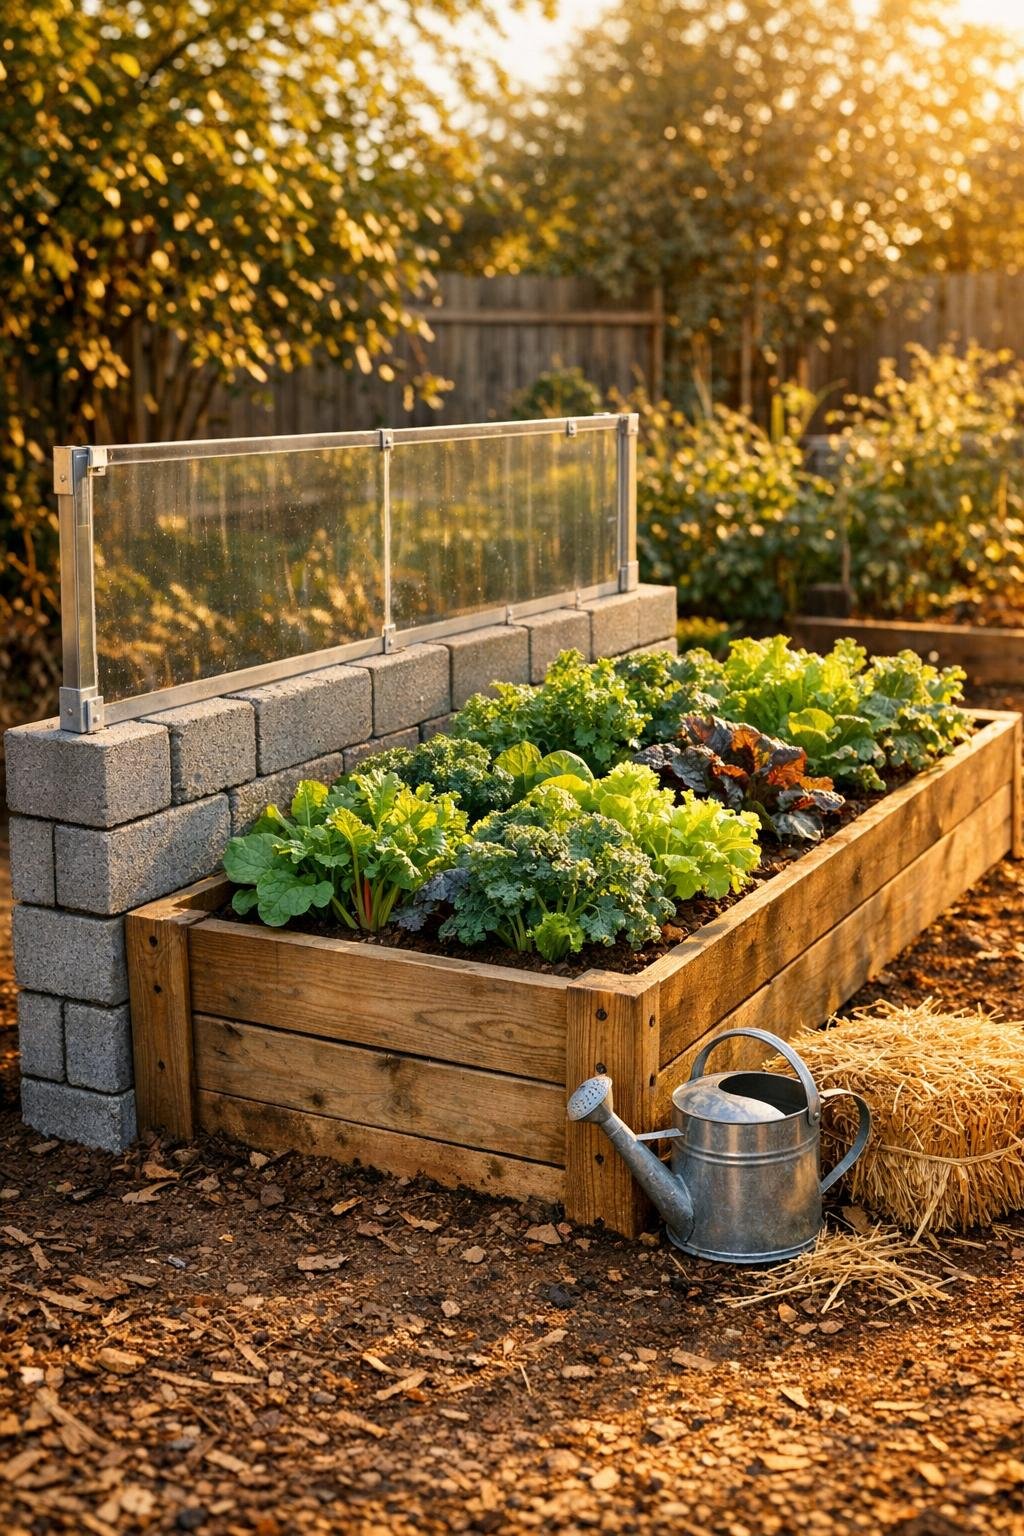
When my raised beds are still producing a little at the tail end of the season, I hate watching one sharp wind flatten tender greens overnight. This simple windbreak support is one of those wonderfully practical projects that looks almost too easy to matter, and then you set it in place and wonder why you didn’t do it years ago. Using stacked cinder blocks plus two inexpensive dollar store supplies, you can make a sturdy low barrier that protects late lettuce, spinach, kale, herbs, and newly planted fall starts from harsh gusts.
I love this project because it is fast, reusable, and forgiving. There’s no fancy measuring, no cutting lumber, and no permanent hardware. If you’ve got a raised bed that needs a little shelter on one side, this is the kind of afternoon fix that makes a garden feel cared for without turning into a whole weekend job.
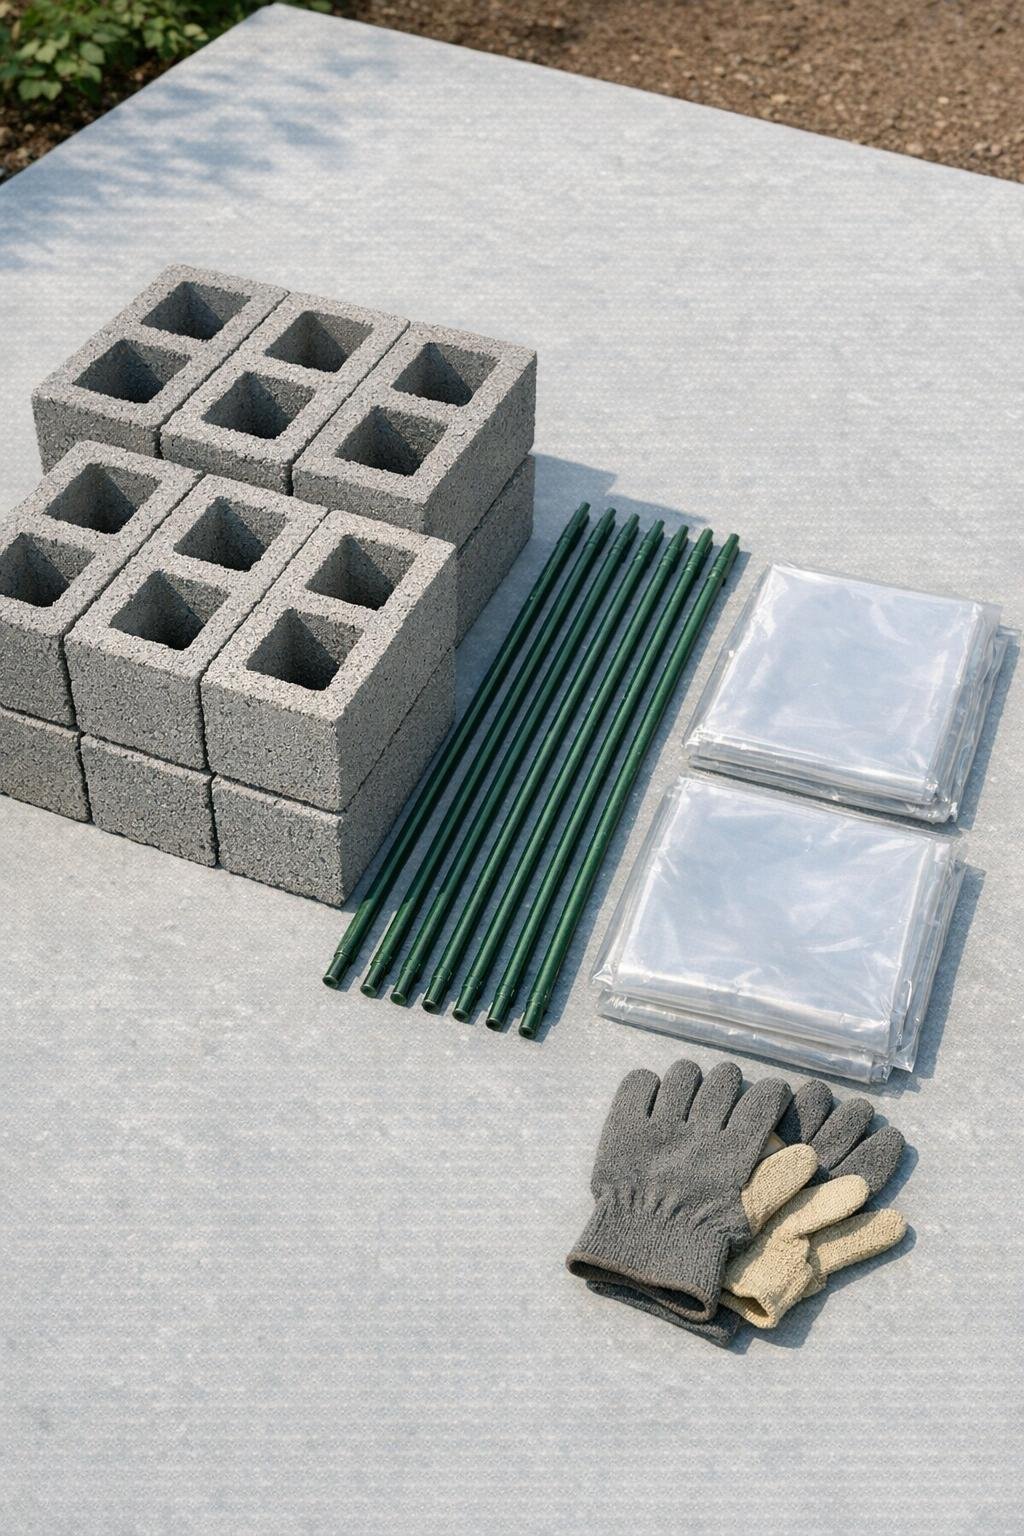
Materials
Instructions
1. Clear and level the outside edge of your raised bed where the wind hits hardest, smoothing a strip of soil about 16 inches wide so the blocks sit flat and don’t wobble.
2. Set 4 cinder blocks on their sides end to end, with the hollow openings facing outward, to create a straight base wall about 64 inches long along the bed.
3. Stack the remaining 4 cinder blocks directly on top, staggering the joints by half a block if you can for better stability, and press down to seat them firmly.
4. Push 3 garden stakes into the soil behind the block wall and 3 into the bed side of the wall, spacing them evenly so the blocks are braced from both directions.
5. Thread zip ties through the open cores of the top row of blocks and loosely secure the stakes to the block wall so nothing shifts in a strong gust.
6. Open one clear plastic tablecloth and fold it lengthwise until it is roughly 30 inches tall, creating a thicker wind panel that is easier to handle and less likely to flap wildly.
7. Stretch the folded plastic tablecloth across the stakes on the windward side of the blocks, letting the bottom edge overlap the top half of the block wall by a few inches.
8. Attach the plastic to each stake with zip ties, pulling it snug but not drum-tight, then reinforce the tie points with small strips of outdoor duct tape to prevent tearing.
9. Use the second plastic tablecloth to double the coverage if your bed is longer, or overlap it behind the first to create a stronger two-layer shield for especially exposed corners.
10. Wrap duct tape along the top folded edge and both ends of the plastic panel to make a cleaner hem, reduce fluttering, and give the whole windbreak a more finished look.
11. Check that the blocks are still level, the stakes are firm, and the plastic sits high enough to block wind while still allowing light to reach the plants.
12. For extra cold nights, tuck lightweight frost cloth or an old sheet temporarily behind the plastic and anchor the bottom with the block openings, then remove it in the morning for airflow.
Variations & Tips
For picky weather: If your yard gets swirling wind instead of one steady direction, make an L-shape by turning two blocks at one end and wrapping the plastic around the corner.
For taller crops: Use 48-inch stakes instead of 36-inch stakes if you need protection for bigger kale, chard, or young broccoli transplants.
For a cleaner look: Black zip ties and clear tape blend in better than bright colors, especially if this bed sits near your patio or front walkway.
For extra stability: Fill the bottom block openings with a little gravel or soil if your ground is uneven; that small bit of weight helps the wall settle nicely.
For easy seasonal storage: Snip the zip ties at the end of the season, fold the plastic flat, and leave the blocks stacked nearby so you can rebuild the windbreak in minutes next year.
My favorite use: I especially like this setup for late-season salad beds because it cuts that bitter wind without casting heavy shade, which means I can keep harvesting a few more family dinners out of a bed that might otherwise be done.