
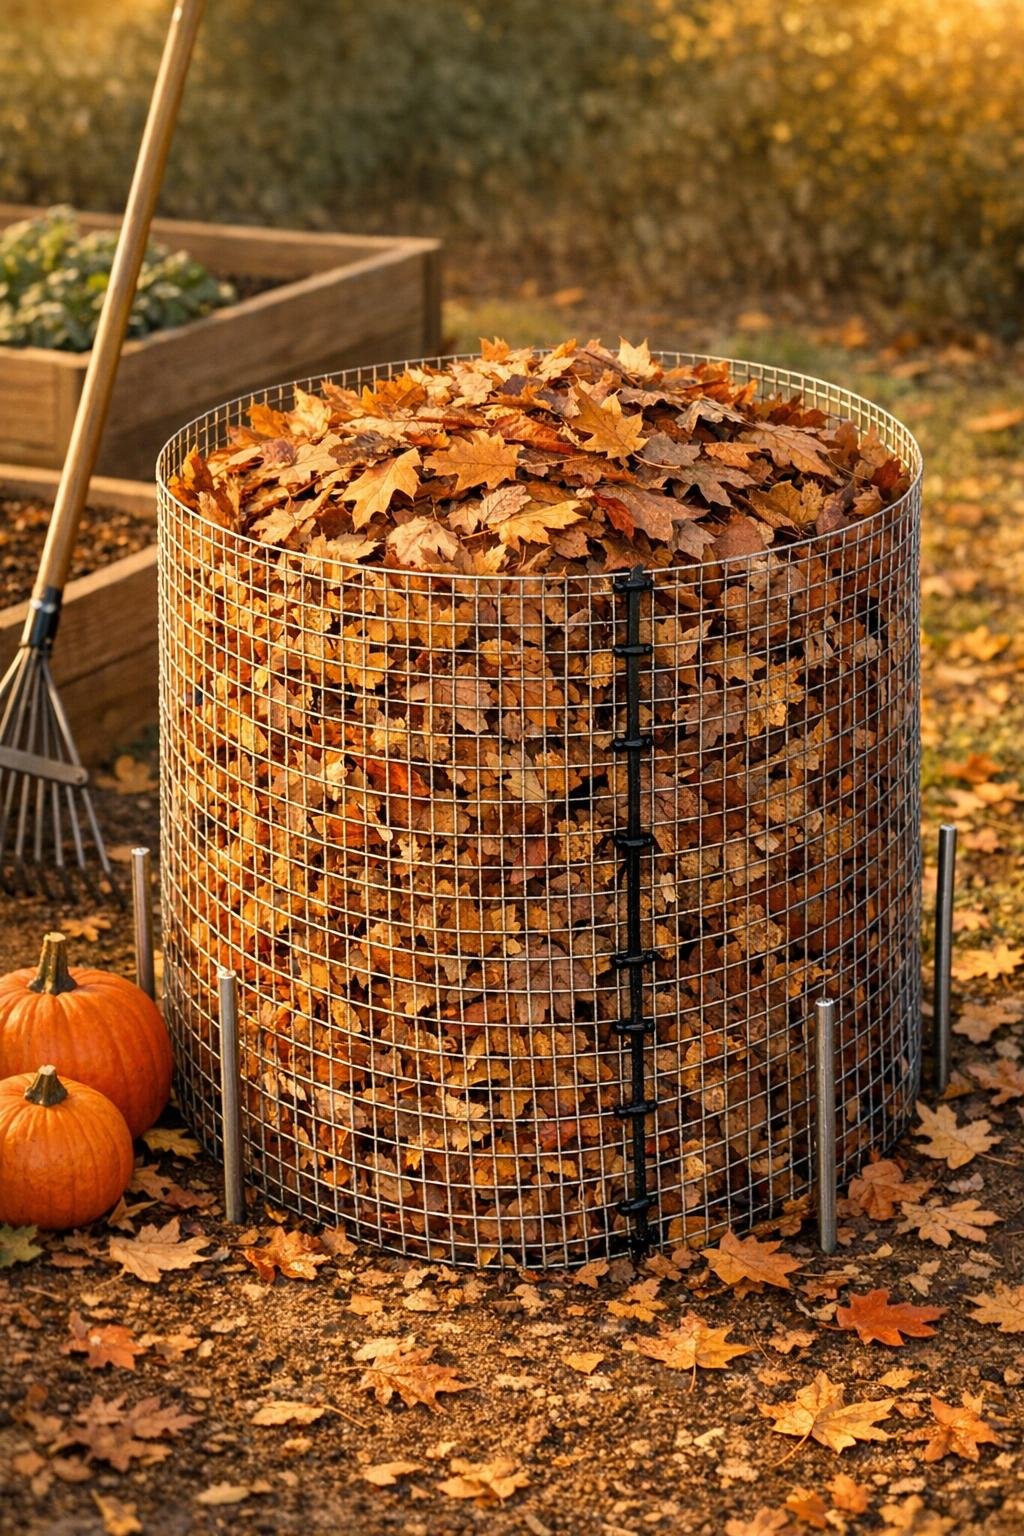
Leaf mold is one of those slow-and-steady garden projects that feels almost too simple to be useful, and then a year later you’re standing there with dark, crumbly, woodland-smelling goodness that makes every bed happier. I love this bin because it uses three practical shed staples—wire hardware cloth, metal stakes, and zip ties—to make a roomy leaf-holding cylinder fast, without turning it into a full carpentry project.
If you’ve got bags of fall leaves piling up and you want an easy setup that actually works, this is the old-school trick I’d make every busy homeowner try first. It’s inexpensive, it holds a generous amount of leaves, and it’s easy to open back up when it’s time to turn or harvest the finished leaf mold.
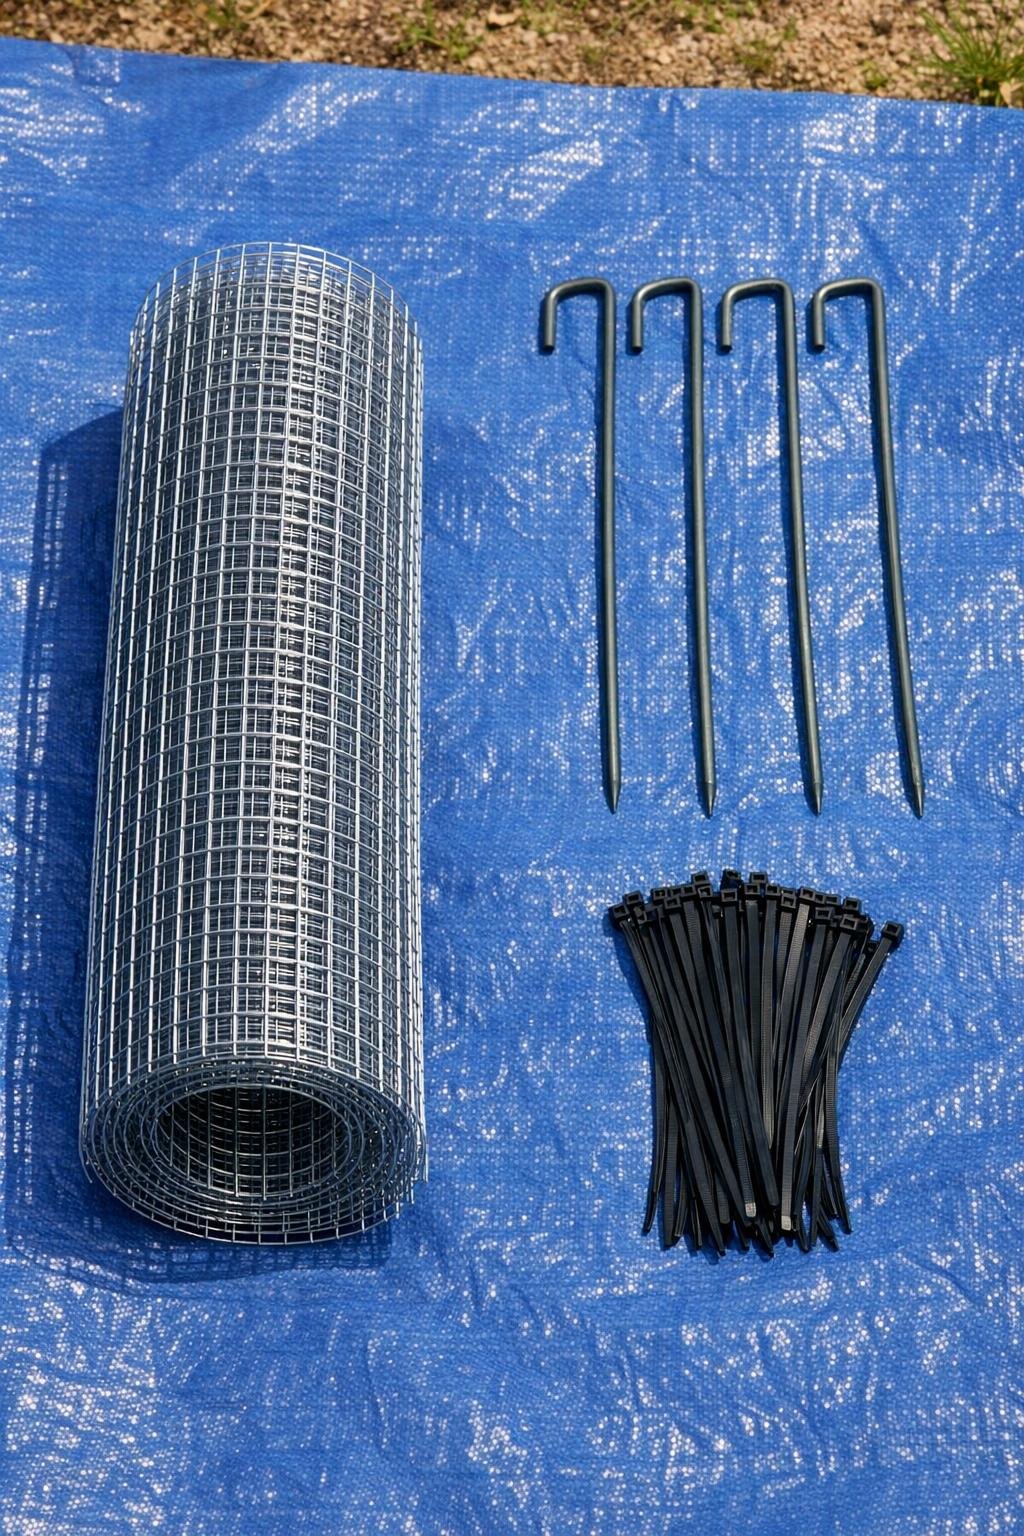
Materials
Instructions
1. Unroll the hardware cloth on a tarp or driveway and inspect the ends so you can see where the factory wire loops and cut edges are. Put on gloves and decide how wide you want the bin; a 9- to 10-foot length makes a roomy cylinder about 3 feet across.
2. Use tin snips to cut the hardware cloth to length, cutting straight across the mesh. Trim off the bottom-most bent or crushed section if the roll has a warped edge so the bin sits flat on the ground.
3. Stand the cut piece on edge and bend it into a wide cylinder, overlapping the ends by 4 to 6 inches. This overlap gives the bin enough strength to hold a full load of leaves without bowing open.
4. Thread 6 zip ties through the overlapping mesh seam from top to bottom, spacing them every 5 to 6 inches. Pull them tight so the cylinder holds its shape, then trim the tails.
5. Set the cylinder where you want the leaf mold bin to live, ideally on bare soil or directly on the lawn in a partly shaded spot. Ground contact helps moisture and beneficial organisms move in naturally.
6. Drive one metal stake through the mesh and into the ground at the seam, leaving the top just below the rim. Add the other three stakes evenly around the bin so the circle stays round and doesn’t tip when packed full.
7. Add a second zip tie from the mesh to each stake near the top and another around the middle if your site gets wind. This small step makes the whole bin feel much sturdier, especially after a wet rain.
8. Fill the bin with dry fallen leaves, packing them down lightly with your hands or a rake every 8 to 10 inches. Aim to mound them to the top, because they’ll shrink quickly in the first few weeks.
9. Sprinkle the leaves with water until they feel evenly damp but not soggy, like a wrung-out sponge. If you have a lot of whole, leathery leaves, crush them a bit as you fill to help them break down faster.
10. Add more leaves over the next week as the pile settles, keeping the bin full and the leaves lightly moist. I usually do this in short after-work bursts, which is exactly why I like this setup—it’s low effort but still feels productive.
11. Let the leaves sit over winter and check moisture every few weeks during dry spells. If the center looks bone dry, give the pile a light soak and fluff the top layer with a rake.
12. After several months, open one side by snipping the zip ties at the seam if you want to turn the pile or harvest finished leaf mold from the bottom. Reclose it with fresh zip ties when you’re done.
Variations & Tips
For faster breakdown: Run over dry leaves with a mower before filling the bin. Smaller leaf pieces mat less and turn into usable leaf mold sooner.
For a larger bin: Use 12 to 14 feet of hardware cloth instead of 9 to 10 feet, and add a fifth stake. That gives you more capacity if your yard drops a serious amount of leaves every fall.
For windy yards: Add extra zip ties at the seam and one more stake on the windiest side. A full bin is heavy, but an empty or half-filled one can shift more than you’d think.
Best leaves to use: Most deciduous leaves work beautifully, especially maple, birch, and ash. Thick oak leaves still work, but they benefit from shredding and a little extra moisture.
What to avoid: Skip glossy diseased leaves, trash, and lots of sticks thicker than a pencil. This bin works best when it’s mostly leaves, not a mixed brush pile.
Easy harvest trick: When the bottom layer turns dark and crumbly, snip the seam, peel back the wire, and shovel out the finished material from the base first. It’s much easier than trying to dig straight down from the top.
Where I use it: I spread finished leaf mold around shrubs, mix it into garden beds, and use it as a soft mulch around perennials. It’s one of those quiet garden upgrades that doesn’t look flashy at first, but it makes everything else perform better.