
There are some projects that feel almost suspiciously easy, and this is one of them. You start with a plain little foam cone and a pan of shaving cream, add a few drops of paint, and somehow end up with a swirled finish that looks far more special than the supply list would suggest. I love this kind of craft on a busy weeknight because it gives you that satisfying “I made something pretty” feeling without needing a whole afternoon.
If you like simple seasonal decor, budget-friendly crafts, or quick projects you can do on the kitchen counter after dinner, this one is such a good fit. The technique is forgiving, the cleanup is manageable, and every single piece turns out a little different in the best way.
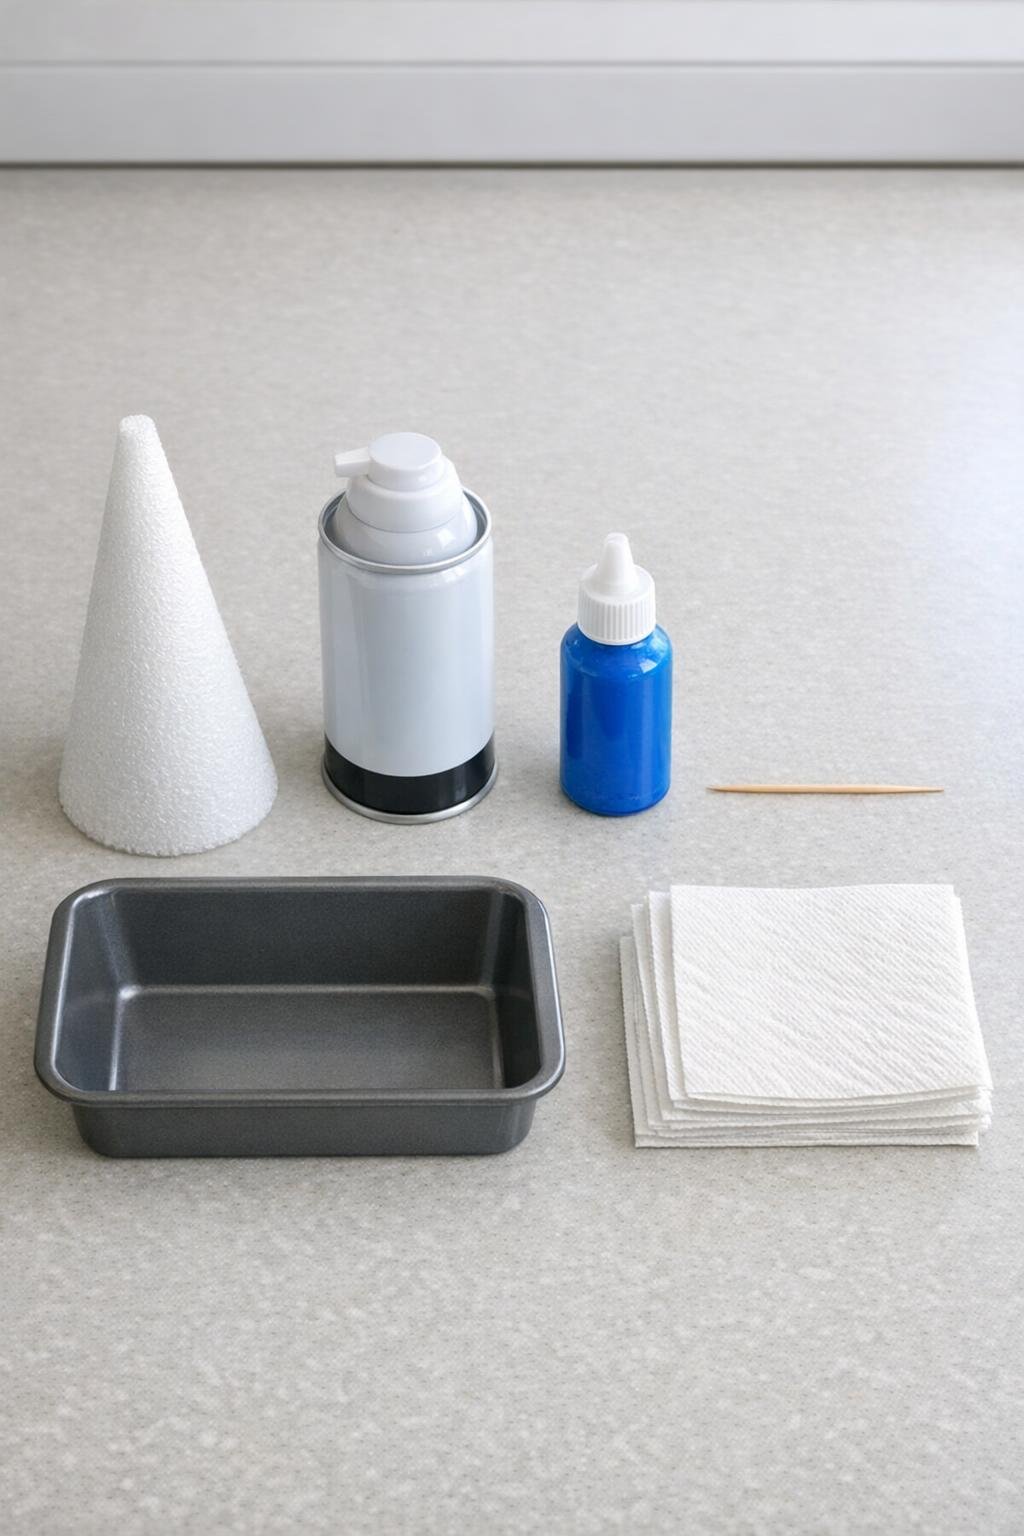
Materials
1 white foam cone, 8 to 10 inches tall
Instructions
1. Set the metal baking pan on your counter and shake the shaving cream can well, then spray a thick layer into the pan until the bottom is covered 1 to 1 1/2 inches deep.
2. Smooth the shaving cream lightly with the edge of a paper towel or the back of a spoon so you have an even surface wide enough for the cone.
3. Drop blue acrylic paint over the top of the shaving cream, spacing the drops around the pan so the color will transfer in several areas instead of one dark patch.
4. Drag the toothpick through the paint in loose swirls and figure-eights just 2 or 3 times; stop while you still see distinct blue ribbons so the pattern stays marbled instead of turning solid.
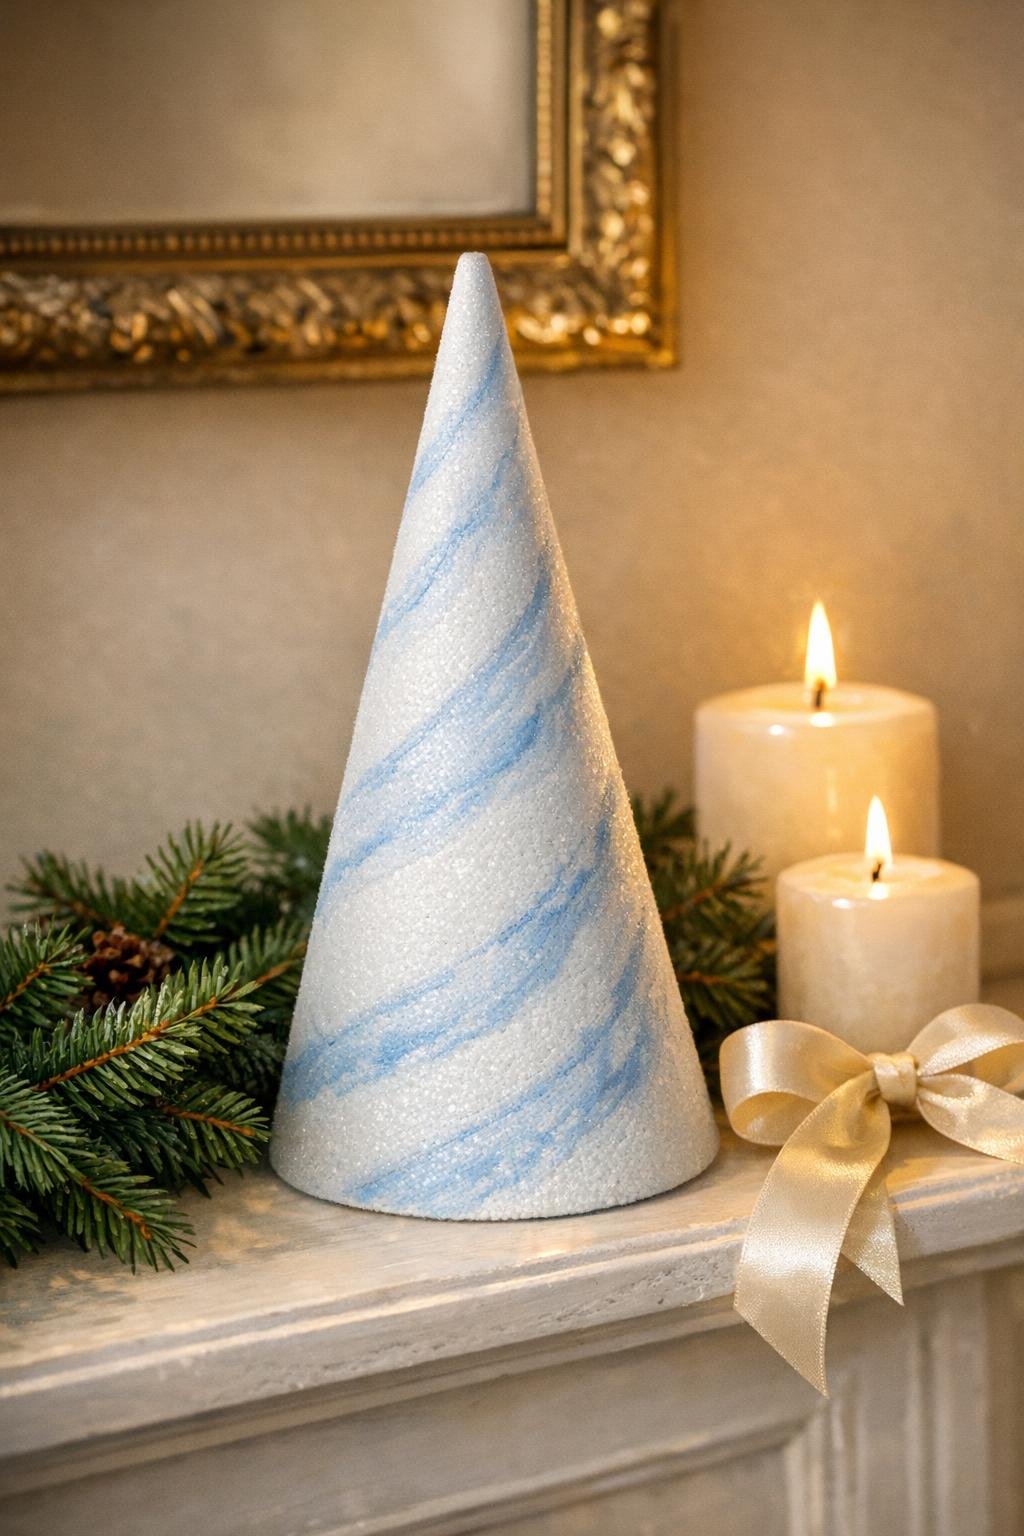
5. Hold the foam cone by the tip and gently lower one side into the marbled shaving cream, then roll it slowly through the surface so the sides pick up color all the way around.
6. Lift the cone straight up and let the excess shaving cream sit on the surface for about 10 to 15 seconds so the paint can transfer cleanly.
7. Use a paper towel to lightly wipe the shaving cream off the cone from top to bottom, turning as you go so the marbled pattern stays crisp and the foam surface does not snag.
8. If you want fuller coverage, press any still-white areas gently into a fresh spot of the marbled cream and wipe again with a clean section of paper towel.
9. Stand the cone upright on a dry paper towel and let it air-dry completely for 30 to 60 minutes before moving it to your mantel or shelf.
Variations & Tips
Try a deeper marble: Add a few extra drops of blue paint near the base of the shaving cream before dipping if you want more contrast at the bottom of the cone.
Keep the pattern pretty: The biggest mistake is overmixing. I’ve done that when I was rushing after work, and instead of soft veining, I got a pale all-over blue. Less swirling really is better here.
Use the cleanest wipe: Fold the paper towel into a soft pad and blot-wipe instead of scrubbing. That gives you a smoother finish and keeps the foam from pilling.
Make a small grouped display: This looks especially nice in a cluster of 3 cones in different heights if you decide to repeat the project later. Keeping the same blue but varying the amount of marbling makes the set look intentional and polished.
Color swap idea: Navy, gray, sage, blush, or metallic silver acrylic paint all work with the same method if you want the piece to fit a different room or season.
Countertop cleanup: Keep an extra paper towel nearby and wipe the pan and work area right after you finish. Shaving cream cleans up easily while it is still fresh, which is always my favorite kind of craft cleanup.