
There are a few holiday DIYs I come back to because they deliver far more sparkle than the effort suggests, and this is one of them. If you have an older strand of clear LED mini lights tucked in a storage bin, you can turn it into something far more atmospheric with nothing more than hot glue, parchment, and a little patience.
What I like most about this project is that it feels almost like a kitchen trick in the best sense: a simple material changes character completely with one technique. It’s a great project for anyone who wants a wintry, luminous decoration without buying specialty seasonal lighting, and it’s easy enough for an afternoon craft session as long as you work carefully and use LED lights that stay cool.
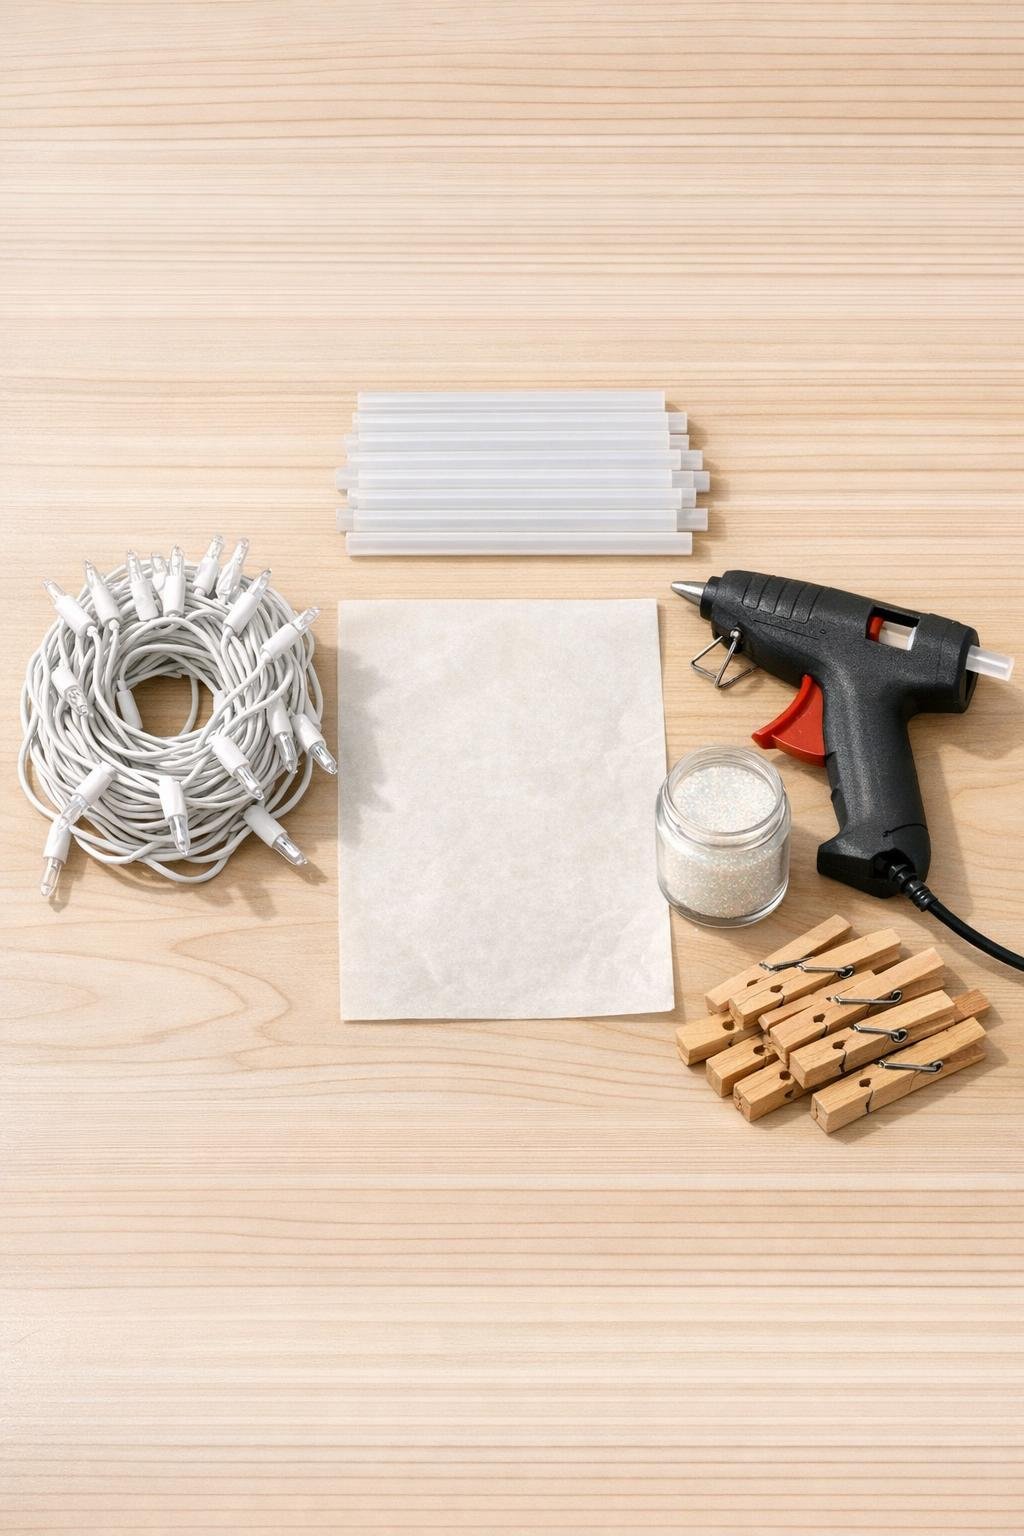
Materials
1 strand of 100 clear LED mini lights on white wire, full strand
Instructions
1. Plug in the light strand briefly to confirm every bulb works, then unplug it and spread the strand flat over the parchment paper with several inches between bulbs.
2. Heat the glue gun fully so the glue flows smoothly; this gives you longer, clearer drips instead of short, lumpy ones.
3. Start with one bulb near the end of the strand and squeeze a small dome of hot glue over the top and sides of the bulb, leaving the wire and socket connection intact.
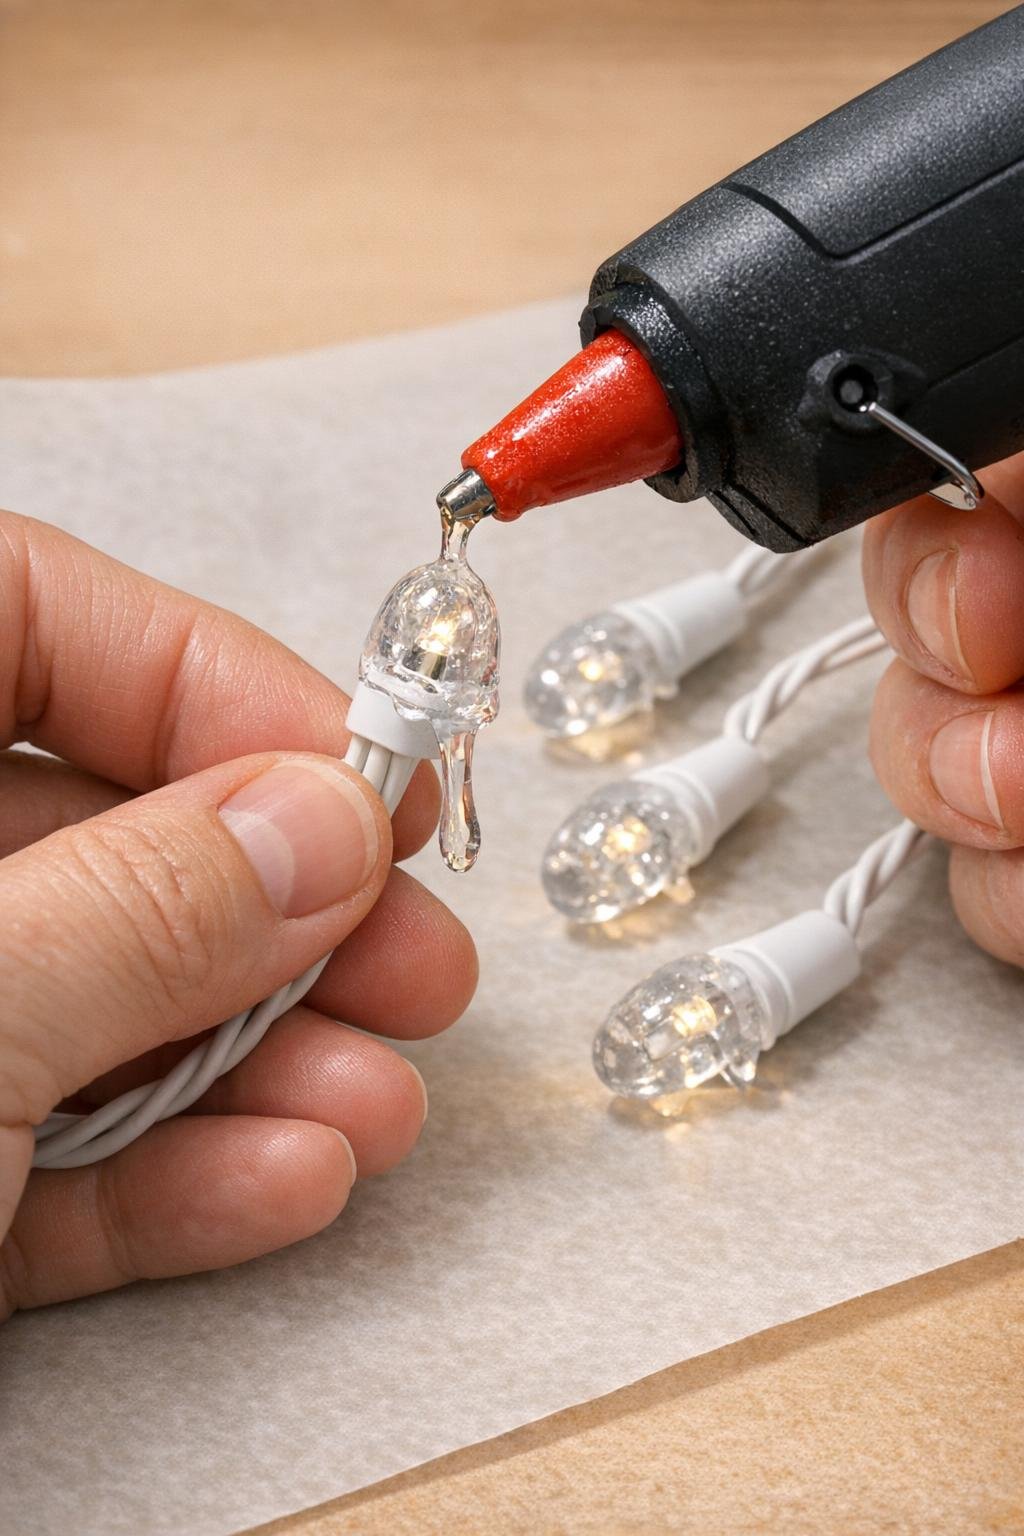
4. While the glue is still flowing, add a little more at the bulb tip and let gravity pull it downward into a narrow drip about 1 1/2 to 3 inches long; rotate the strand slightly if you want the icicle to taper evenly.
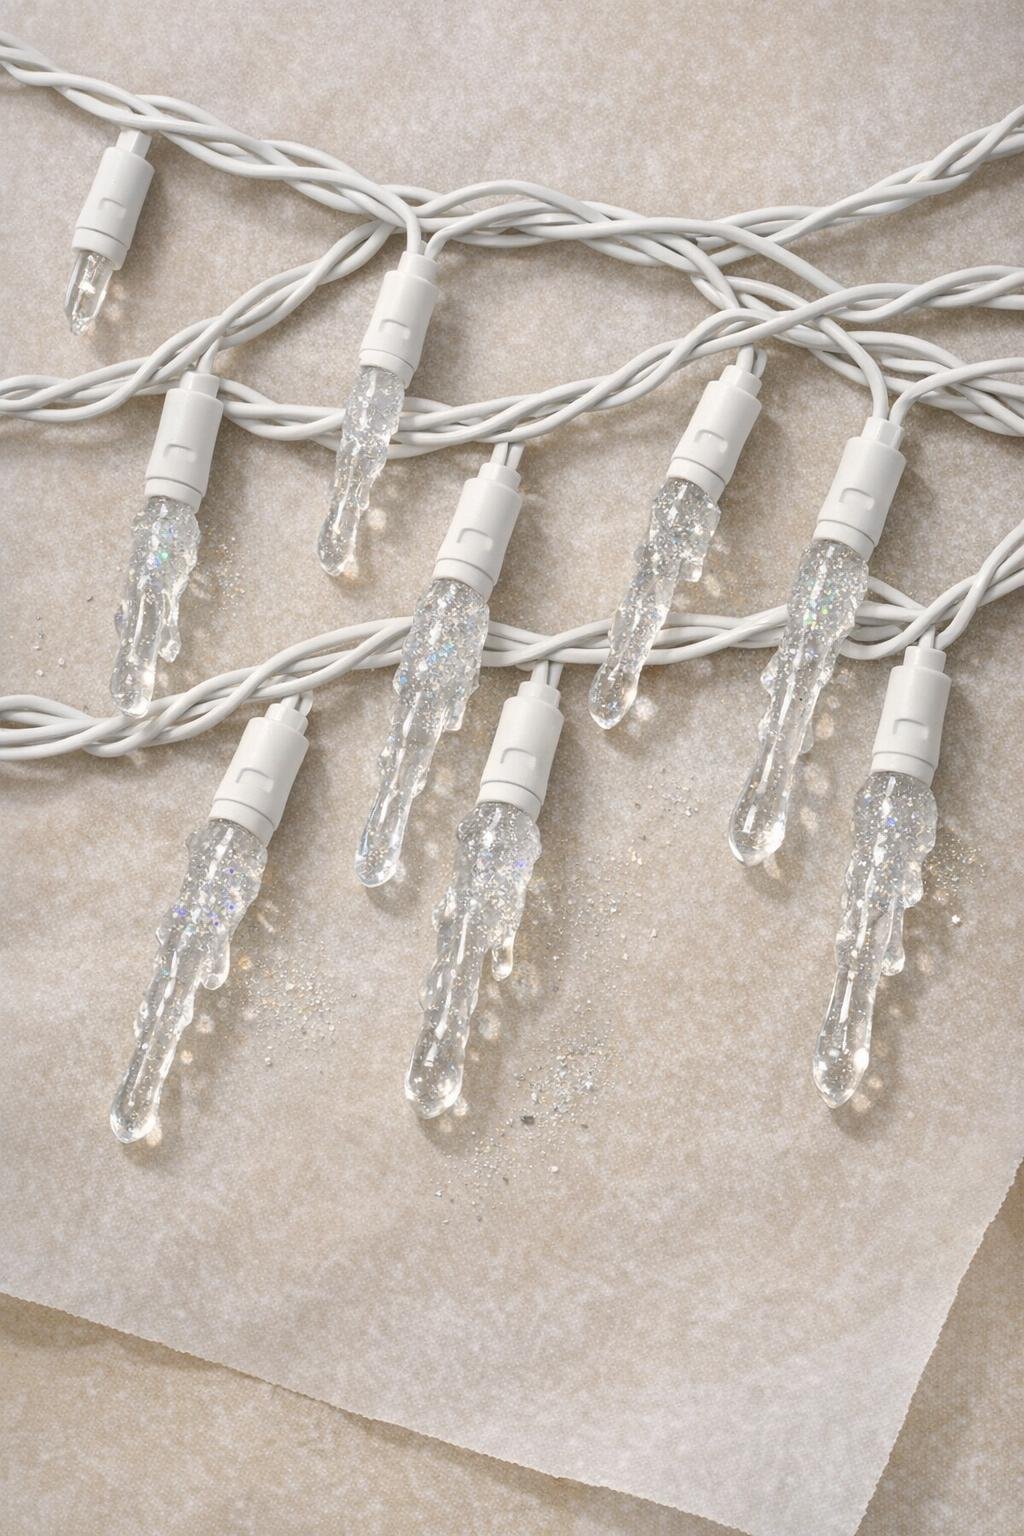
5. Repeat on the next several bulbs, varying the drip lengths a little so the strand looks natural and full rather than too uniform.
6. If you want shimmer, sprinkle a very light pinch of iridescent fine glitter onto the warm glue before it skins over; use just enough to catch the light without clouding the clear finish.
7. After every 8 to 12 bulbs, lift that section carefully and clip the wire to a line, rack, or box edge with clothespins so the glue can finish setting while hanging straight.
8. Let each section cool completely for 5 to 10 minutes before handling it much; if any drip looks too short, add another thin layer of hot glue to extend it.
9. Continue down the full 100-light strand until each bulb has its own clear icicle shape, keeping the sockets uncovered enough that the strand stays flexible.
10. Peel away any fine glue threads by hand once the strand is fully cool, and trim only obvious wisps if needed so the drips stay crisp and glassy.
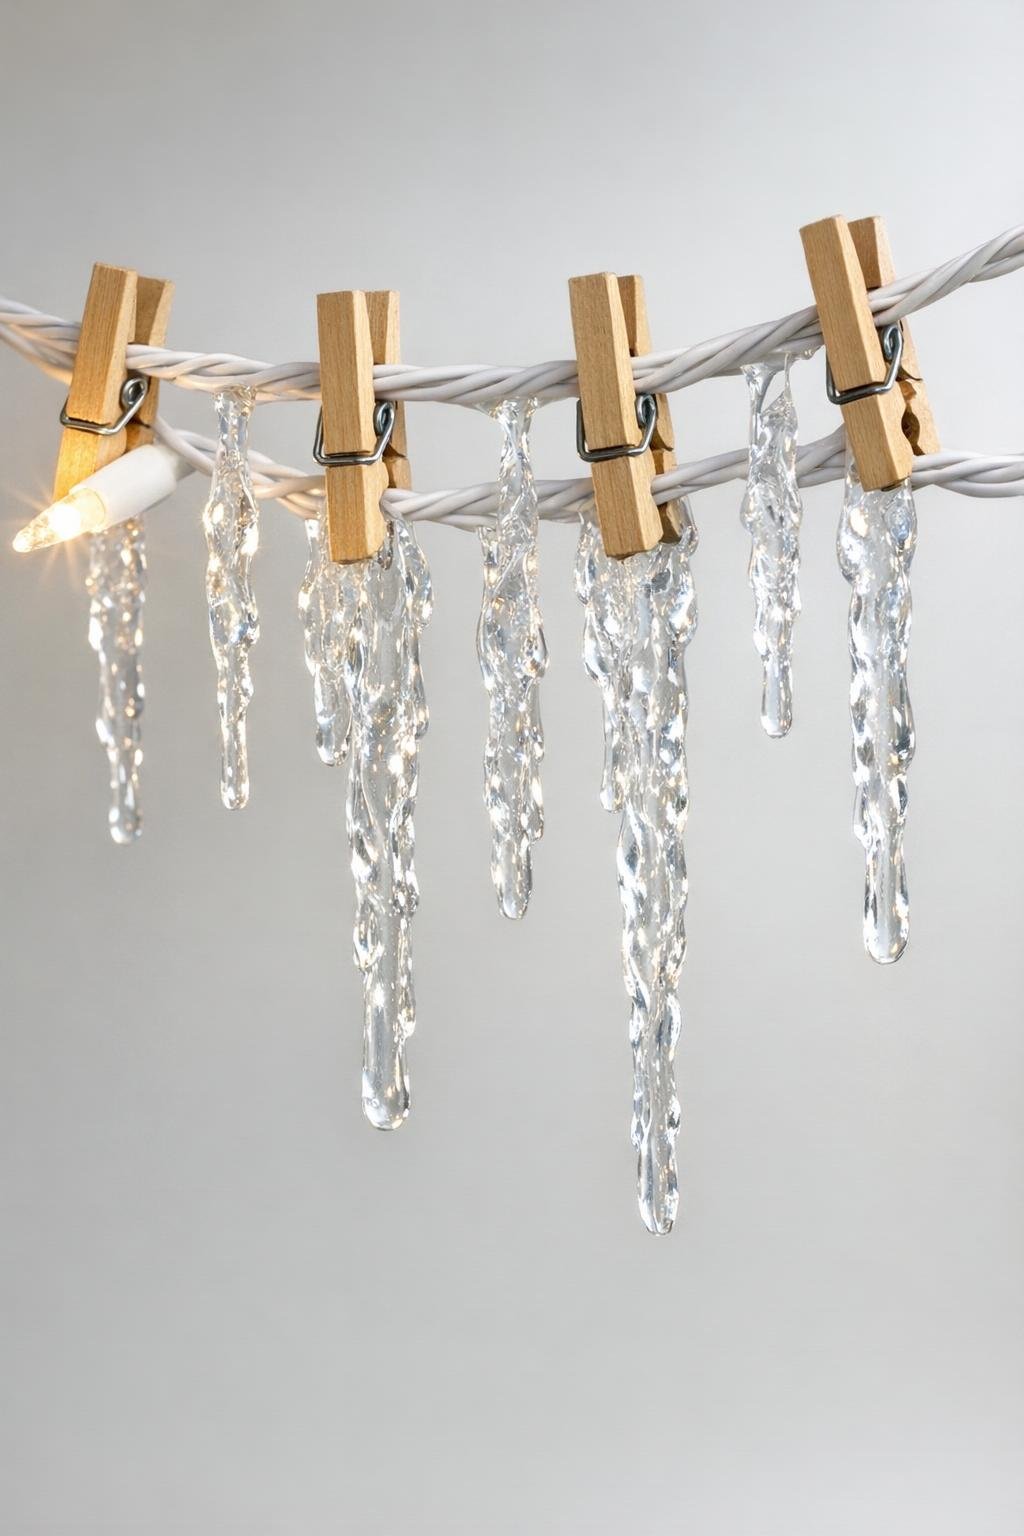
11. Plug in the strand and check the overall effect in a dim room, then reshape any awkward-looking drip by adding a small fresh layer of glue rather than trying to bend a hardened one.
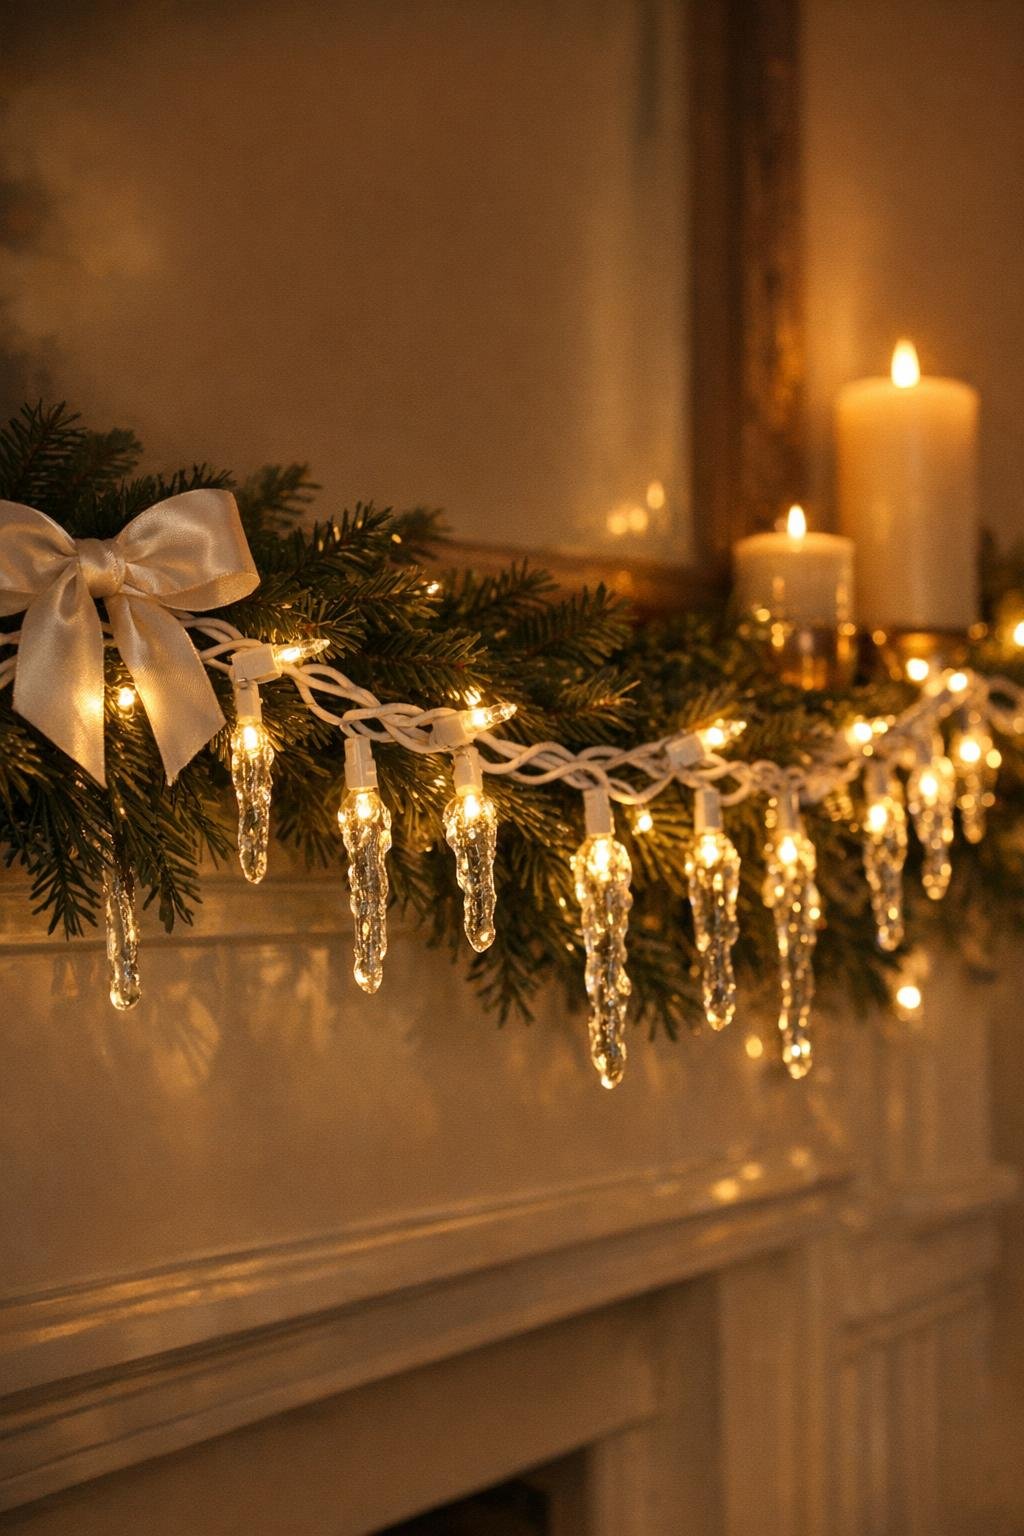
12. Drape or hang the finished strand along a window, mantel, shelf edge, or porch area protected from heavy weather so the clear drips can show off their glow at night.
Variations & Tips
For the clearest finish: Fresh clear glue sticks usually give the most glass-like result. If the glue looks cloudy, it’s often because the gun was not fully heated or too much glitter was added.
Best bulb spacing: A 100-light strand gives this project the lush look it needs. When every bulb gets a drip, the effect is much richer at night than doing every other bulb.
Use LED lights only: I would not make this on incandescent mini lights because they run hotter. Cool-running LED bulbs are the safer choice for surrounding with glue.
Natural icicle look: Make some drips slim and long, some shorter and chunkier. Just like in cooking, a little variation makes the final result look more convincing and less manufactured.
Easy cleanup: Parchment paper is worth using here because cooled glue releases from it cleanly. If a bulb develops a glue puddle at the bottom, let it cool and peel the excess away before adding a cleaner top layer.
Where to display them: These look especially pretty around a window frame, across a mantel, or along a covered porch rail. In darker corners, the clear drips catch and magnify the light beautifully.
Storage tip: Let the strand cool fully, then coil it loosely in a shallow box with tissue or parchment between layers. That keeps the icicle shapes from pressing against each other and losing their crisp finish.