
There’s a particular kind of winter magic I never get tired of: taking the plainest little household thing and turning it into something that looks as if it belongs on a Christmas card. This project does exactly that. With one inexpensive bucket, a few evergreen trimmings, and water, you can make a glowing holiday decoration that looks far fancier than the effort it takes.
I love projects like this in the heart of December, when the house is already busy and I want something beautiful without dragging out a whole craft cupboard. If you’ve got a freezer or a reliably cold porch, this is an easy make for beginners, children helping alongside, or anybody who wants a lovely winter centerpiece or porch accent with almost no fuss.
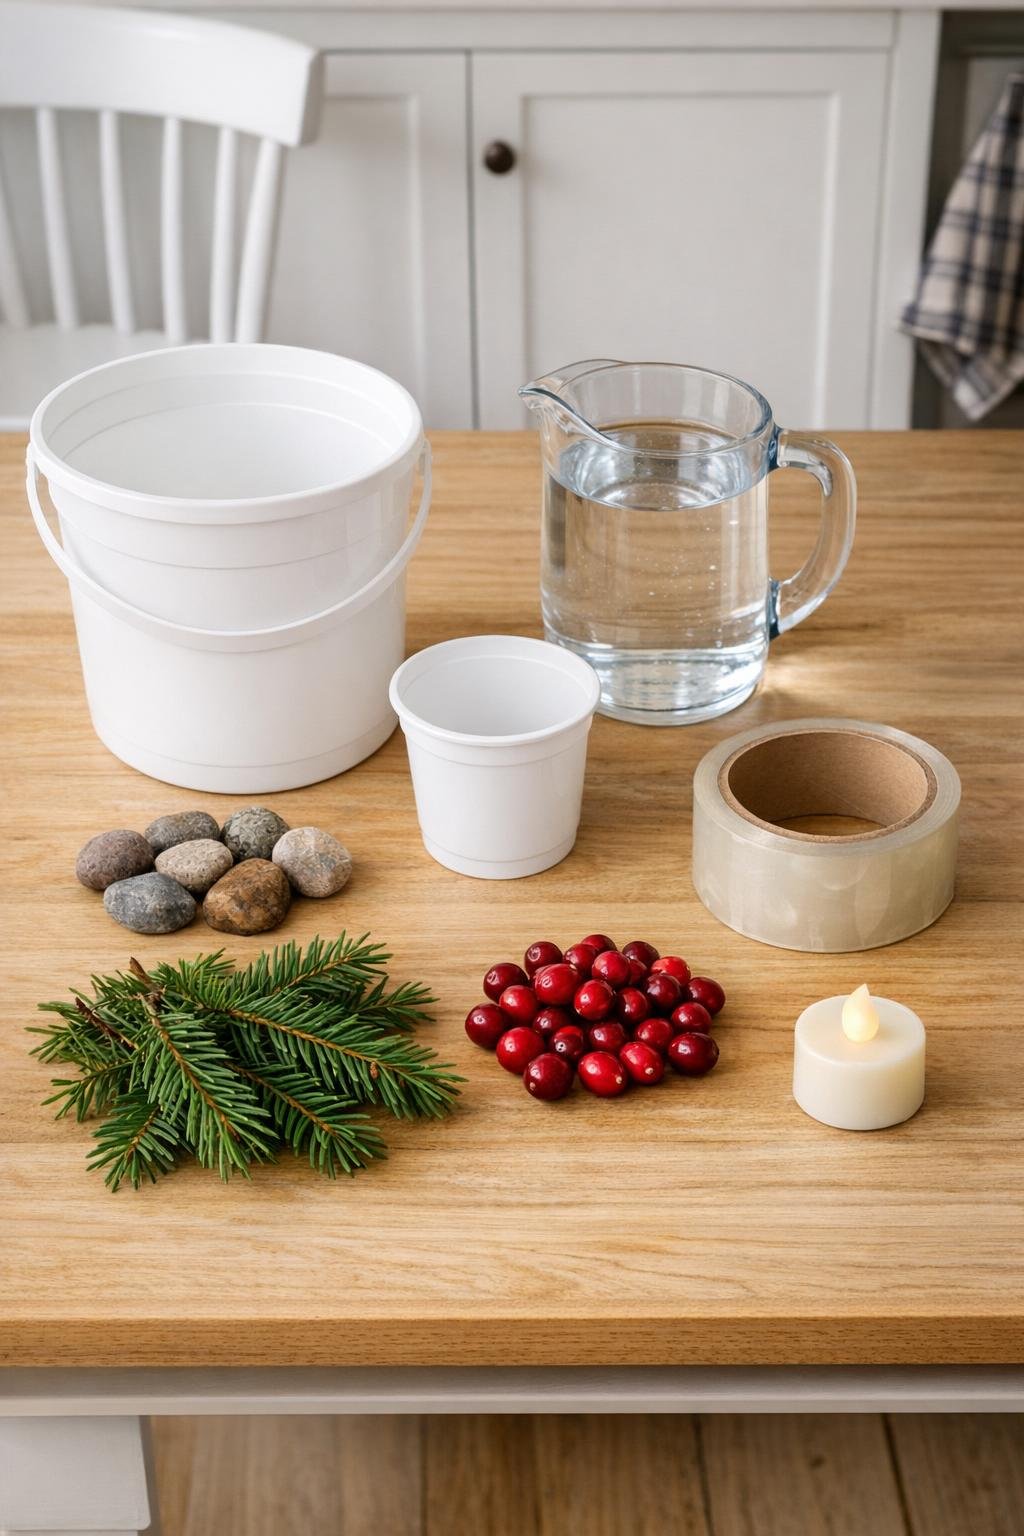
Materials
1 plain plastic dollar store bucket, about 1 gallon capacity
Instructions
1. Wash the bucket and the smaller cup, then trim the evergreen into short pieces so the sprigs will sit nicely around the sides instead of bunching at the top.
2. Scatter about half the evergreen and half the cranberries into the bottom of the bucket, then pour in enough water to cover them by about 1 inch.
3. Set the smaller cup in the center of the bucket and place the rocks inside it so it stays put; adjust it until there’s an even ring of space all the way around.
4. Add the remaining evergreen and cranberries into the ring around the cup, tucking a few sprigs against the bucket sides so the greenery will show all around once frozen.
5. Pour more water into the bucket until it reaches about 1 inch below the rim, keeping the water level outside the inner cup and checking that the cup remains centered.
6. Stretch two strips of packing tape across the top of the bucket and over the inner cup to hold it in place if it wants to float or drift.
7. Freeze the bucket on a level freezer shelf or leave it on a safely below-freezing porch until the water is frozen solid, usually overnight or up to 24 hours depending on temperature.
8. Remove the bucket from the freezer or porch and let it sit 5 to 10 minutes, then run a little cool water over the outside if needed to loosen the ice.
9. Pull out the tape, remove the rocks and inner cup, and ease the ice cylinder from the bucket by gently pressing the plastic sides outward.
10. Set the finished piece on a plate, tray, or porch step and place the battery tea light or small battery pillar candle in the center well so the ice glows from within.

Variations & Tips
For fuller color: Use extra cranberries and press a few right up against the bucket wall before freezing so you get bright red spots showing all around the finished lantern.
For prettier greenery placement: Flat cedar, spruce tips, or fir clippings all work well, and I like mixing two kinds if I have them because it gives the ice more texture and a richer, layered look.
If the inner cup shifts: Don’t worry. I’ve had that happen plenty of times. Just re-center it before the water fully freezes, and use the packing tape more snugly across the top.
For easy unmolding: A brief rinse under cool water is usually enough; avoid hot water, which can crack the ice or make the surface cloudy.
Best place to display it: This looks especially lovely by a front door, on porch steps, or in the middle of an outdoor holiday table where the cold will keep it solid and the candlelight can shine through.
For a longer-lasting finish: Start with very cold water and freeze the lantern as steadily as you can; once unmolded, keep it in deep shade or outdoors after sunset so it holds its shape longer.
A little holiday flourish: Set the lantern on a shallow tray with a few clipped pine sprigs around the base. It frames the glow beautifully and makes the whole thing look like you fussed far more than you really did.