
A little extra storage in a bathroom can feel like striking gold, especially if you live with one of those cabinets that always seems to be bursting at the hinges. This simple project turns the inside of a cabinet door into a tidy hidden toiletry shelf by mounting a small wooden spice rack with strong adhesive strips. It’s quick, renter-friendly, and it uses space that usually goes to waste.
I’m fond of projects like this because they remind me of the practical fixes folks have always come up with when they needed a home to work a little harder. Around here, we’ve long believed that if something can be made prettier and more useful at the same time, it’s worth doing. This one is especially good for small bathrooms, guest baths, and anyone who wants cotton swabs, facial rollers, travel bottles, or extra toothbrushes tucked away but easy to reach.
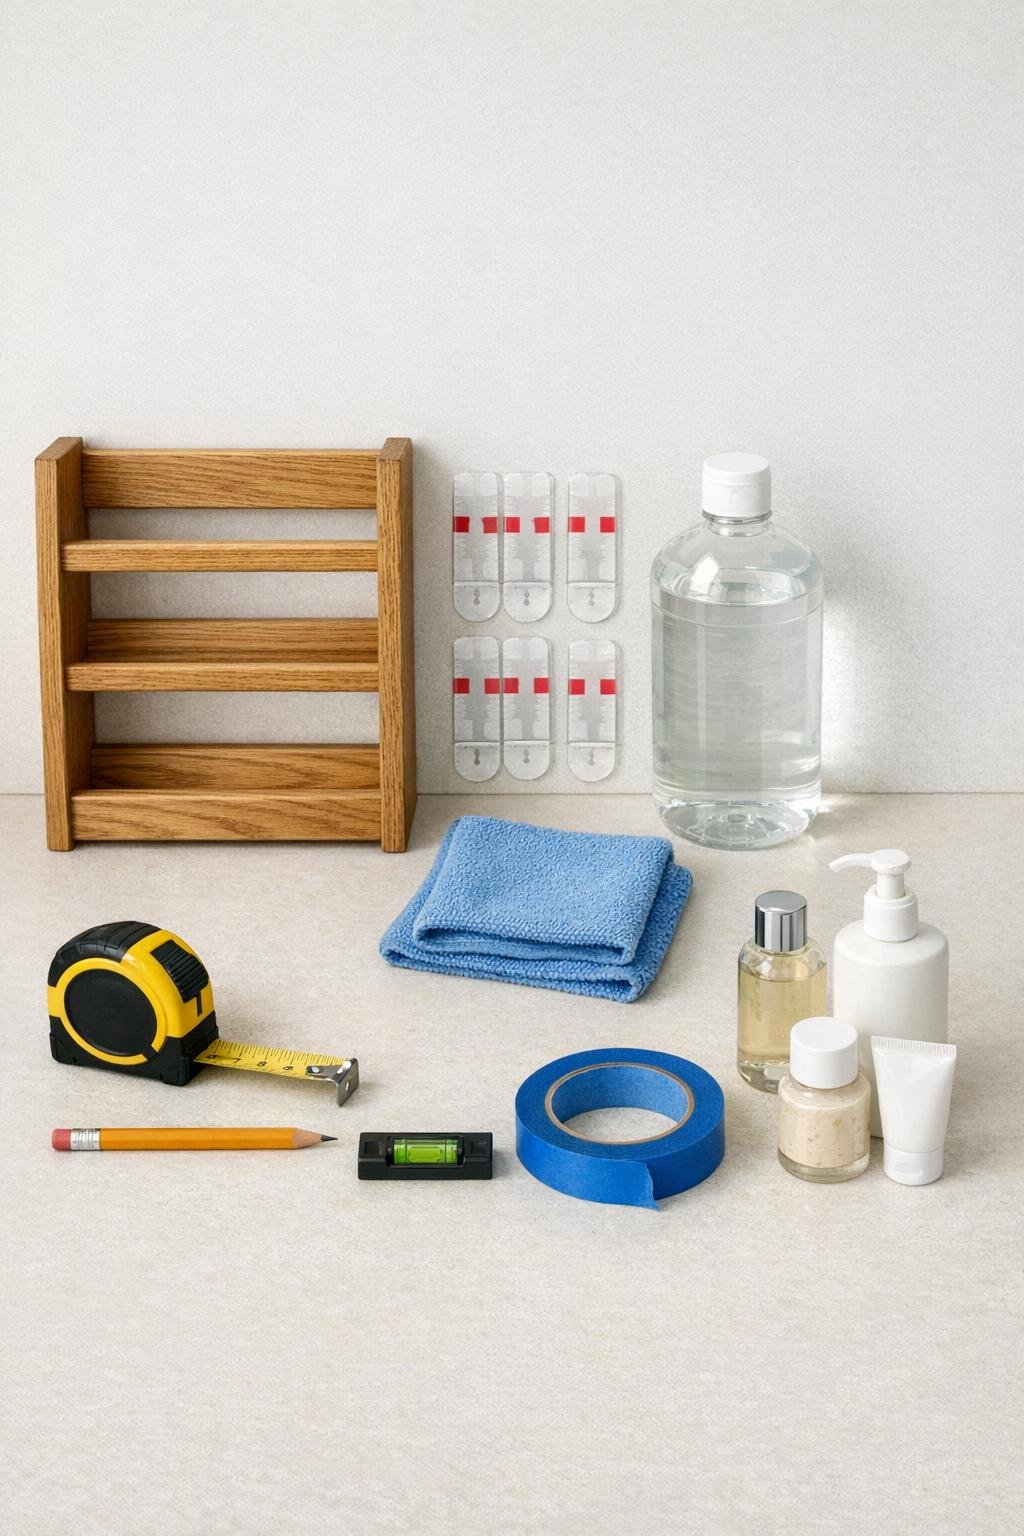
Materials
Instructions
1. Empty the cabinet door area and check that there’s enough clearance for the spice rack when the door closes. Measure the inside width, height, and depth so the rack won’t bump shelves, plumbing, or stored items.
2. Hold the small oak spice rack against the inside of the white cabinet door and test the best position. I like to place it at eye level or slightly lower so the items are easy to grab without stooping.
3. Mark the rack position lightly with pencil, then use a small level to make sure it sits straight. Add short strips of painter’s tape along the outline so you have a clear guide while mounting.
4. Clean the inside of the cabinet door where the adhesive will stick, and wipe the back mounting points of the spice rack too. Use rubbing alcohol and let both surfaces dry completely so the strips bond well.
5. Apply the clear adhesive strips to the back of the spice rack, spacing them evenly near the top, middle, and bottom contact points. Press each strip firmly in place according to the package directions.
6. Line the rack up with the taped guide on the cabinet door and press it firmly into place. Hold steady pressure for 30 to 60 seconds so the adhesive makes full contact.
7. Let the mounted rack rest without weight for the full curing time listed on the adhesive package. If you want extra insurance while it sets, run a strip or two of painter’s tape from the rack to the door frame to keep it from shifting.
8. Once cured, load the shelf with lightweight bathroom essentials, putting the tallest bottles in back and smaller pieces in front. Keep the heaviest items centered and don’t overload it beyond the strip rating.
9. Open and close the cabinet door slowly a few times to make sure everything clears cleanly. Adjust what you store there so nothing rattles, tips, or catches on the cabinet interior.
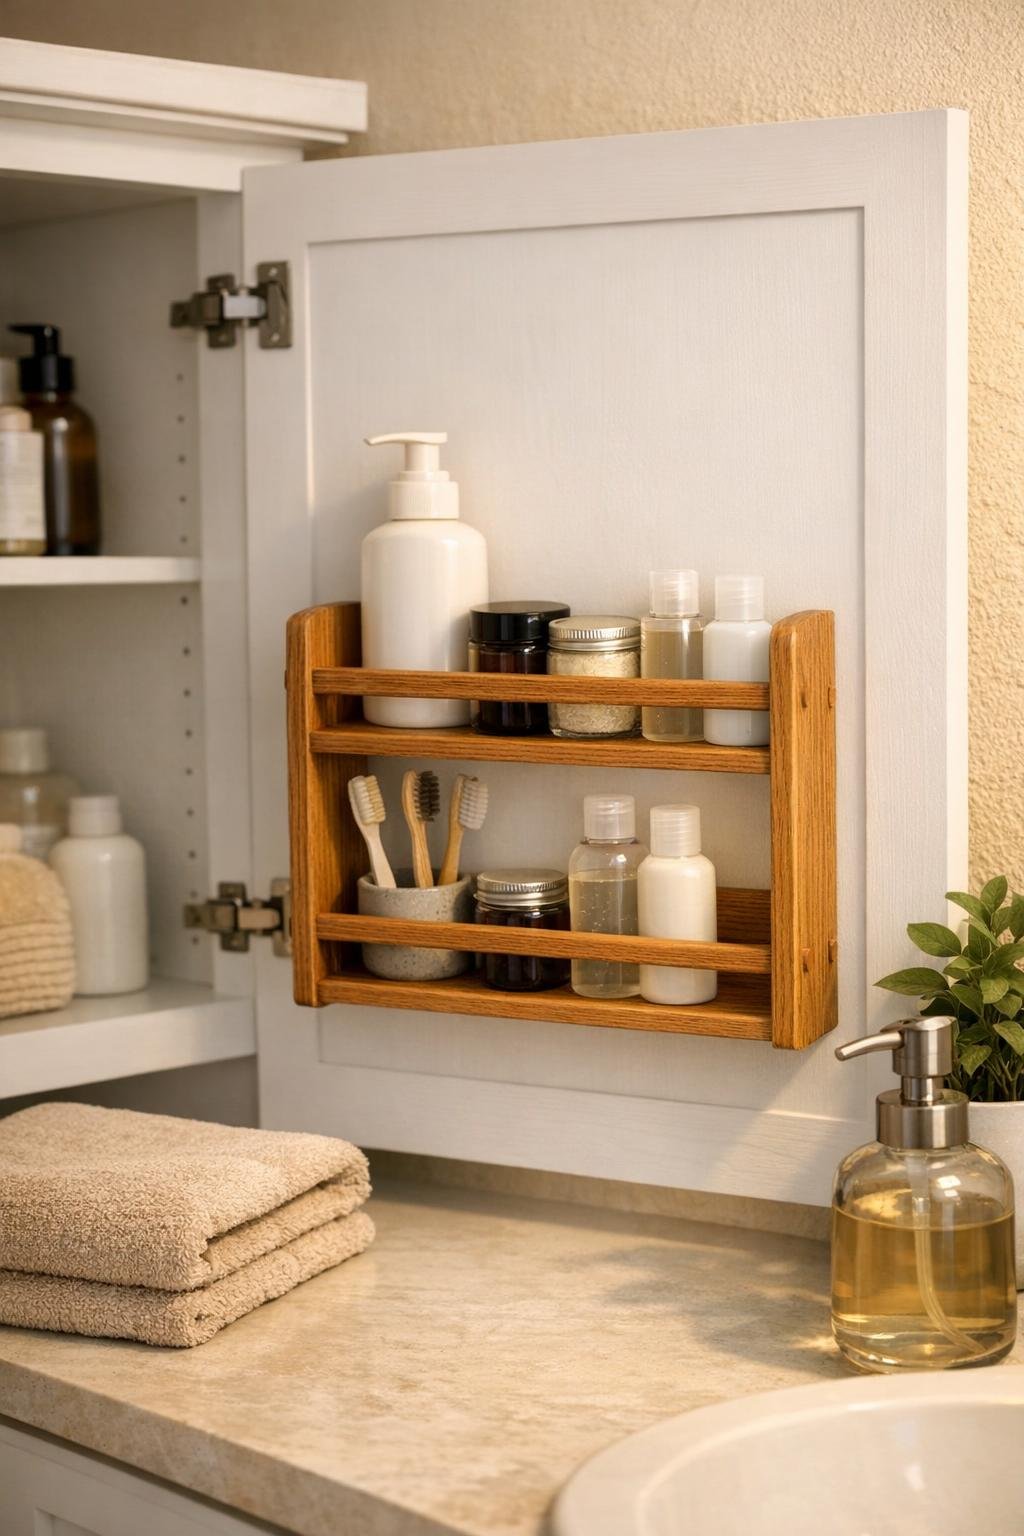
Variations & Tips
For renters: Choose removable heavy-duty adhesive strips and avoid overloading the rack. This gives you the best chance of taking it down later without much fuss.
For a prettier finish: If your spice rack is unfinished, add one coat of clear matte sealer before mounting it. That little step helps protect the wood from bathroom humidity and makes it look more polished.
Best items to store: This shelf is ideal for lightweight daily things like lip balm, cotton pads, sample-size toiletries, hair ties, and face cream. I would skip heavy glass bottles or anything that might leak badly if tipped.
Make it look intentional: Decant cotton swabs or floss picks into matching small jars, and group similar items together. Even behind a cabinet door, a tidy arrangement makes the whole bathroom feel calmer.
Check door swing first: If your cabinet has interior shelves close to the door, choose a shallower spice rack around 3.5 inches deep. That little measurement matters more than people think.
Extra holding power: A rack with a flat back works best because the adhesive has more contact area. If the rack has tiny feet or uneven spots, add strips only where the wood sits flush to the door.