
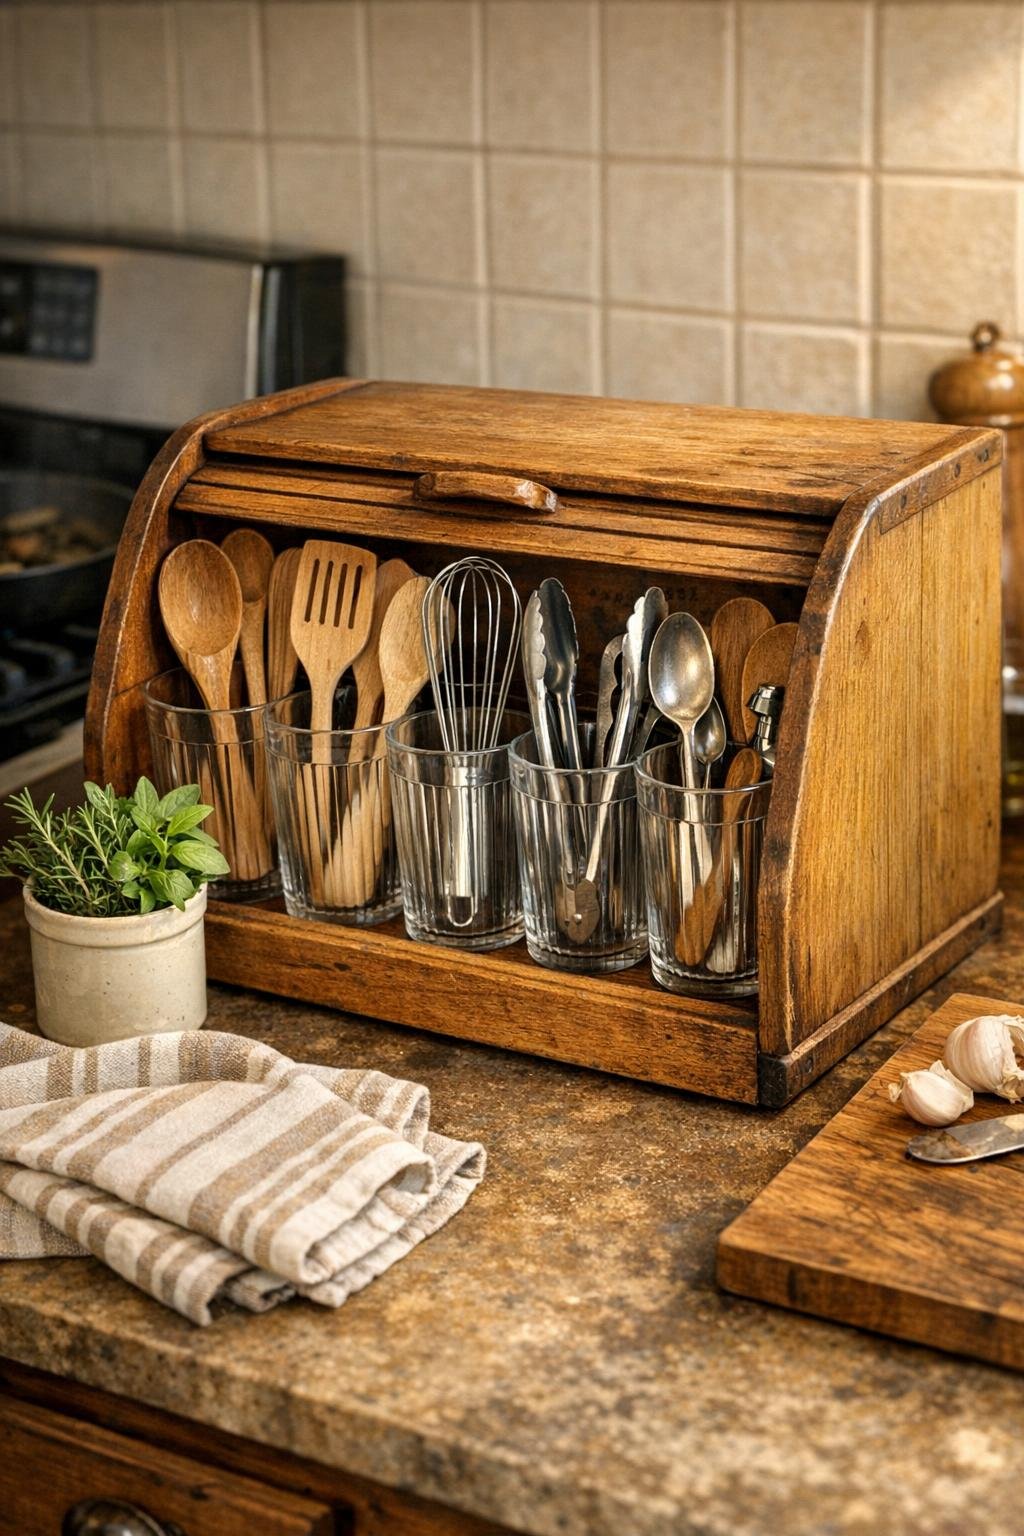
I love a kitchen project that solves a real problem without taking over the whole counter, and this one does exactly that. By sliding tall drinking glasses into a wooden bread box, you can turn an old or thrifted box into a tidy utensil station that keeps spatulas, whisks, wooden spoons, and serving tools upright, separated, and easy to grab while you cook.
This is a wonderful DIY for anyone who wants a more organized kitchen but still likes things to feel warm and homey instead of overly polished. I’m especially fond of projects like this because they use simple materials, come together quickly, and make everyday family cooking feel smoother from the very next meal.
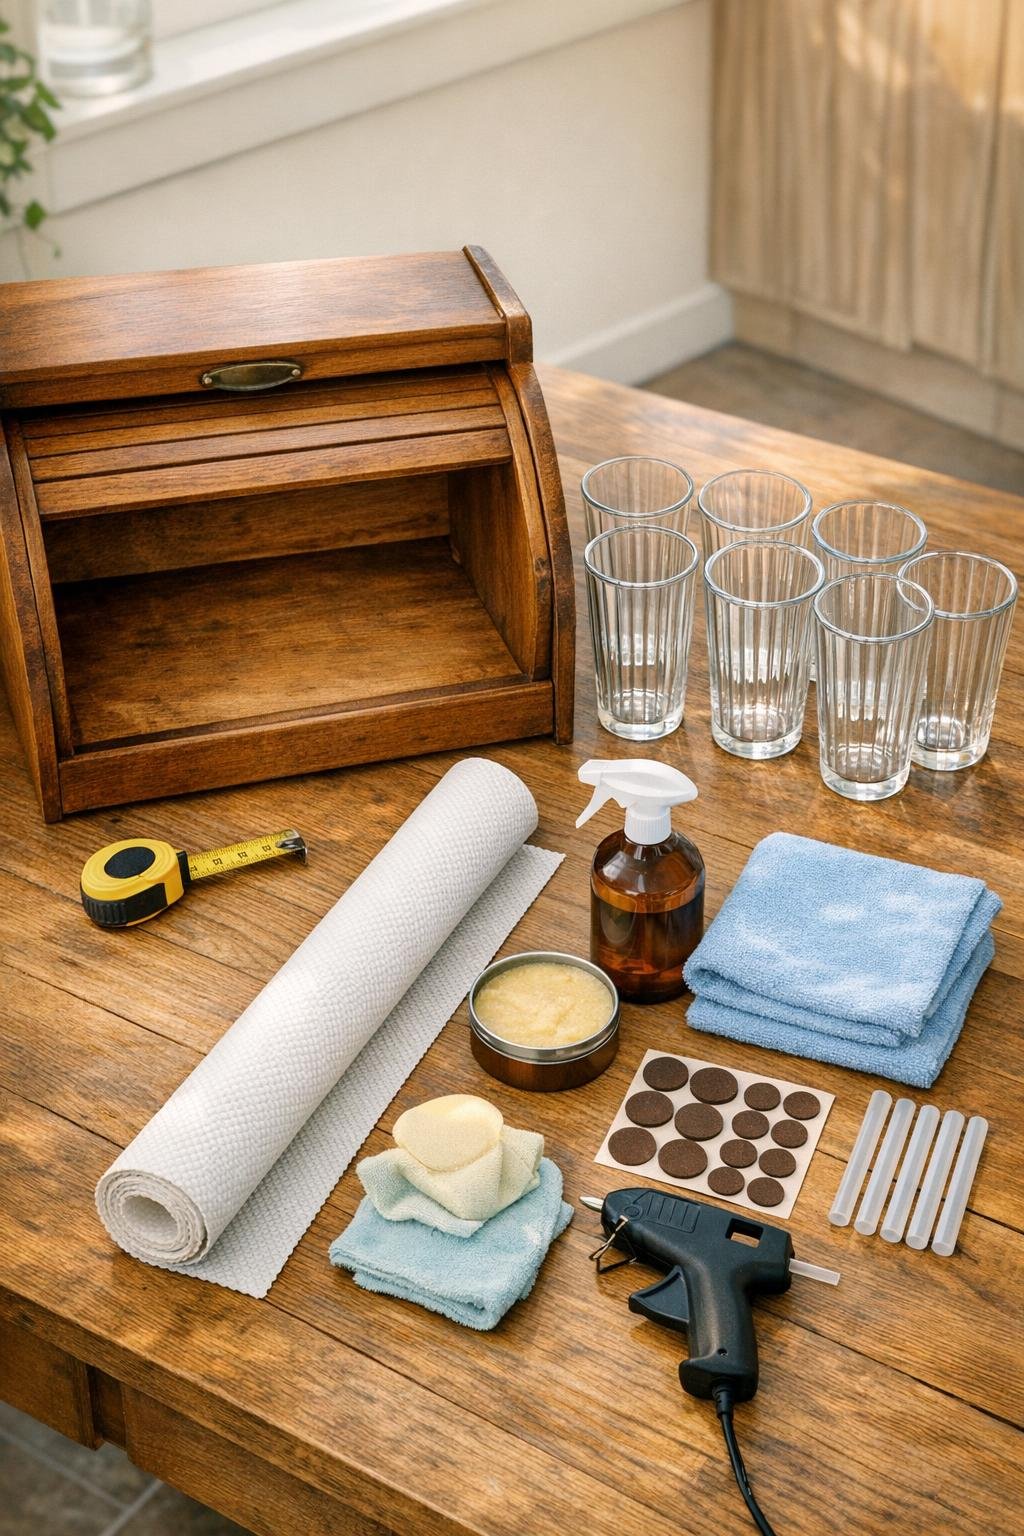
Materials
Instructions
1. Empty and clean the bread box inside and out, then let it dry fully so the glasses and liner sit on a clean surface.
2. Rub a light coat of furniture wax or wood conditioner over the outside and the inner base of the bread box, then buff it with a cloth to freshen the finish and give the piece a cared-for look.
3. Measure the inside bottom of the bread box and cut the shelf liner to fit snugly across the base without curling up the sides.
4. Lay the liner into the bottom of the bread box to prevent the glasses from sliding and to cushion them against the wood.
5. Arrange the six tall glasses upright inside the bread box in two even rows of three, leaving just enough room to lift each one out for cleaning.
6. If the glasses shift too easily, add a pea-sized dot of hot glue under the base of each glass, press it into place for a few seconds, and keep the glue minimal so the glasses can still be removed later with gentle twisting.
7. Stick felt pads under the bread box corners so it slides smoothly on the counter without scratching the surface.
8. Sort your utensils by type and place them into the glasses, grouping everyday tools together and heavier tools toward the back for the most balanced setup.
9. Set the finished organizer on the counter near the stove or prep space, and use the bread box lid or opening to frame the glasses neatly while keeping the whole station looking intentional and uncluttered.
Variations & Tips
For bigger utensil collections: Use 7 or 8 slightly narrower glasses if your bread box is wide enough, but always test the fit first so the glasses don’t wedge in too tightly.
For picky organizers: I like to give each glass a job, the same way I separate snack options for my family: one for wooden spoons, one for spatulas, one for whisks, one for tongs, and so on. It makes cleanup faster because everyone knows where things go back.
If your bread box is deep: Put less-used tools like a meat thermometer, gravy whisk, or holiday serving pieces in the back row and everyday cooking tools in the front row.
For a quieter fit: Wrap a narrow strip of clear shelf liner around the lower outside of any loose-fitting glass before placing it in the box to reduce rattling without changing the look.
Easy cleaning tip: Skip permanent glue if you want to wash the glasses often; the shelf liner alone is usually enough grip for normal countertop use.
Style upgrade: Tie a simple neutral ribbon or add a small wooden tag to the bread box handle if you want it to look extra finished on an open counter.
Thrift-store tip: When I shop secondhand, I look for bread boxes with a sturdy flat base and straight sides inside, because that shape makes it much easier to fit multiple glasses neatly.