
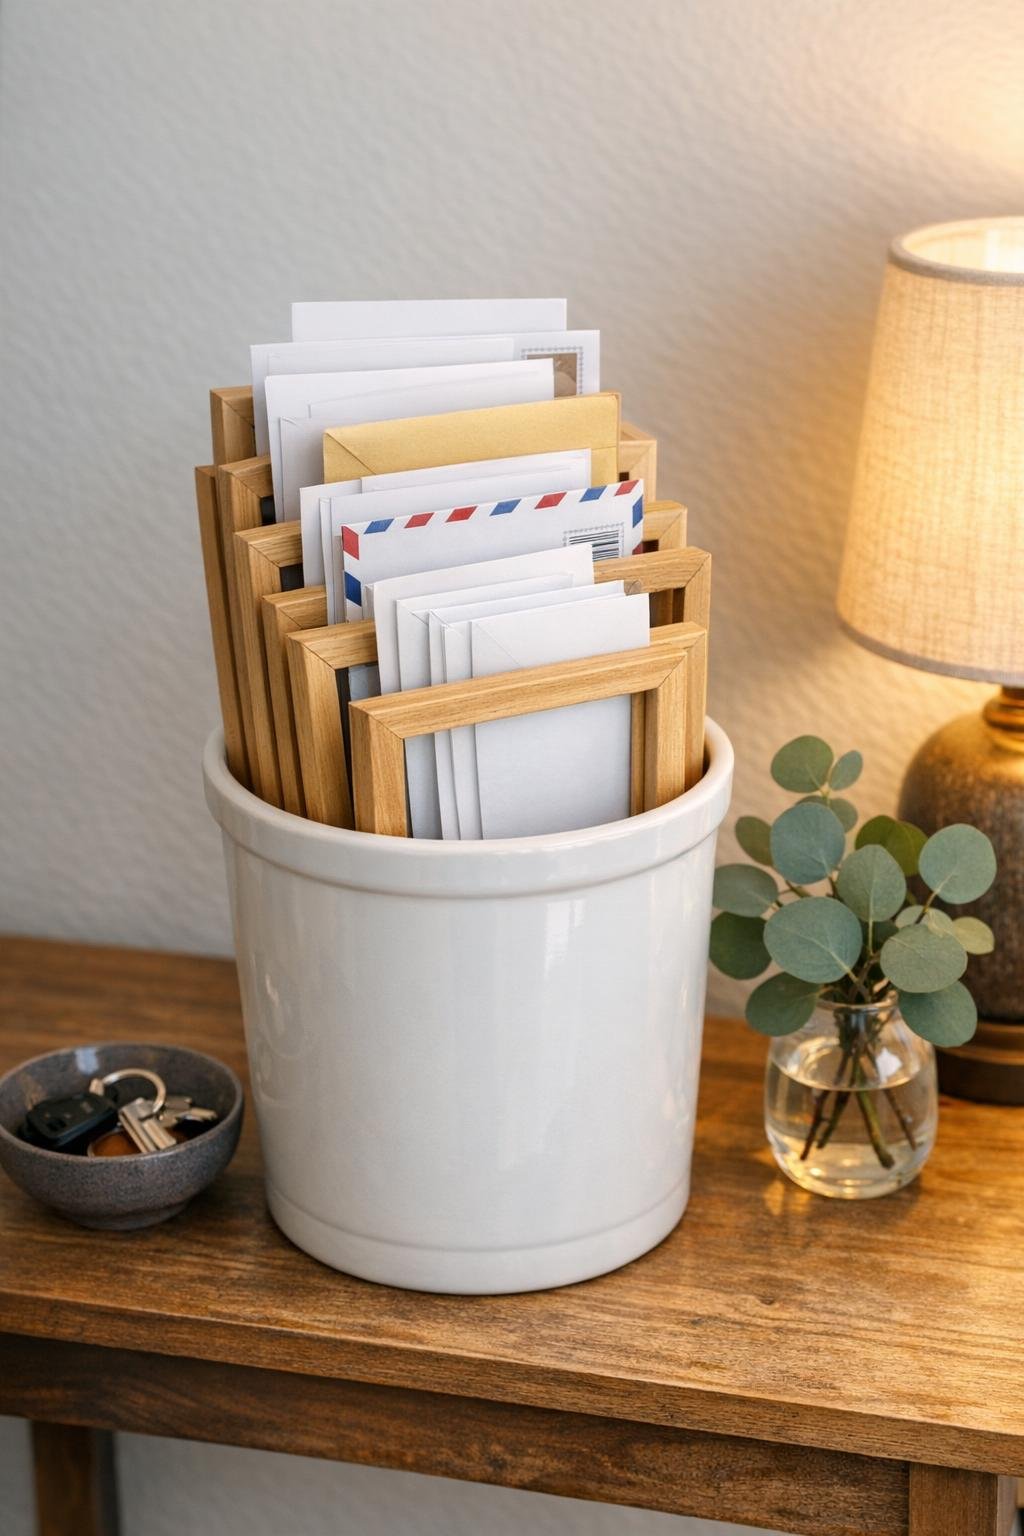
There is something mighty satisfying about turning a few simple household pieces into something that solves a real everyday problem. This little entryway mail sorter is made by stacking small wooden picture frames down into a tall ceramic utensil crock, and it creates tidy upright slots for mail, coupons, notepads, and those stray envelopes that always seem to land on the nearest counter. For a small entryway, it gives you storage without asking for one inch of wall space.
I have always had a soft spot for projects that look clever but are plain easy once you see how they go together. This one is just that kind of make-do idea, the sort of thing that reminds me of how folks in the Midwest have long known how to use what they have and make it work beautifully. If you want an organizer that feels neat, useful, and polished without a lot of fuss, this is a good afternoon project.
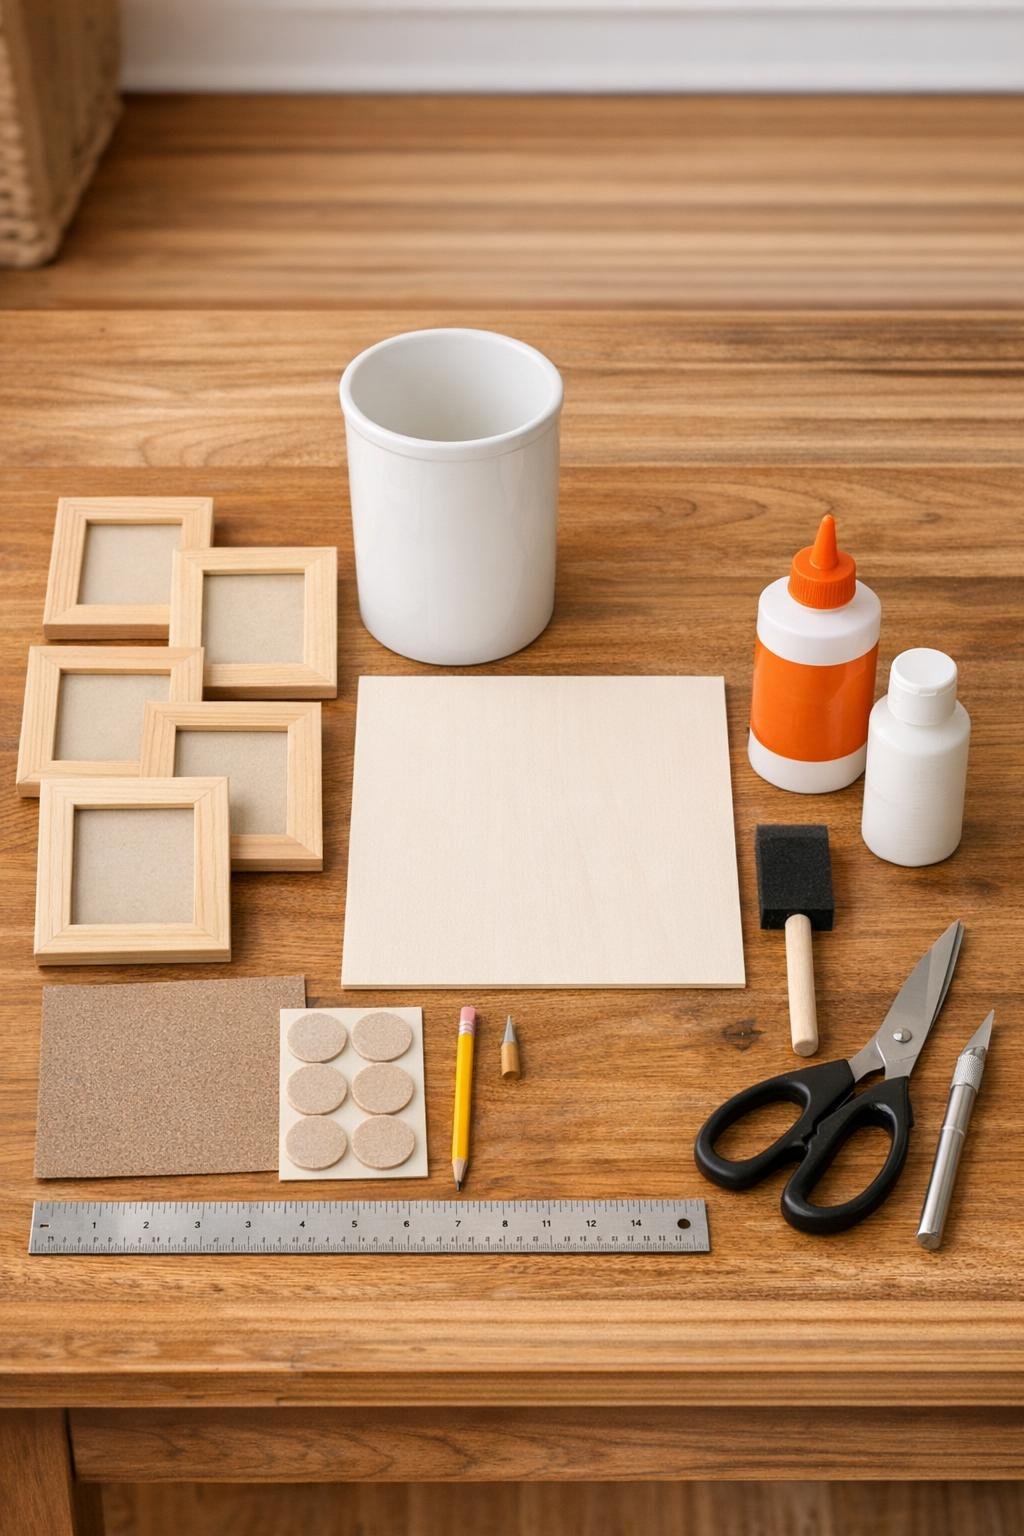
Materials
Instructions
1. Remove the glass, backing, tabs, and hanging hardware from all five wooden frames so you are left with plain open frame shapes. Sand any rough spots lightly, especially the inner edges and corners.
2. Set the ceramic crock on your work surface and test-fit the frames one at a time inside it vertically. You want them snug enough to stay upright when stacked, with the top frame sitting just a little above the crock rim for easy sorting.
3. Measure the inside width of the crock opening, then cut two support strips from thin plywood or foam board, each about 1 1/2 inches wide and as tall as the inside depth of the crock. Cut a slit halfway through the center of each strip so they interlock into a cross-shaped divider.
4. Place the cross divider down into the crock to create four support channels. Trim it if needed so it sits flat in the bottom without forcing the crock walls.
5. Slide the first two frames into the crock so they cross at right angles, each resting into opposite channels of the divider. Add the next two frames in the same direction, staggering them slightly from front to back, then place the fifth frame in the center line where it best fills the remaining gap and creates a full set of narrow mail slots.
6. Adjust the spacing until the frames look even from above and create tidy slots wide enough for envelopes, folded papers, and small notebooks. Once you like the arrangement, mark the contact points lightly with pencil.
7. Lift out one frame at a time and add a thin bead of glue where the frame touches the divider or the neighboring frame, then return it to position. Use just enough glue to lock the stack together without leaving drips on the visible wood or ceramic.
8. Let the glued frame stack set up according to the adhesive directions, keeping the crock upright and undisturbed. If needed, tuck crumpled paper towels around the outside of the top frame edges for a little temporary support while the glue grabs.
9. Touch up any scuffed spots on the crock rim or frame edges with a little white paint if you want a cleaner finished look. I like keeping most of the wood natural against the white crock because it gives the project that warm, simple farmhouse feeling.
10. Press felt pads onto the bottom of the crock so it will not scratch your entry table. Fill the slots with mail, a small notepad, stamps, and a pen to make sure everything stands upright and is easy to reach.
Variations & Tips
For a deeper sorter: Use 5 x 7 inch frames and a wider crock if you regularly sort magazines, folded school papers, or longer envelopes. Just keep the proportions snug so the frames do not wobble.
For a cleaner fit: If your frames are a little loose inside the crock, glue narrow craft sticks or small foam spacers along the lower sides where they will not show. That gives the stack a firmer seat.
For a more finished look: Paint the frames matte white, soft black, or a muted sage before assembly, then seal them with a clear matte topcoat. I still love the natural wood, but paint can tie the organizer right into your entryway decor.
For extra function: Slip a small label tab onto the top edge of a frame opening for bills, outgoing mail, and coupons. It helps the whole family keep papers sorted without hunting through piles.
Adhesive tip: A strong glue that bonds wood to ceramic is the secret here. Let it cure fully before loading the sorter, because once it is set, this little piece is surprisingly sturdy.
Styling idea: Set the crock on a tray beside a candle, key dish, or small vase so the whole drop zone feels intentional. In my experience, when something looks pretty, folks are far more likely to actually use it.