
There’s something in me that just can’t throw away a good color, even when the string quit working years ago. Old holiday lights may be finished as lights, but those bright little bulbs still have plenty of cheer left in them, and this project turns a pile of leftovers into something bold enough to stop folks in their tracks from the road.
I like this kind of make-do decorating best because it’s simple, thrifty, and has that happy old-fashioned Christmas spirit. If you’ve got a stash of vintage-style plastic bulbs from worn-out strands and want a porch piece that looks full and polished without being fussy, this is a mighty satisfying afternoon project.
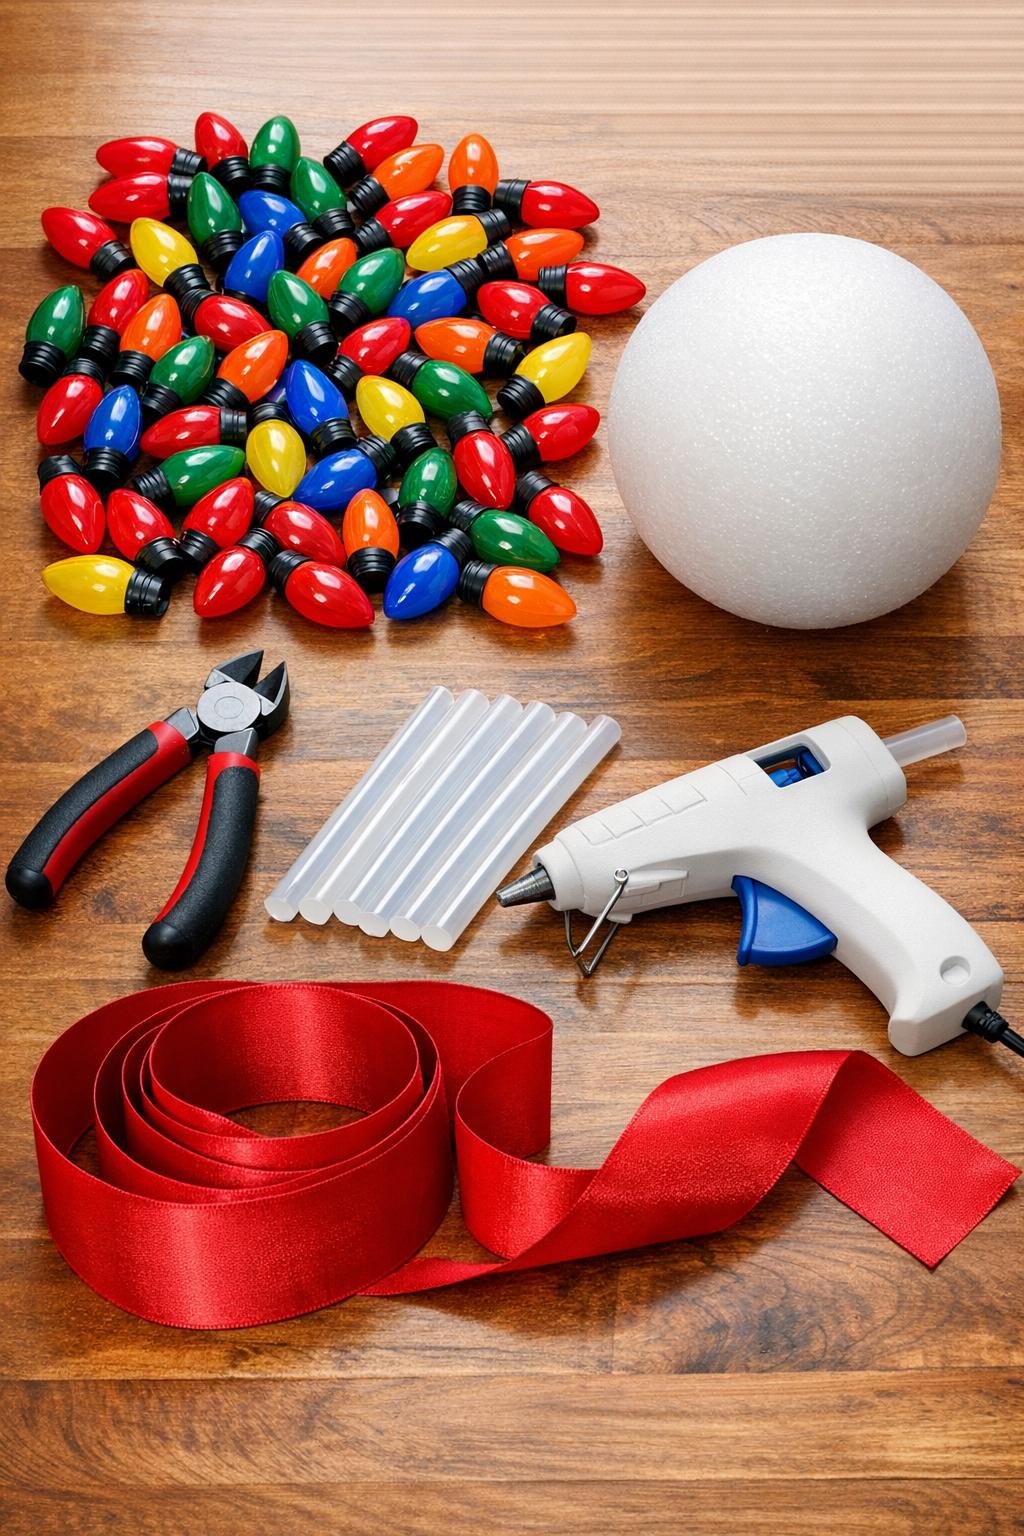
1. Snip all 80 bulbs free from the old light strands, trimming away the wire and socket pieces so the bulb bases are as smooth and flat as possible.
2. Sort the bulbs by color and wipe them clean with a dry cloth so dust and old grime don’t keep the glue from holding.
3. Tie the 12-inch ribbon or jute into a loop, then glue it firmly to the top of the ball; this gives you a built-in hanger and also marks the top of the ornament.
4. Start at the top and hot glue the first ring of bulbs around the hanging loop, placing them snugly side by side with the pointed ends facing outward.
5. Add a second row directly beneath the first, staggering the bulbs between the seams so the surface fills in densely instead of leaving straight gaps.
6. Keep working row by row around the ball, alternating colors as you go for that cheerful retro look; I like to avoid putting two of the same colors side by side when I can help it.
7. Turn the ball as you glue and press each bulb in for a few seconds so it grabs well; the goal is full coverage with the bulb shapes layered closely together.
8. Fill the lower half the same way, checking from all sides and tucking bulbs into any thin spots until the ball looks lush and evenly rounded.
9. Leave a small flat area at the very bottom just large enough to rest the ornament steadily if you want to display it in a planter or on a porch urn instead of hanging it.
10. Glue the last bulbs into any open spaces, then let the whole piece cool completely for 15 to 20 minutes before handling it much.
11. Make a generous bow from the wide ribbon with 4 to 6 loops, trim the tails at an angle, and glue it right at the top near the hanger to give the piece a finished porch-ready look.
12. Hang the ornament from a sturdy porch hook or nestle it into a covered outdoor planter, keeping it sheltered from heavy rain so the glued bulbs stay pretty all season.
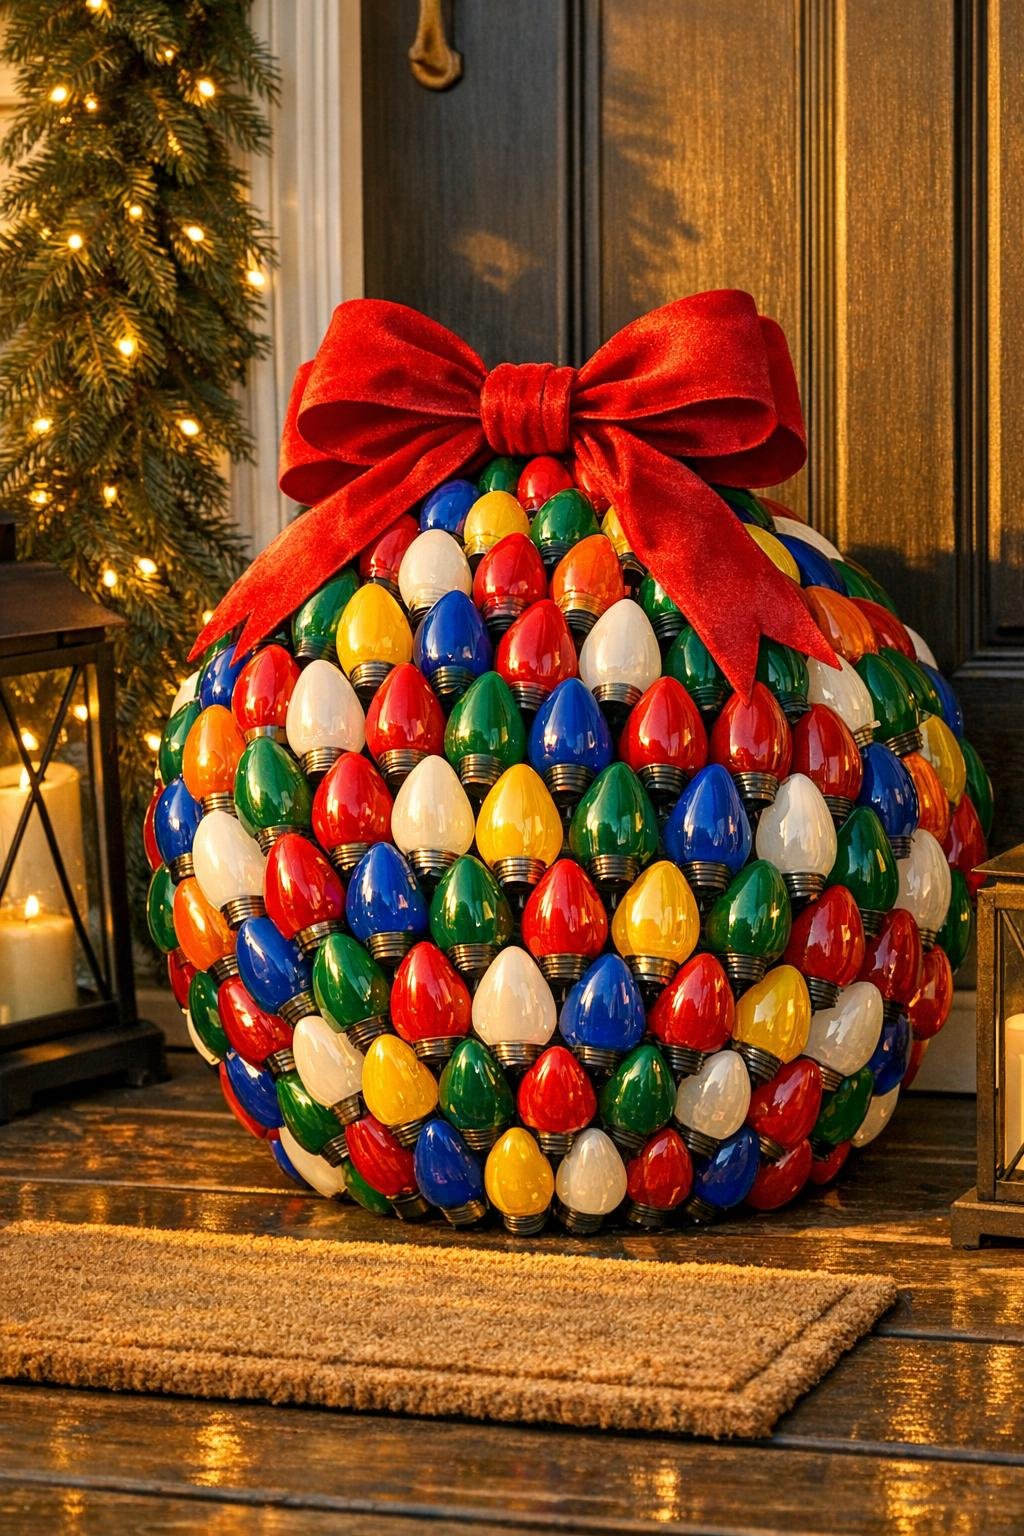
Color Placement: If you want a more orderly look, arrange the bulbs in repeating bands of red, green, blue, yellow, and orange instead of mixing them freely. It gives the piece that tidy department-store holiday charm from years ago.
For Porch Pots: If you’re making a pair for planters, leave a slightly wider flat spot on the bottom of each one so they sit securely tucked into winter greenery.
Ball Choice: A lightweight hollow plastic ball holds up especially well outdoors under a covered porch, while foam is easier to glue into and simpler for beginners.
Glue in Small Sections: Hot glue sets fast, so I work in little patches of 4 to 6 bulbs at a time. That keeps the rows tight and prevents awkward gaps.
Make It Bigger: For a truly dramatic display, use a 12-inch ball and 100 to 120 bulbs. The same method works, and the finished piece looks wonderful by a doorway.
Storage Tip: Wrap the ornament loosely in tissue paper and store it in a sturdy box after the holidays. Those old bulbs are durable, but they’ll stay prettier if they aren’t crushed under heavier decorations.