
I’ve learned over the years that some of the best DIY materials are the things people almost always throw out too soon. A tired old lampshade frame may not look like much on the counter, but its shape gives you a wonderful base for something dramatic, light-catching, and surprisingly elegant without much cost at all.
This project is ideal if you like easy crafts with a big visual payoff and don’t mind a little glue-gun time. The technique is simple enough for a confident beginner, but the finished piece looks far more elaborate than the process, especially once the layers start catching the light.
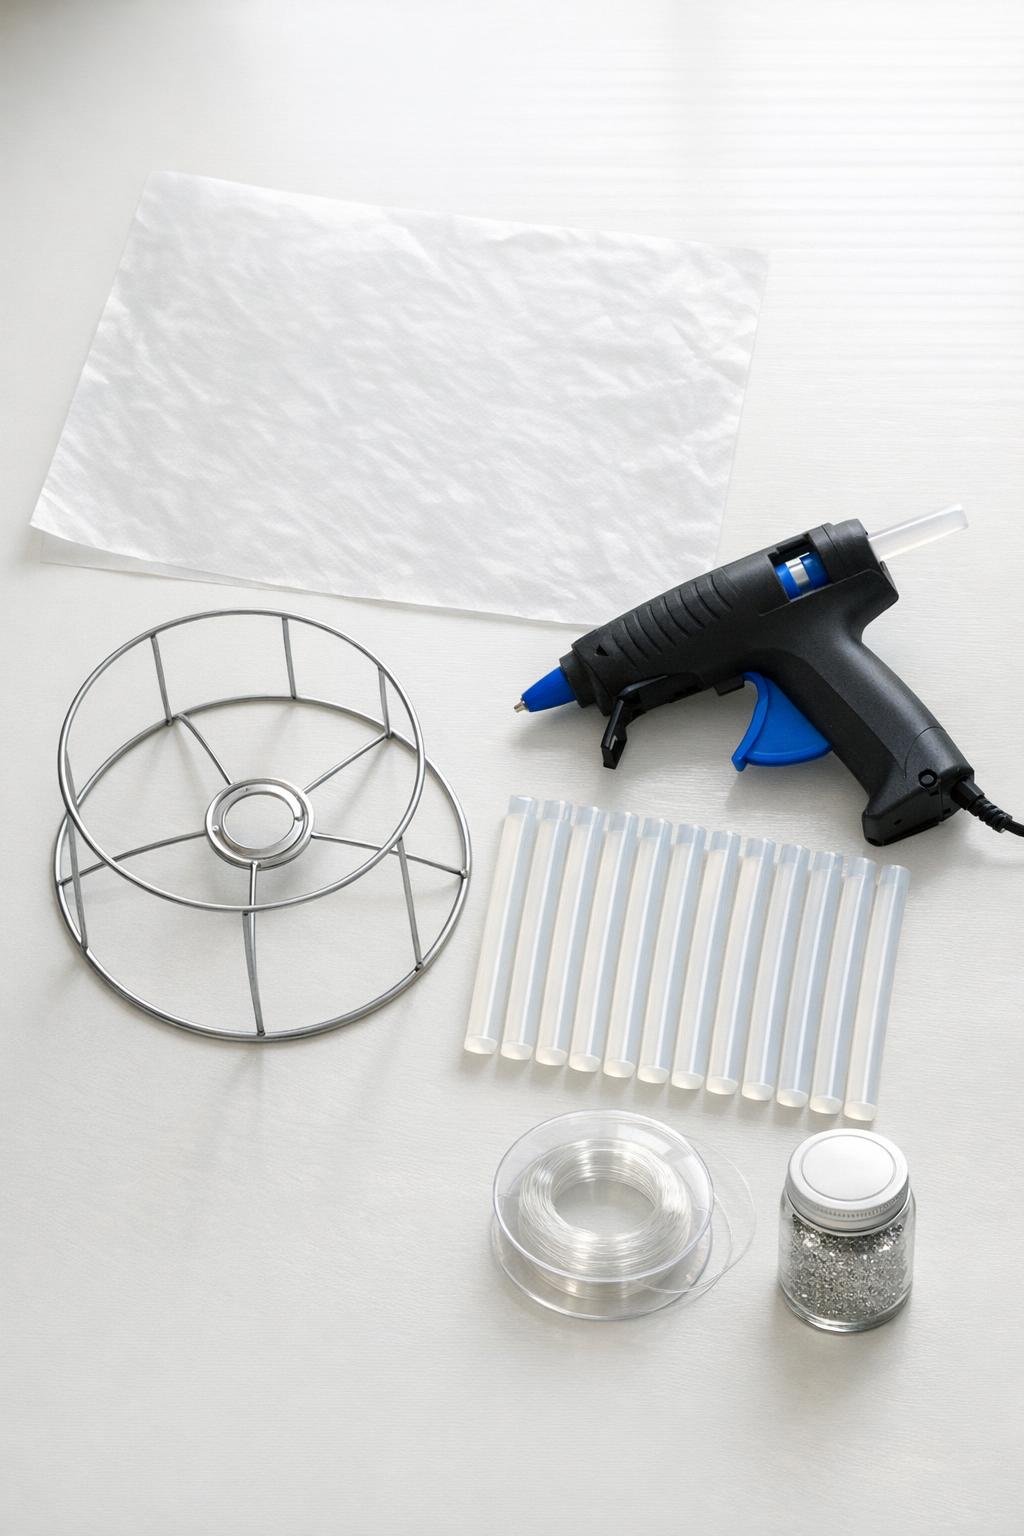
Materials
1 old wire lampshade frame, 12 to 14 inches wide, fabric and trim completely removed
Instructions
1. Clean the bare lampshade frame and make sure all fabric, glue fuzz, and loose threads are removed so the frame is smooth and ready to decorate.
2. Cut or tear the wax paper into large flat sheets and tape the corners down to your counter lightly if needed so it stays wrinkle-free while you work.
3. Along one edge of the wax paper, mark lengths from 4 inches to 10 inches so you can make a good mix of short, medium, and long icicles.
4. Heat the glue gun fully, then pipe long tapered lines of clear hot glue onto the wax paper, making each line thicker at the top and narrower at the bottom like real icicles.
5. Add a little dimension by running a second thin bead of glue down parts of each strip, letting it branch slightly so the pieces look natural and ridged rather than flat.
6. Make 35 to 45 glue icicles total, with the longest ones reserved for the bottom edge and the shorter ones for the upper ring and inner areas.
7. Let the glue cool completely for 5 to 10 minutes, then peel each icicle gently off the wax paper and trim away any wispy glue threads with scissors.
8. Brush a very light coat of spray adhesive or clear-drying craft glue onto each icicle in small batches, then sprinkle with fine silver glitter for an icy shimmer.
9. Shake off the excess glitter and let the coated icicles dry flat so they stay smooth and don’t stick to one another.
10. Cut fishing line into 18 pieces that are 8 inches long and 18 pieces that are 12 inches long for hanging the icicles at staggered heights.
11. Tie the longer fishing lines evenly around the bottom ring of the lampshade frame, spacing them about 2 inches apart all the way around.
12. Tie the shorter fishing lines around the upper ring or upper support wires of the frame so the hanging layers will look full from every angle.
13. Attach one glue icicle to the end of each fishing line by tying the line around the thicker top of the icicle and securing it with a tiny dot of hot glue if needed.
14. Fill in the frame by hot-gluing additional icicles directly onto the bottom ring and selected upper wires, overlapping lengths so the chandelier looks dense and frosty instead of sparse.
15. Wrap the cool white micro string lights around the top ring and a few support wires, keeping the battery pack tucked discreetly along the top edge or hidden above the hanging point.
16. Hang the piece from a ceiling hook and adjust the fishing lines, glued icicles, and light placement until the shape looks balanced, full, and evenly draped all the way around.
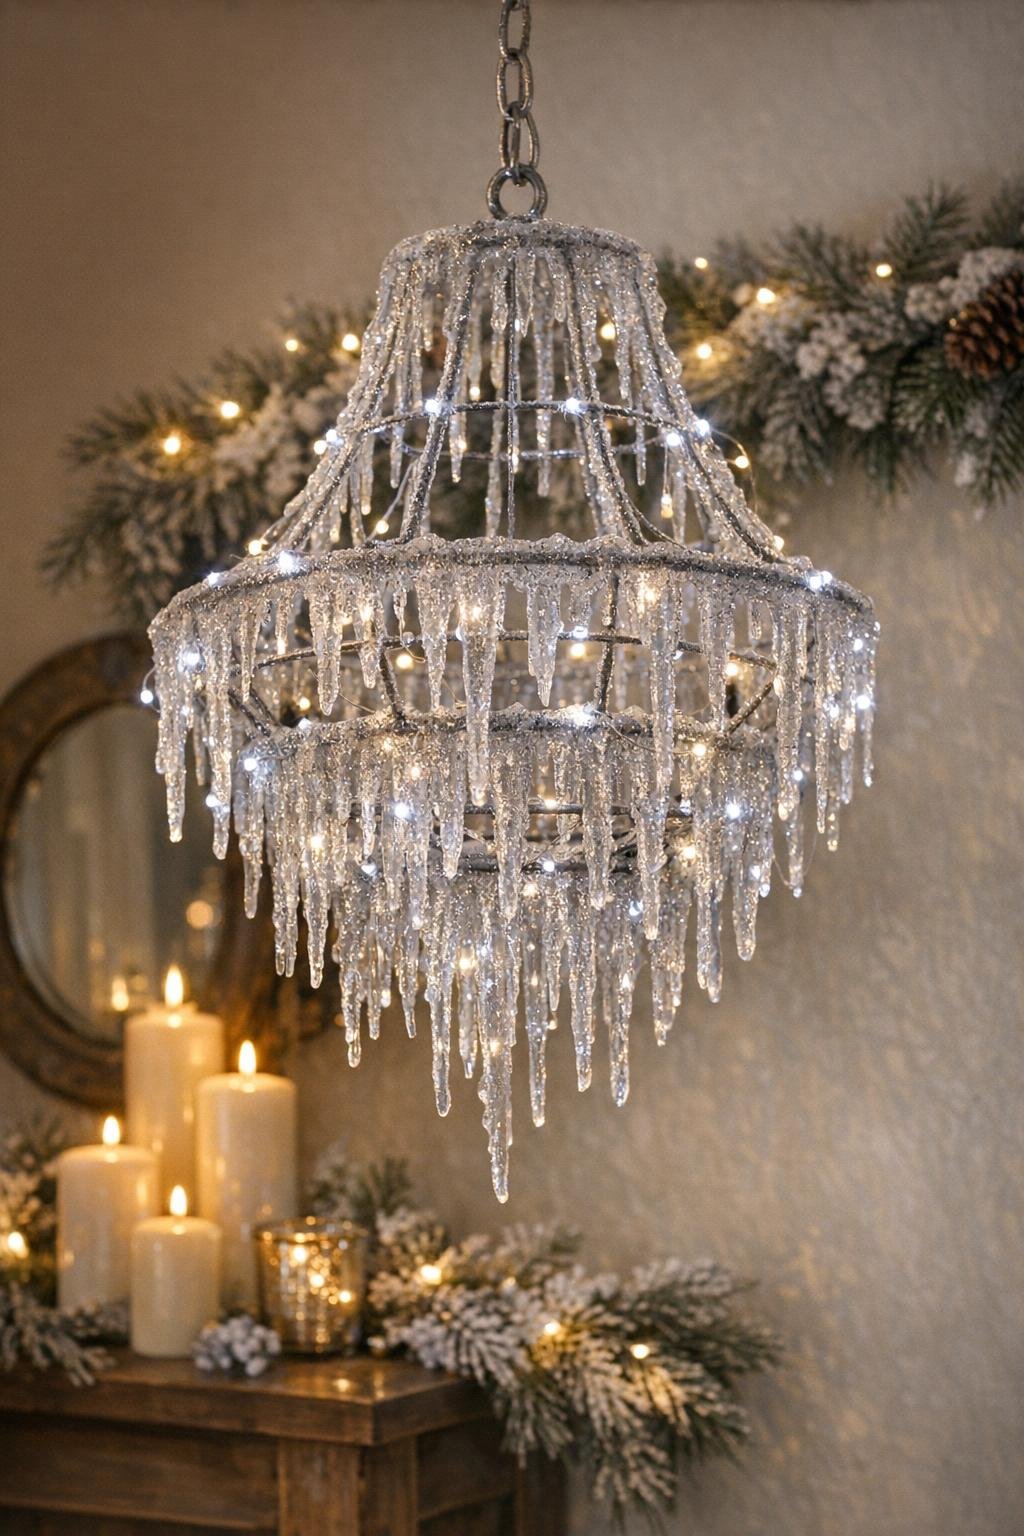
Variations & Tips
For extra sparkle: Mix in a little iridescent glitter with the silver if you want the icicles to throw blue and pearl tones when the lights are on.
For a fuller look: Make more icicles than you think you need. I usually find that an abundant second layer around the bottom ring is what turns this from a clever craft into something people genuinely stop and stare at.
For safer hanging: This piece is best as decorative lighting with battery micro lights only, not with a hot bulb or hardwired fixture.
For neater glue work: Let the glue gun heat fully before starting. When the glue is hot enough, the lines flow more smoothly and form cleaner tapered ends.
For a frostier finish: Dust just the upper half of some icicles and leave others mostly clear. That mix looks more natural to me, much like real ice that catches light unevenly.
For seasonal styling: I like this over a buffet, in a reading nook, or near an entry where it can catch evening light. A little evergreen nearby makes the whole thing feel intentional without taking attention away from the chandelier itself.